89' 242 Offshore bulkhead replacement,and total rewire

conshykid

Active Member
Joined
Feb 23, 2008
Messages
31
Reaction score
1
Points
8
Location
Spring Mount,PA
I have an 89' 242 Offshore with a 200 Johnson that Im going do start to upgrade a bit.First Im replacing the cabin bulkhead that rotted out with 3/4" Starboard.While I took out the old bulkhead I decided to take out all the wiring and redo that as well.It looked very unprofessional the way the previous owner/s had it wired.The switch panel will be replaced by a new panel from ScottC at Vector Imaging.I will redo all the wiring in the boat and have a dedacated house & engine batteries with a VSR.Wiring is sort of my thing I used to custom wire racecars,police,firetrucks,ems vechiles at my last job,so this will be a piece of cake.In addition to that I am going to replace the thru hulls with stainless and all the hoses that need it including the fuelhoses.Also the hardtop rear support tube needs to be welded,it had cracked in half mid way through last season.The only thing Id like to do that Im going to wait on is the two deck hatches over the fuel tanks that have soft spots.The reason is I just cant afford it right now,so maybe that will be next years project(Jawz might be getting a call for that one!).Also I forgot that if the funds will alow it I will be adding an onboard battery chager with shore power the only option the boat didnt come with from the factory.

Other than that ,that is my goal before the spring Stripers show up.The only thing now keeping me form finishing on time is the fact I broke my left hand and finger 2 weeks ago at work and might need surgery.They tell me another 4-6 weeks and should be good to go again.Until then the project is on hold but here are a few pics as I got started before I broke my hand.I will post up more pics as I progress.


The bulkhead removed,forgot to take a pic with it in.
110.jpg


Old rotted bulkhead
116.jpg

118.jpg

117.jpg


Old wiring under helm,already started to clean up the mess
105.jpg


The trim tab and autopiolit pumps never mounted in cabin under the floor so that will be fastened correctly.
107.jpg


Tramsom wiring not that bad but not to my liking.
115.jpg

112.jpg

113.jpg


Hardtop support
111.jpg
 

Grog

GreatGrady Captain
Joined
Sep 27, 2006
Messages
2,008
Reaction score
1
Points
38
It should look nice when you finish the bulkhead. Don't bother replacing the wire for the hard-top before you fix the broken weld.
 

conshykid

Active Member
Joined
Feb 23, 2008
Messages
31
Reaction score
1
Points
8
Location
Spring Mount,PA
well got some more done to it its been tough being out of work for 2 months when I broke my hand.It figures I was home for 2 months but couldnt do a thing on the boat,not to mention little income which just set my little project back even more.well it should be done by the end of the month,I hope

I finally got the sheet of starboard and cut it out for the bulkhead

010-1.jpg


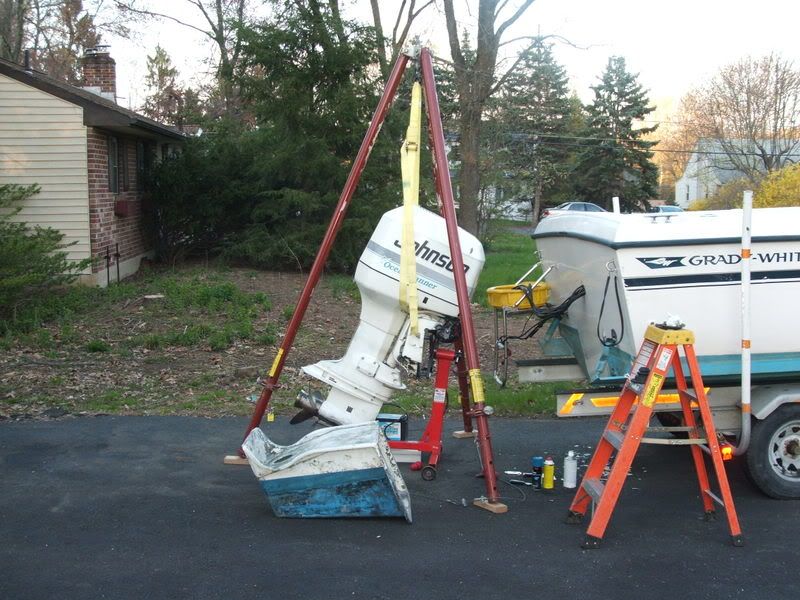
Then we pulled the motor to remove the bracket and have it redone.We used a tripod with a puller and then bolted the motor to a engine stand.The yellow strap is just for saftey in case the motor decides it wants to push the cheap engine stand over

009.jpg

0064.jpg


here is the bracket before blasting

007-2.jpg


and after

001-2.jpg


also added a reserq pump a 2 sprayheads to my live well

014-1.jpg

013.jpg


finally I got some of my needed electric parts minus the battery switch which got backordered

012-1.jpg
 

BobP

GreatGrady Captain
Joined
Apr 27, 2005
Messages
4,744
Reaction score
6
Points
38
Location
Long Island, NY
Model
Sailfish
Ah, a racor, that's what I like to see !

I was about to say check that 40 A main breaker, cheap button type, under the cover but then I saw the BlueSeas selection. Nice !

I think the SW washdown pump is incorrectly mounted per instruction manual. It's upside down.

Nothing like working on boats, I'm pulling a 10 yr day tomorrow, and I love it ! Then you get to admire all of it with each visit and ride!

Your old bulkhead is birch plywood, full 3/4 inch, formica both sides. Damn good stuff, too bad Grady didn't spend a dollar of caulk to seal it at the deck. Would have lasted forever.

Get well. Have fun.
 

conshykid

Active Member
Joined
Feb 23, 2008
Messages
31
Reaction score
1
Points
8
Location
Spring Mount,PA
Finally got the new bulkhead installed.I left the plastic film they use to protect it on so I wouldnt scratch it,but after it was all bolted up I peeled it off and it left blue blotches in some spots where the writing was so I tried wiping it off ,no luck so I will call Starboad to see what to use to remove the blue marks.Im going to remove the teak trim and door and varnish them with Interlux Schooner which should look real good, then put them back on for good.

Heres a couple pics

008-2.jpg


007-3.jpg
 

conshykid

Active Member
Joined
Feb 23, 2008
Messages
31
Reaction score
1
Points
8
Location
Spring Mount,PA
Well its been a while and its finnally finished....thank god!!Ive been working on it to try to get it in the water before my vacation last week (which I did) so I had no time in between to post any progress on it.

So here is what I ended up doing from the last post........


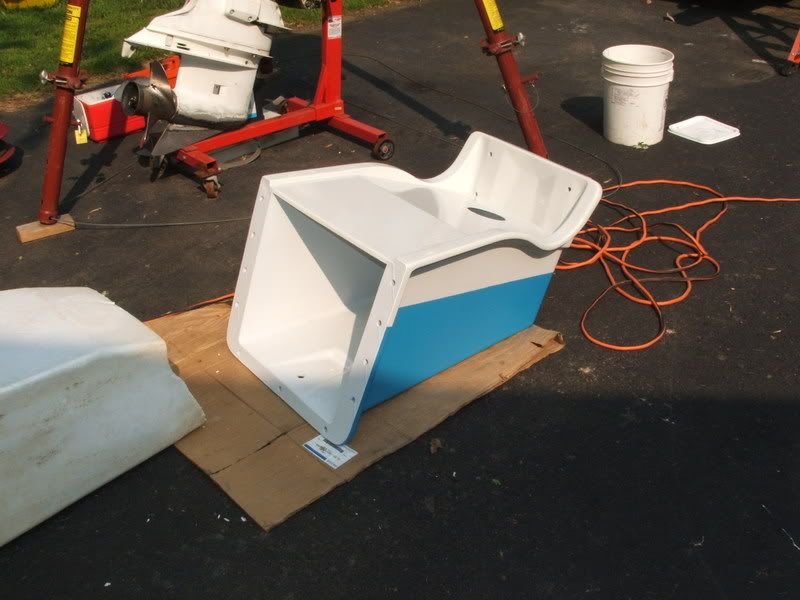
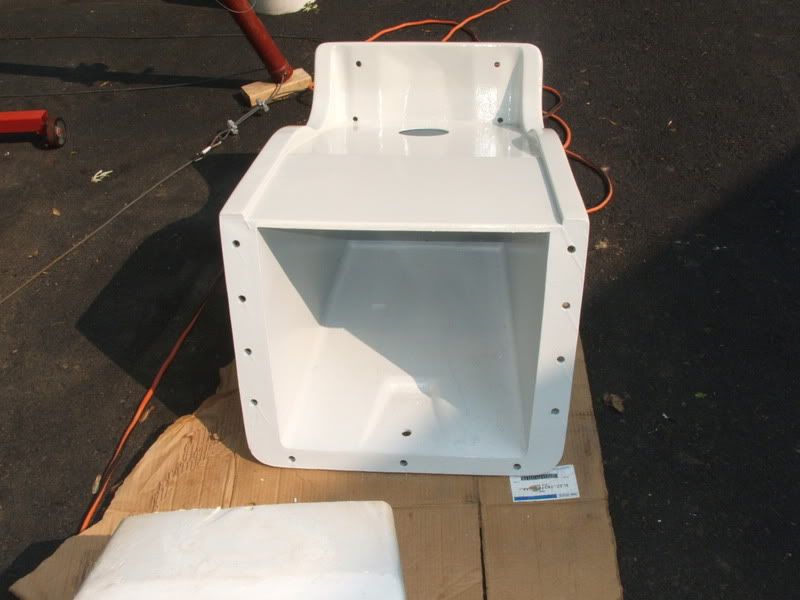
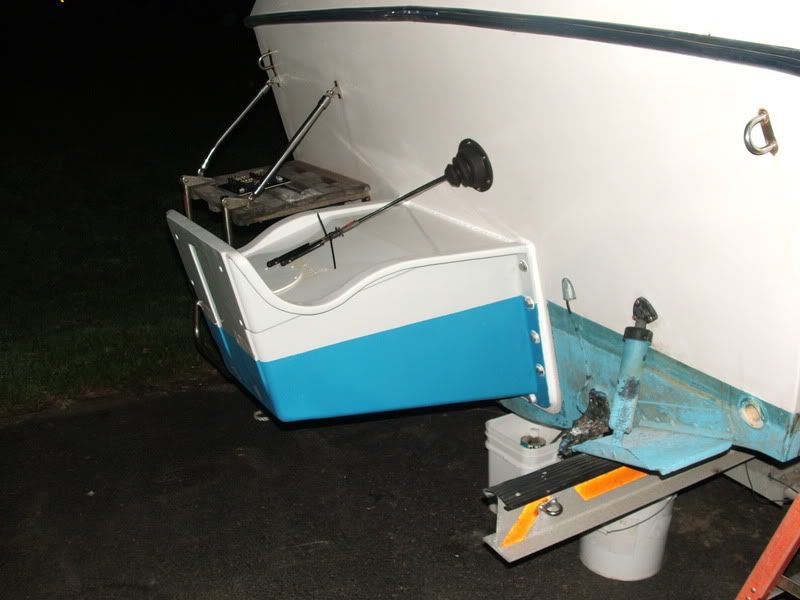
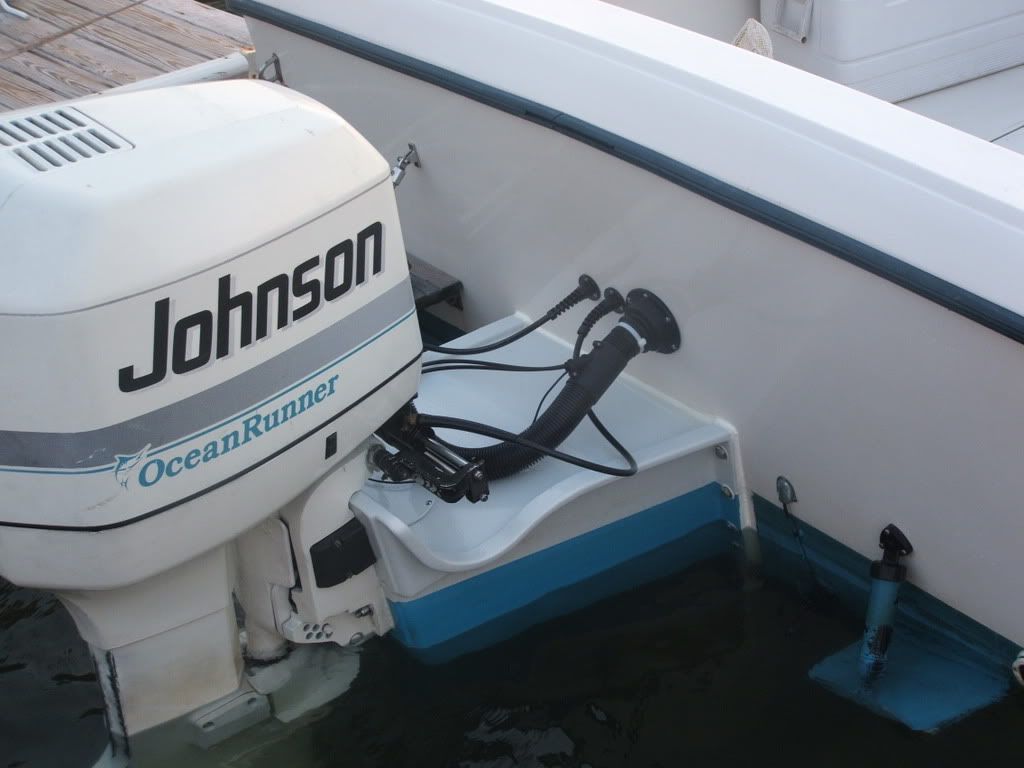
For the finishing of the bracket I ended up going with a barrier coat of Interlux 2000E, Awlgrip on the top and Trilux 33 for the bottom done by the one and only Jim Anderson of Jimmy's Marine Service.

Jim did a hell of of job with it and the pics dont do it justice and makes the rest of the boat look bad :eek: I then painted the inside... first etch primed with DuPont Variprime... then a couple coats of white Imron(sorry Jim I just couldnt leave it bare even though it might not have mattered,I felt more comfortable with it coated)I used 3M 5200 to seal it to the transom with all new 1/2" SS bolts with SS nylocks.Here is some pics of it...


001-6.jpg
002-7.jpg

003-6.jpg
004-5.jpg


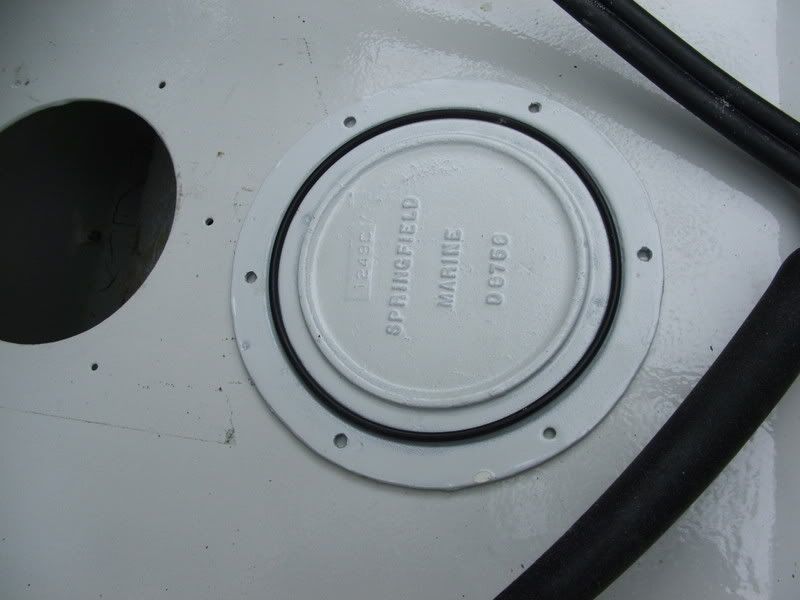
Next we hung the motor using my Dad's loader.Again used 5200 with all new SS bolts.The inspection plate never had an O-ring so I had ordered half a dozen 5" by 1/8" O-rings to prevent water from getting in from the top,also I dont have to use a sealant which might F-up the Awlgrip finish every year I go to pull the plate :wink:


001-3.jpg
002-3.jpg
004-4.jpg


Next I went to work on wiring the boat which is my specialty :wink:
I started off at the transom wiring gutting everything I mean everting!!!.I then ordered new battery wire,primary wire,ground wire,and bilge pump wire.For the battery wire I used 2awg Pacer Marine wire and for the Primary wires to feed the fuse blocks I used 6awg in red for the switch fuse panel and orange for the accessory fuse panel.All connectors I used are heat shrinked including the ones Bep dosent use on their swich cluster,so I fixed that :roll: .I used wterproof fuse holders for the bilge pumps wired to auto float swiches.The main breaker,and buss bars with covers are Blue seas. Here are the pics of the transom wiring sorry if they arent that good it always seemed to be dark out when I got finished :( .....


003-2.jpg
004-1.jpg

004-2.jpg
010-2.jpg


In between working on that, Scott C. from Vector Imaging(vectorled.com) worked with me on designing a led lit custom switch panel.All I have to say is Scott is the man!!!He will work with you until you are 100 o/o satisfied on how your panel will look and the end result was more than I could have asked for.Anyone thinking of uprading their switch needs to contact Scott you wont be disappointed.We went with no breakers insted I used a dedicated fuse panel just for the switches.Here are some pics comparing the old Grady panel with Scott's panel and of it wired and lit from the leds.....

010-3.jpg
009-2.jpg

006-4.jpg
001-4.jpg


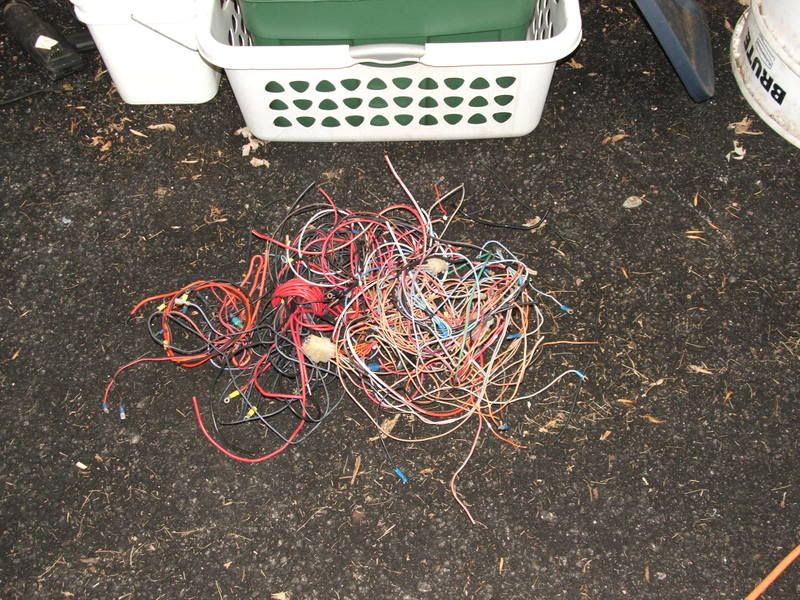
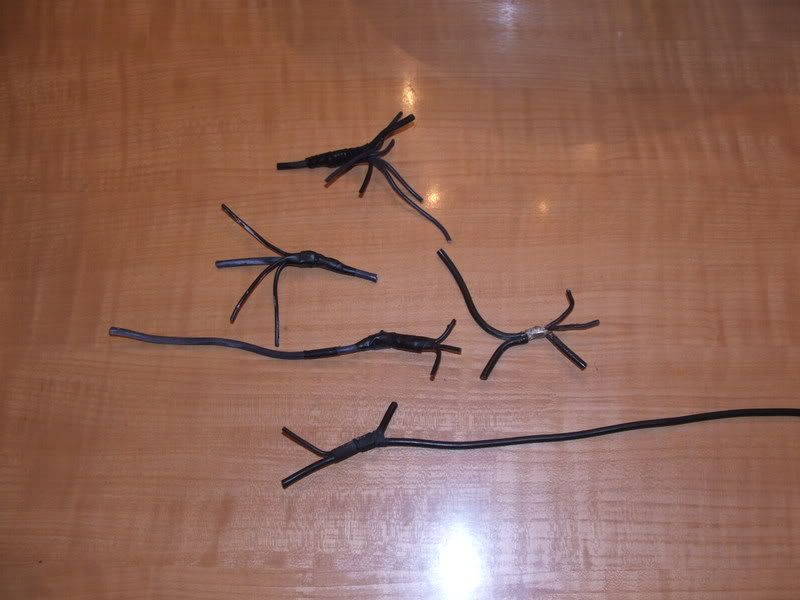
Once I got the transom wiring done I gutted the rest of the Grady wiring,enough to almost fill a laundry basket full of scrap wire :shock: Grady used non tinned wire with non tinned ,non heat shrinked connectors which all were coroded.As I gutted all the wiring I noticed Grady would splice all their grounds into just one 10awg wire throughout the harness :roll: Heres some pics...

005-5.jpg
001-7.jpg


Ok now the 6awg primary wires were pulled to the cabin and the fun wiring begings 8) I used Blue Seas 12 circuit fuse panels without the built-in ground block,instead I used a Blue Seas 20 space buss bar just for the grounds which makes for a very clean and dedicated way of wiring :wink: .All wires are going to the fuse blocks and ground bar are 14awg Pacer Marine tinned wire.Heres some pics...


003-4.jpg
002-5.jpg


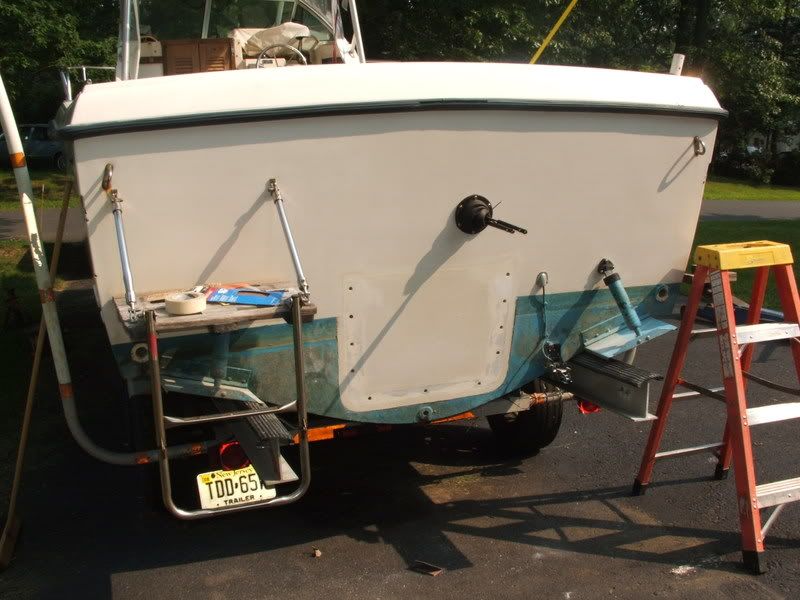
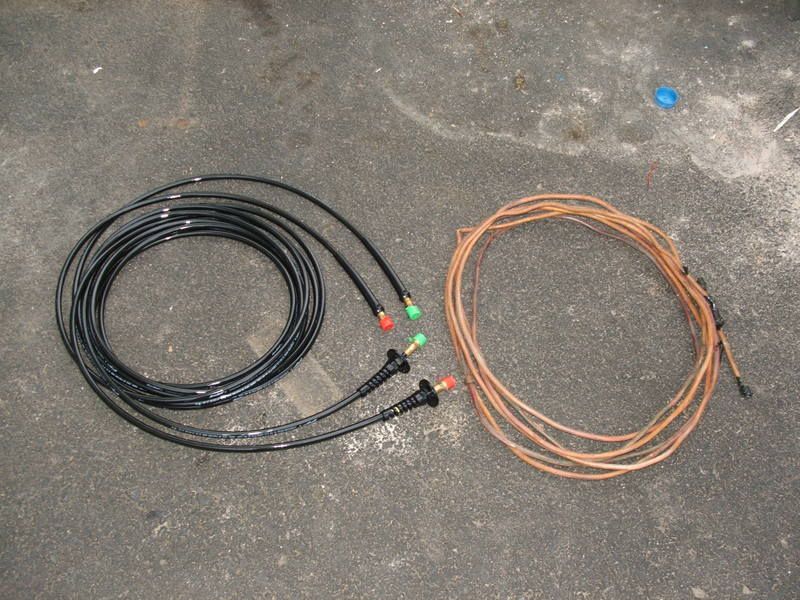
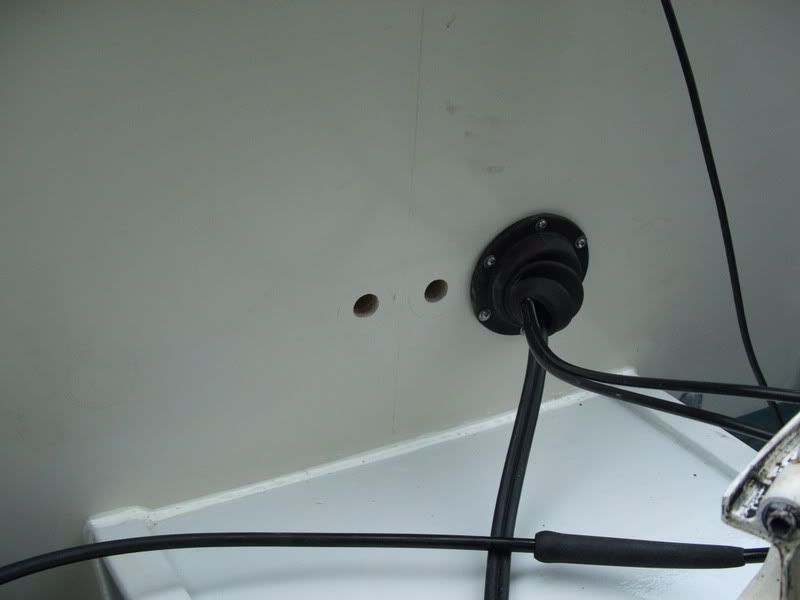
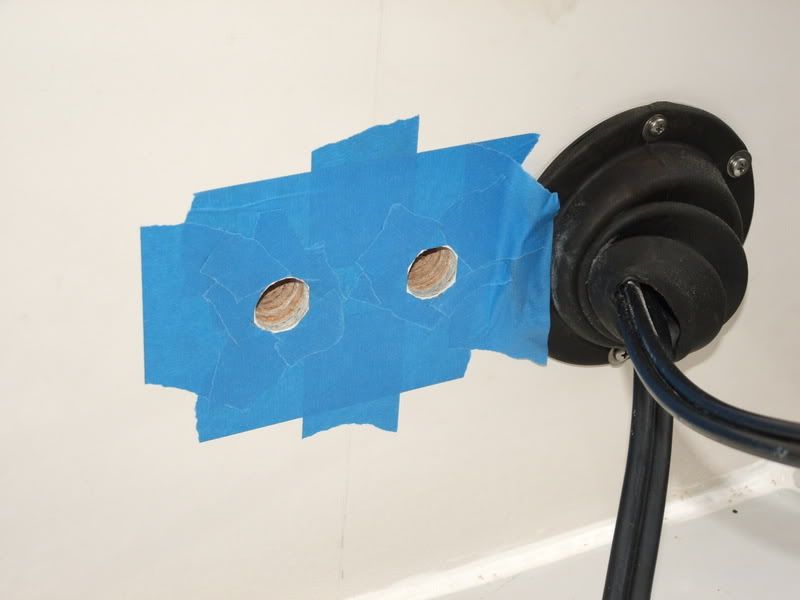
Well the wiring was finished but in the middle of doing that I decided to replace the hydraulic steering lines :roll: The original lines were copper from the helm punmp to the transom,then were 2 short felx hoses came through the rigging hole from the steering cylinder to the copper lines.I wanted to clean up the rigging and seperate the steering and rigging so I went with a pair of 24' Teleflex Bulkhead hydrualic lines with buit in bulkhead fittings which makes for a very clean look when finished.I had to drill 2 1" holes to pass the fitting through the transom and found that the wood was as dry as a bone with no signs of rot.I then epoxied the bare wood holes before installing the lines.

002-6.jpg
001-5.jpg

006-5.jpg


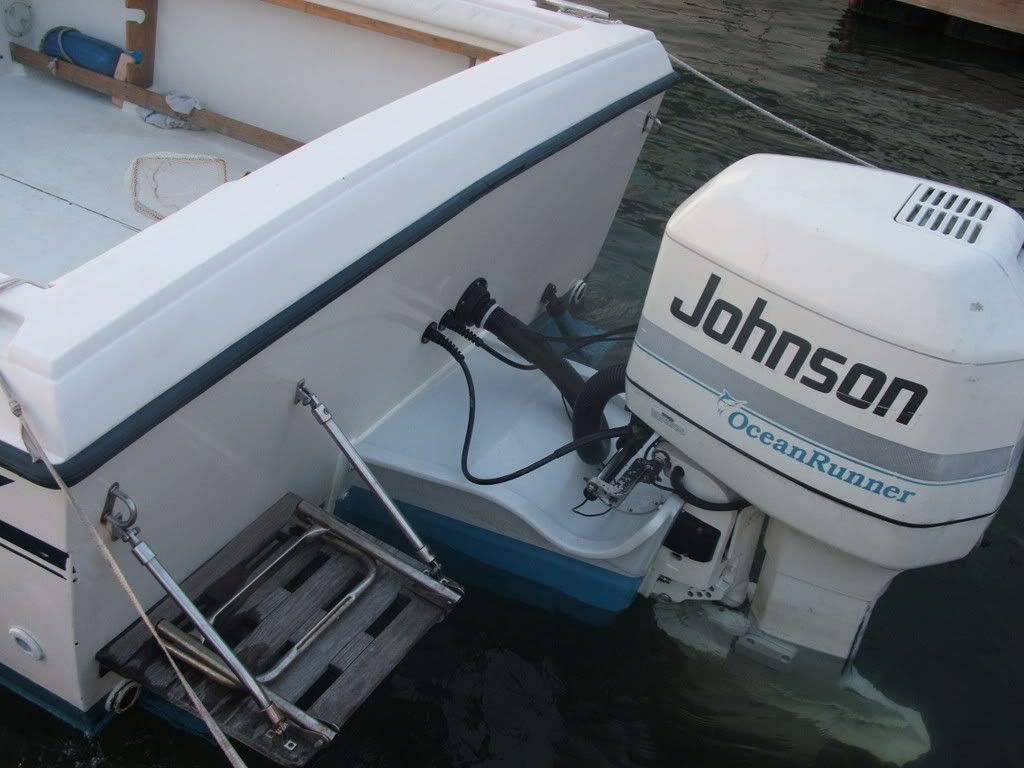
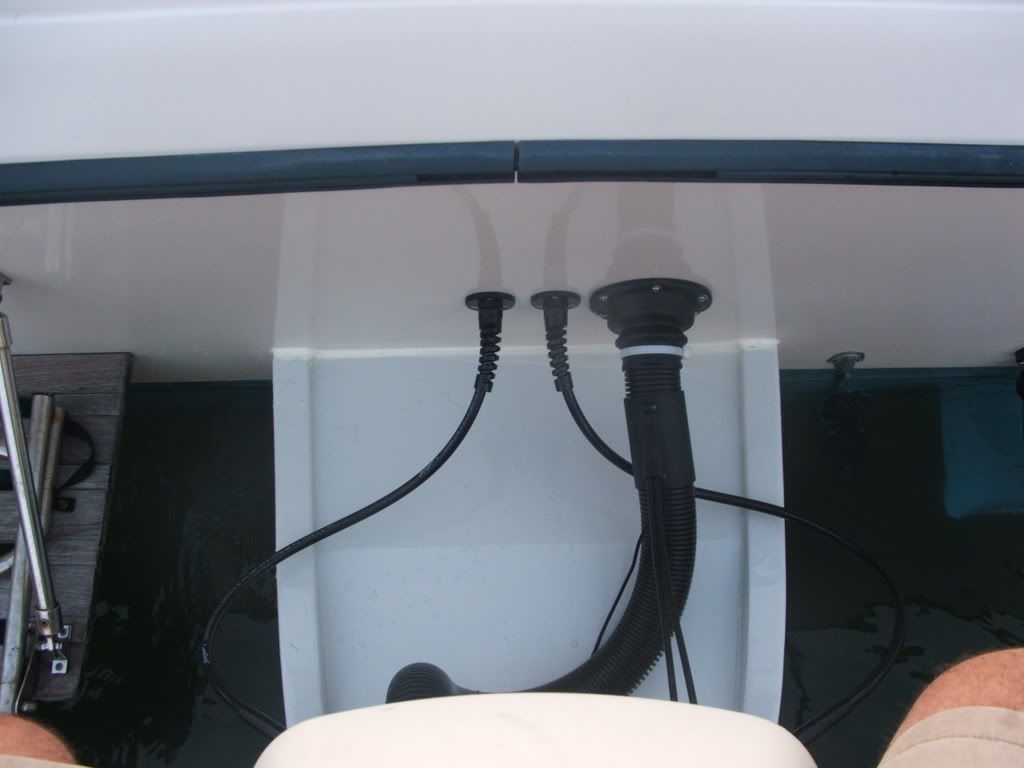
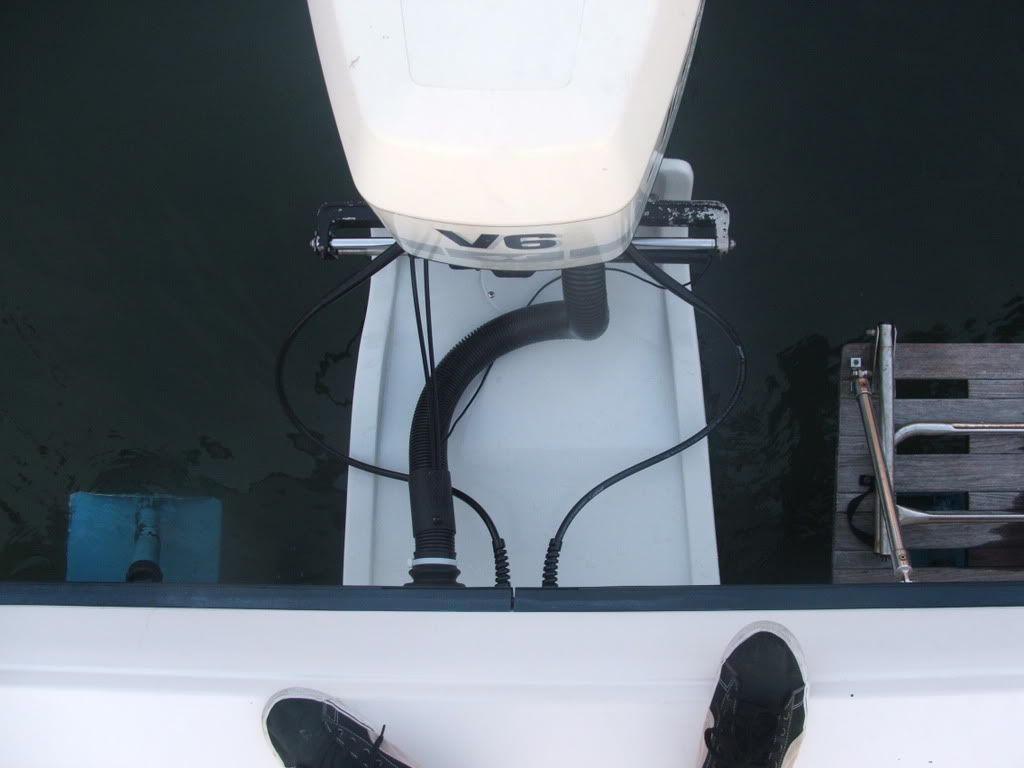
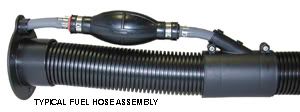
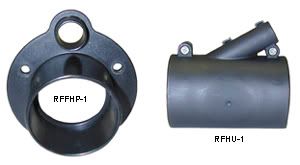
Finally the last thing to do was the rigging,which was do last minute and to no pics until it was in the water.I have a 1996 OceanPro that had the rigging come into both sides of the motor but wanted to put evrything into a rigging tube,So I came up with my custom rigging tube which turned out so much better than my first idea.I used a 5" rigging boot with a standard rigging tube and a TH Marine rigging hose union for the throttle and gear cables that come in the opposite side of the motor.It also worked great for the auto pilots rudder sensor wire that has to go through the transom as well.The pics arent great but here it is already in the water.I will try to take better ones next time Im down at the boat.Also the pic of the rigging union used to seperate the cables from the tube.I also included a before what it looked like...what a difference!!!!!!!


before
012.jpg
010.jpg


after
023-1.jpg
024-1.jpg

025-1.jpg
026-1.jpg


rigging union
RFFHP-RFHU-ASSY.jpg
RFFHURFHU.jpg


Finally the finished helm with my out of date electronics :lol: flush mounted with a piece of marine ply painted black,again sorry for the bad pics it was late and already in the water,I will take better ones later.So all in all I am very happy with the work Ive done until this off season :cry:

020-1.jpg
022-1.jpg
 
  • Like
Reactions: Toomac

conshykid

Active Member
Joined
Feb 23, 2008
Messages
31
Reaction score
1
Points
8
Location
Spring Mount,PA
Forgot to mention that on every electrical connection I mean EVERY CONNECTION throughout the entire boat ,including all connections at the motor...got coated with dilectic grease :wink:
also new fuel and oil hoses to engine,and new 1000gph fwd bilge pump (old one burned up)
 

conshykid

Active Member
Joined
Feb 23, 2008
Messages
31
Reaction score
1
Points
8
Location
Spring Mount,PA
thanx bdubz!!

but there is much more Id like to do but I am broke :cry: so it will have to wait till.....
 

jekyl

GreatGrady Captain
Joined
Sep 15, 2007
Messages
542
Reaction score
0
Points
0
Age
71
Location
Townsville Australia
Wish i could find someone with your electrical knowledge and skills to tidy up my 265....brilliant job!
 

jehines3

Well-Known Member
Joined
Jul 13, 2007
Messages
433
Reaction score
0
Points
0
Location
Maryland, USA
Looks very familiar. I love my BEP cluster and the aux 24hr panels, your look familiar..

I might suggest a few wire labels now while it is still fresh. this is an old photo while in progress, but I finally finished my charger install and stereo speakers to finish tywrapping the install this week. Not as pretty as yours, by any stretch. You put some time in there. jh

BatteryCompartment.jpg
 

NOTHING ELSE MATTERS

GreatGrady Captain
Joined
Jun 26, 2006
Messages
1,993
Reaction score
5
Points
38
Age
60
Location
LONG ISLAND NEW YORK
From one electrical freak to another, GREAT job on the whole project, even better on the electrical part. One comment, you got to change the white wire tie at the transom harness.
 

capthec

Member
Joined
Mar 12, 2006
Messages
11
Reaction score
0
Points
0
Awesome, very impressive. I have been looking for a switch panel so that I could rewire my grady, which is a 1987 242 offshore almost identical to yours. Thanks to you I was able to speak to Scott Cambra and my rewire will soon be happening. Thanks again :D
 

Gary M

Well-Known Member
Joined
Jun 2, 2006
Messages
475
Reaction score
10
Points
18
Location
Ft. Lauderdale
One suggestion would be to pull the bulkhead screws back out, paint them white and re-install.......... They will blend in a lot better then.....

Nice job!
 

cdwood

GreatGrady Captain
Joined
Apr 1, 2006
Messages
578
Reaction score
0
Points
18
Location
Hamilton/LBI N.J.
After everything else you did I'm surprised you left the cockpit wall carpeting. That stuff was one of the first things to go when I started my project. If you want to see what something else would look like e-mail me and I'll send you some pics.