You guys are going to think I'm crazy for doing this, but I've bought another project. :bang
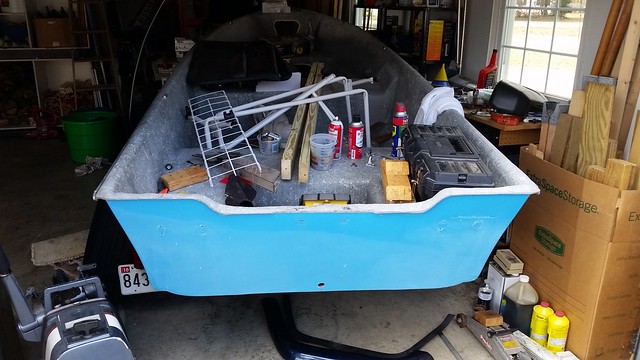
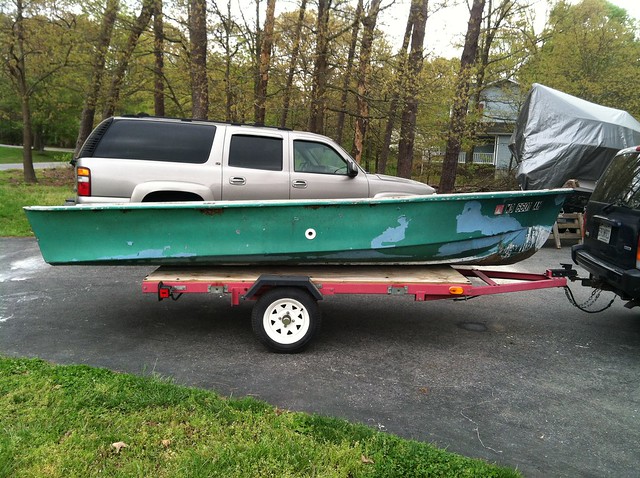
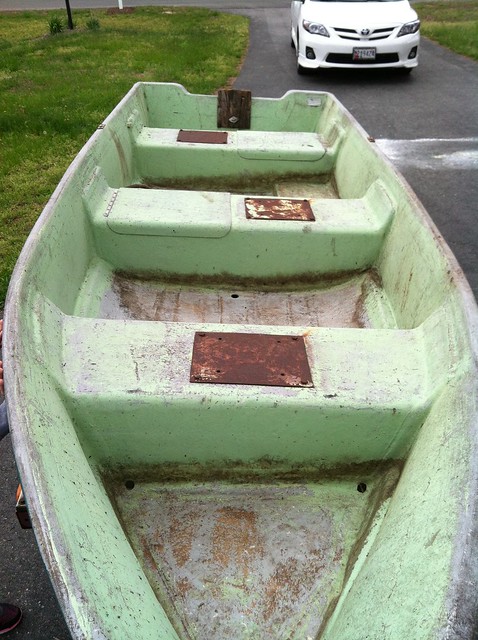
Since my kids are always asking if they can help me when I'm working on my Mako or Grady projects...and I don't let them because I'm super particular about how things are done...I picked up this little 14' skiff to serve as a kids 'n Dad project. According to the title it is a 1970 14' C-Craft and it came complete with a bad transom, beat up/holed strakes on the bottom, flaking hull paint and a whopping 20 maximum hp rating. I didn't feel right telling the elderly gentleman it was worth nothing, so I offered him $20, which he happily accepted and I and hauled it away.
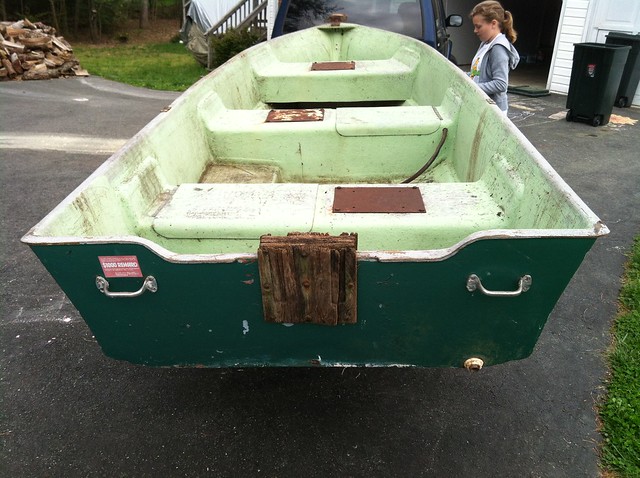
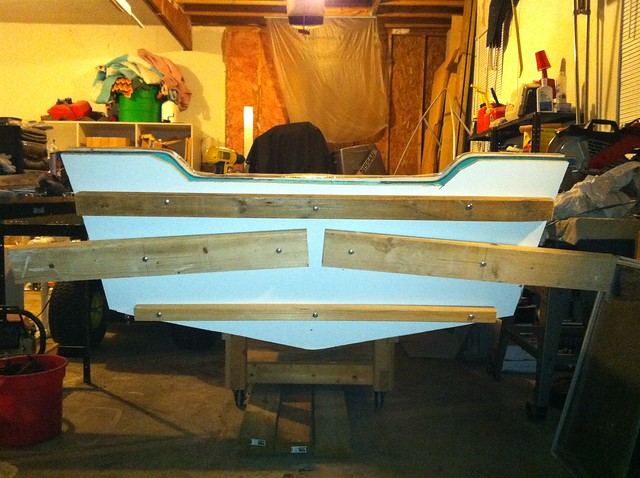
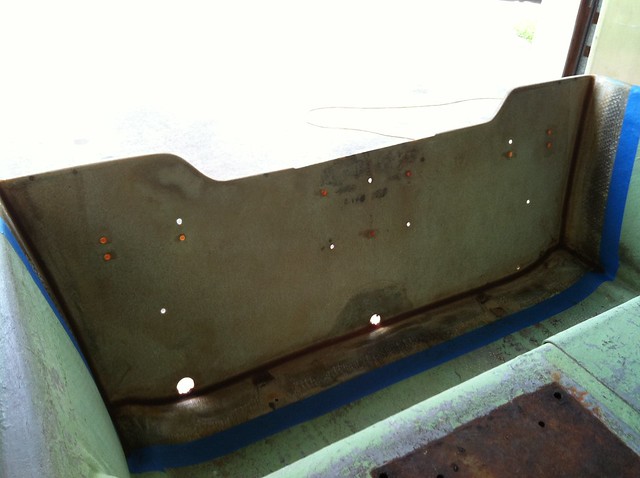
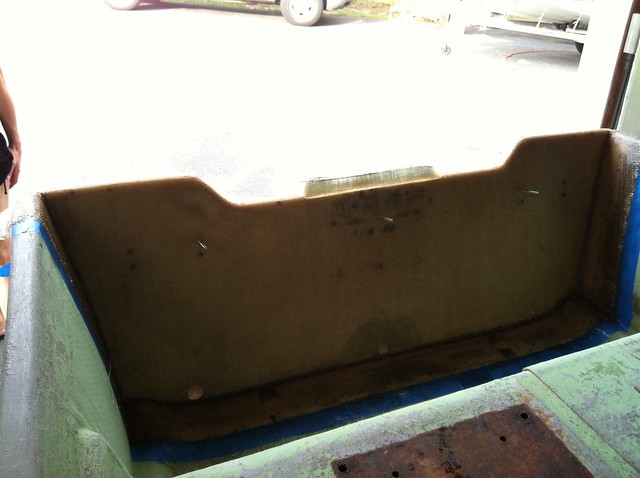
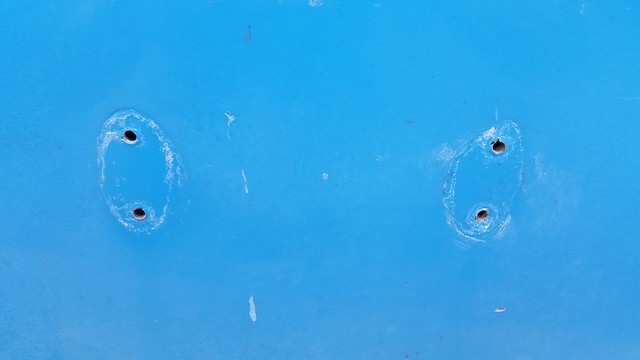
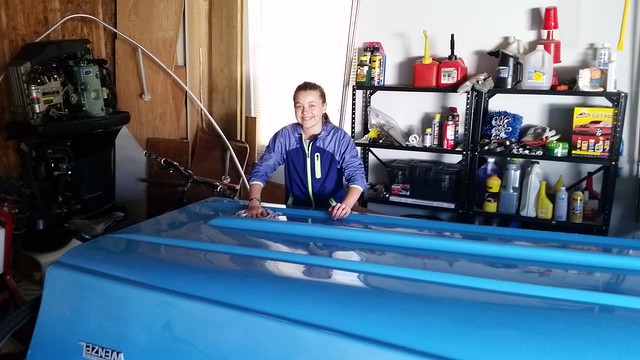
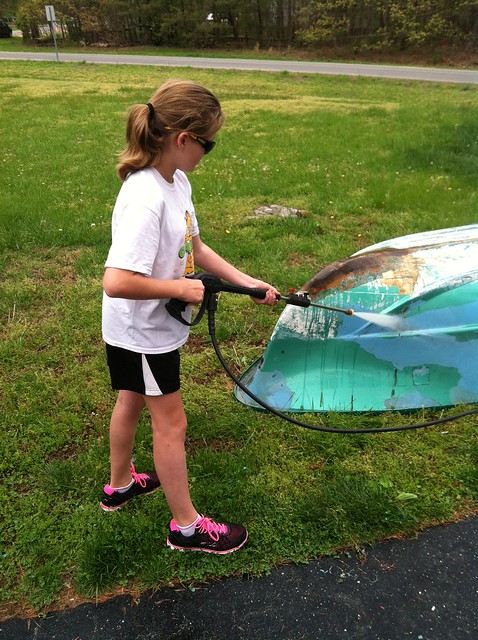
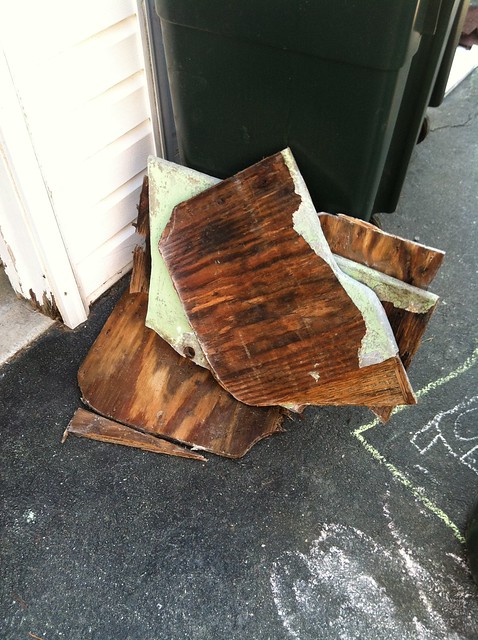
The first thing I am going to address is the transom. After my daughter and I pulled what little hardware it had off, we powerwashed it and I tore the transom out. The core was made up of two pieces of 5/8" held together with nails and some resin, the outer skin is a bit over 1/16" and the inner skin looks to have been a single layer of heavy mat with extra tabbing along the sides and bottom. Glass thickness where the transom was tabbed to the hull averaged an 1/8" on the sides and between 3/16" and 1/4" along the bottom.
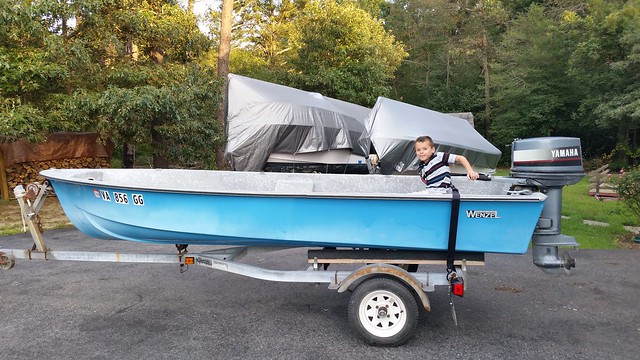
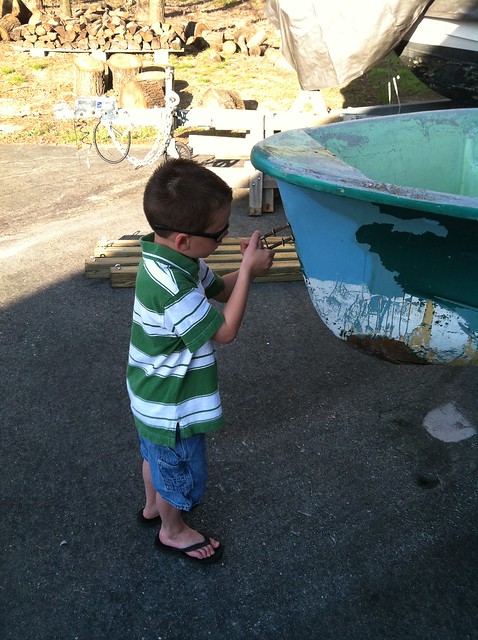
My son checking to make sure the bow eye still fits...
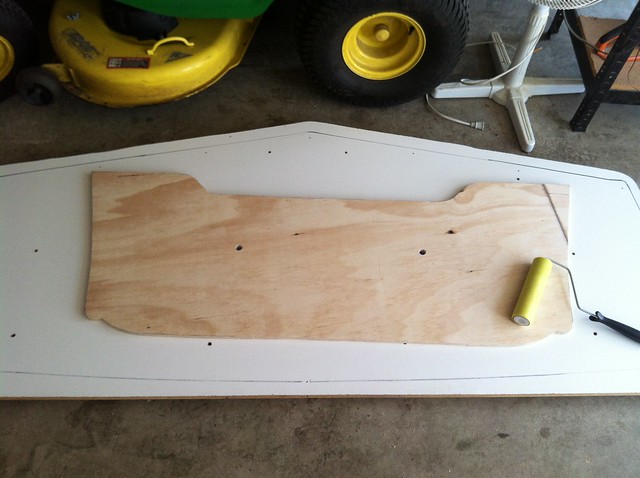
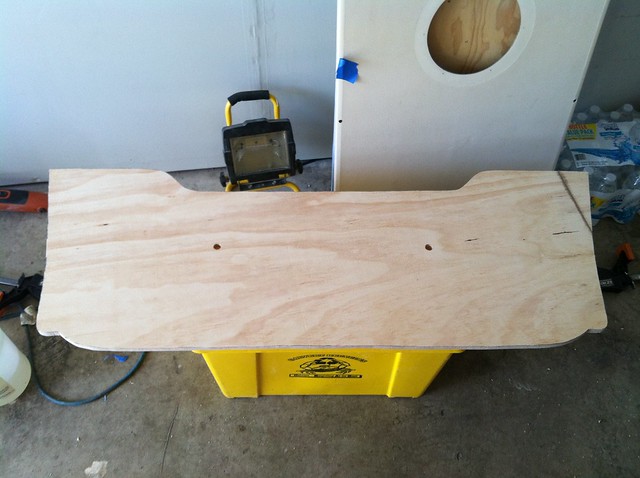
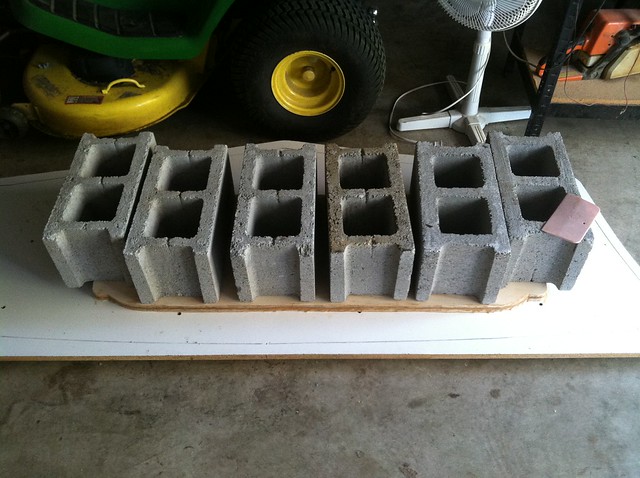
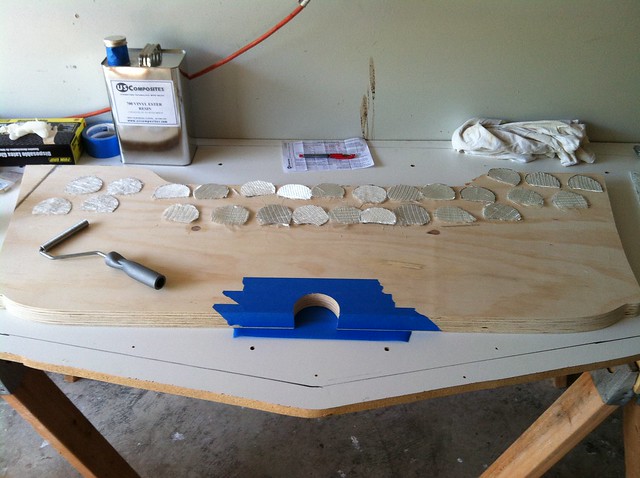
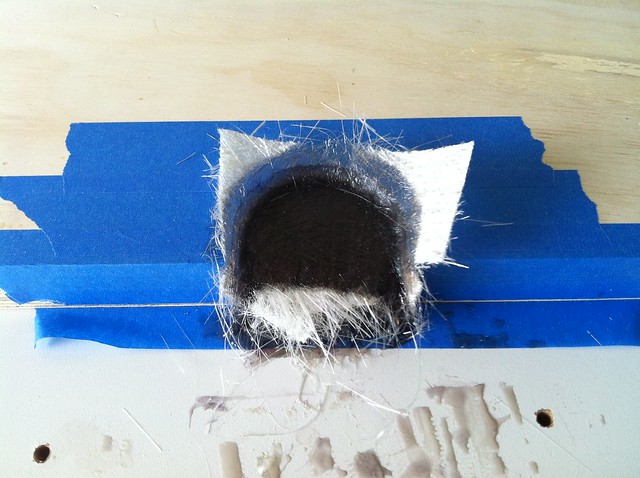
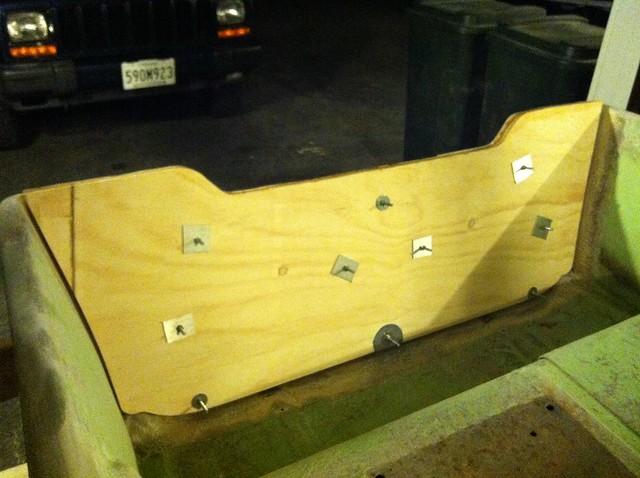
Transom grinding started. I've only gone around the permiter so far and burned out the 3/4" of solid glass that was surrounding the drain. I've been doing this in between rain showers and work on the Grady, so progress has been slow. I've done a template for the core and will transfer it to some carboard for fine tuning. Then I'll lay it out on the core pieces and cut them to size. Going with regular 5/8" AC exterior pine ply for this project in order to keep the budget in check. I was able to pick up a half sheet from a local lumber yard for under $20. As long as I keep all the penetrations sealed well, it should last just fine. It's actually pretty nice stuff. 7 ply...
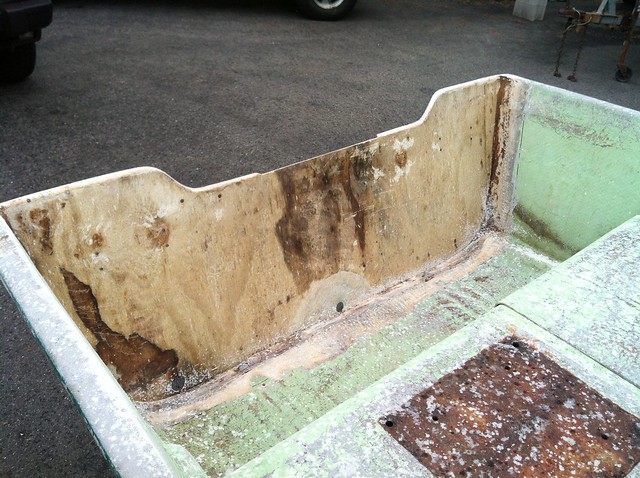
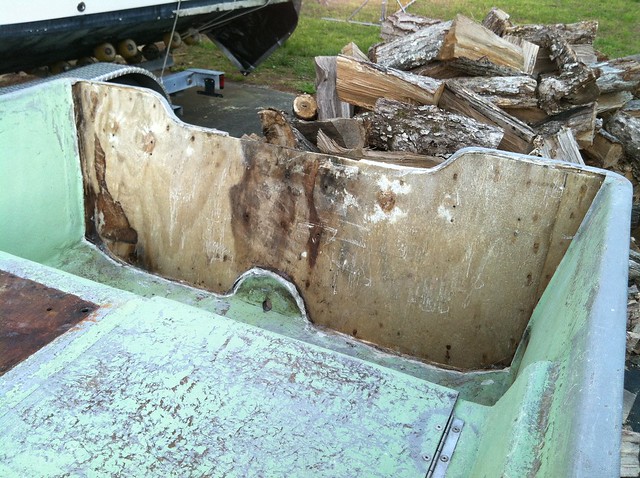
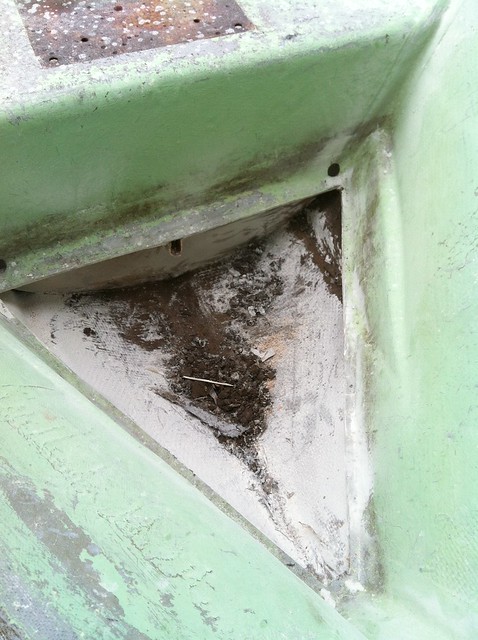
Cut the floor out of the bow so I could access the inside of the hull to make a repair. The mud that was in here has been removed.
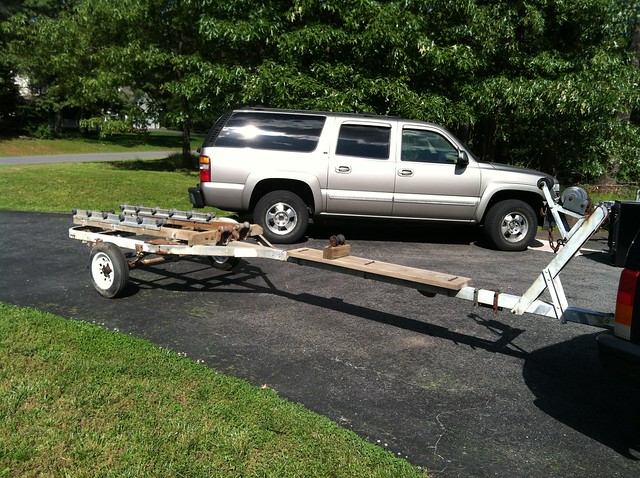
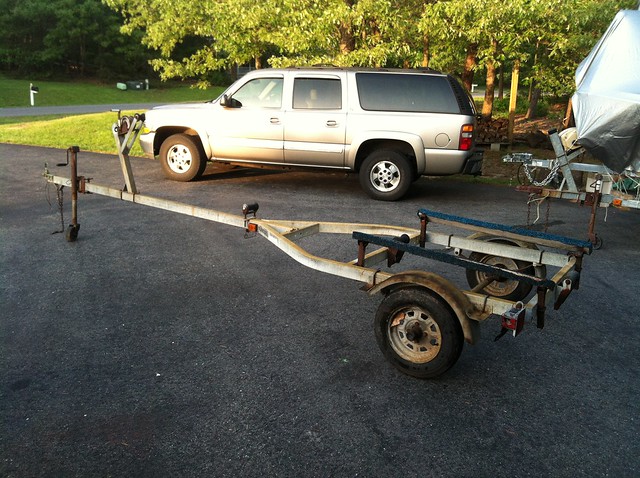
Picked up this little trailer for $100. It needs new bunks and brackets, lights, wiring, etc. I have a neighbor who is also giving me an old trailer that he just replaced and I should be able to source most of the parts I need from it.
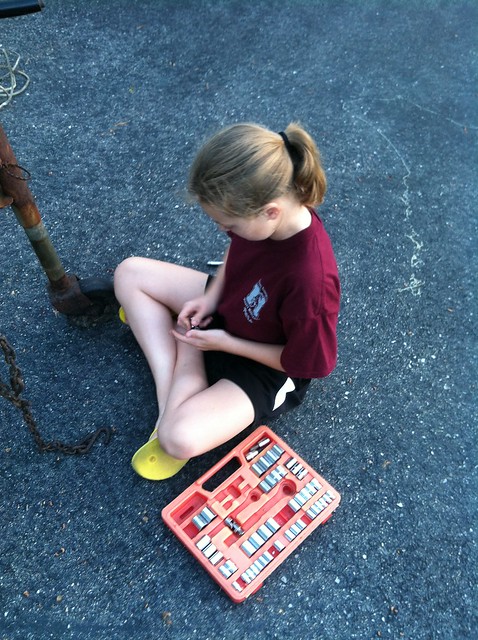
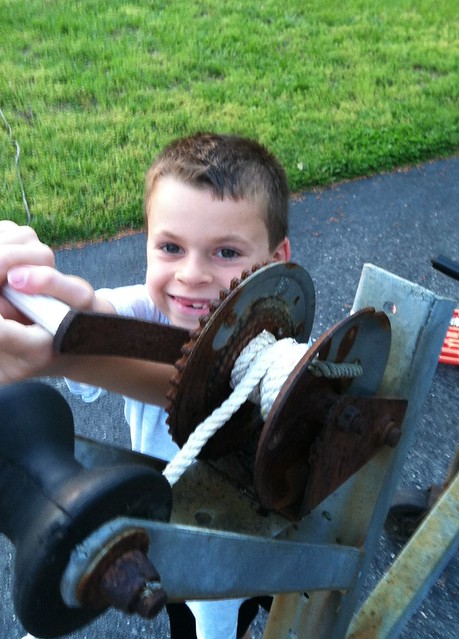
We did most of the demo last night. I tore off the bunks as I didn't want my kids messing around with the rusty parts. They took care of the tail lights, coupler, winch rope and wiring (with a little help from Dad here and there). Here are my little helpers preparing to remove the bent up coupler and unwinding the old rope from the winch.
So far, we are having a blast with this little boat...and I'm actually doing pretty well with sharing the work.
Since my kids are always asking if they can help me when I'm working on my Mako or Grady projects...and I don't let them because I'm super particular about how things are done...I picked up this little 14' skiff to serve as a kids 'n Dad project. According to the title it is a 1970 14' C-Craft and it came complete with a bad transom, beat up/holed strakes on the bottom, flaking hull paint and a whopping 20 maximum hp rating. I didn't feel right telling the elderly gentleman it was worth nothing, so I offered him $20, which he happily accepted and I and hauled it away.


The first thing I am going to address is the transom. After my daughter and I pulled what little hardware it had off, we powerwashed it and I tore the transom out. The core was made up of two pieces of 5/8" held together with nails and some resin, the outer skin is a bit over 1/16" and the inner skin looks to have been a single layer of heavy mat with extra tabbing along the sides and bottom. Glass thickness where the transom was tabbed to the hull averaged an 1/8" on the sides and between 3/16" and 1/4" along the bottom.


My son checking to make sure the bow eye still fits...

Transom grinding started. I've only gone around the permiter so far and burned out the 3/4" of solid glass that was surrounding the drain. I've been doing this in between rain showers and work on the Grady, so progress has been slow. I've done a template for the core and will transfer it to some carboard for fine tuning. Then I'll lay it out on the core pieces and cut them to size. Going with regular 5/8" AC exterior pine ply for this project in order to keep the budget in check. I was able to pick up a half sheet from a local lumber yard for under $20. As long as I keep all the penetrations sealed well, it should last just fine. It's actually pretty nice stuff. 7 ply...

Cut the floor out of the bow so I could access the inside of the hull to make a repair. The mud that was in here has been removed.

Picked up this little trailer for $100. It needs new bunks and brackets, lights, wiring, etc. I have a neighbor who is also giving me an old trailer that he just replaced and I should be able to source most of the parts I need from it.

We did most of the demo last night. I tore off the bunks as I didn't want my kids messing around with the rusty parts. They took care of the tail lights, coupler, winch rope and wiring (with a little help from Dad here and there). Here are my little helpers preparing to remove the bent up coupler and unwinding the old rope from the winch.


So far, we are having a blast with this little boat...and I'm actually doing pretty well with sharing the work.


