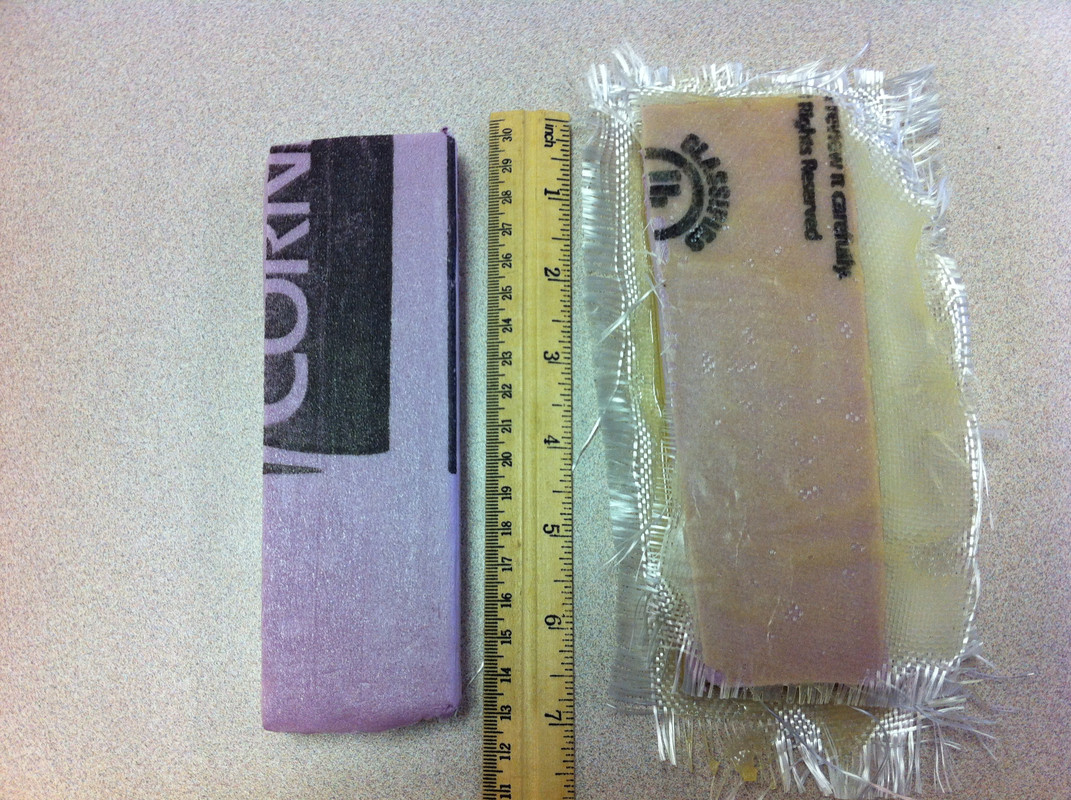
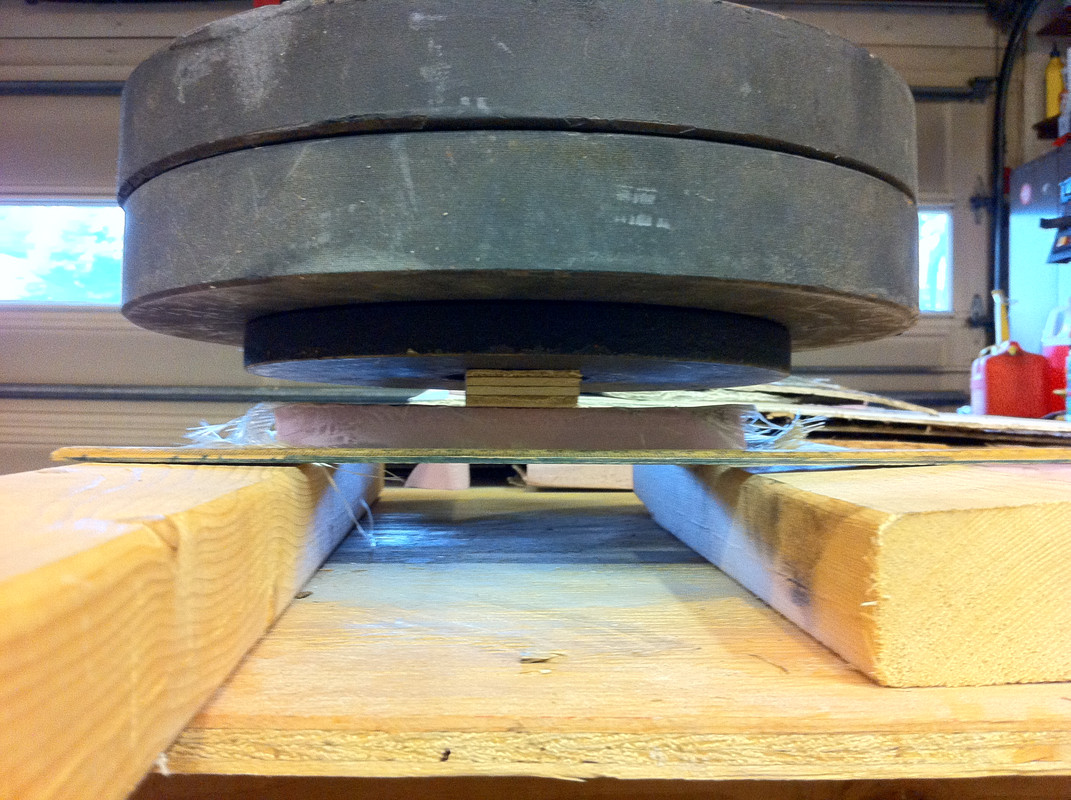
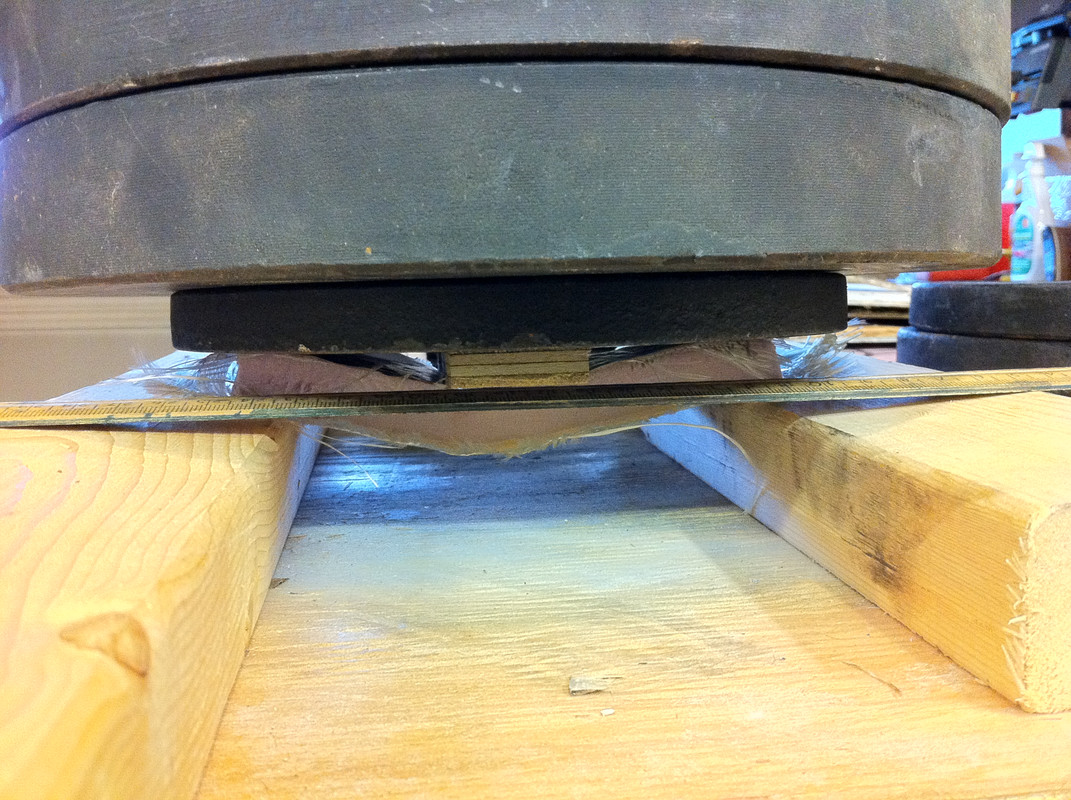
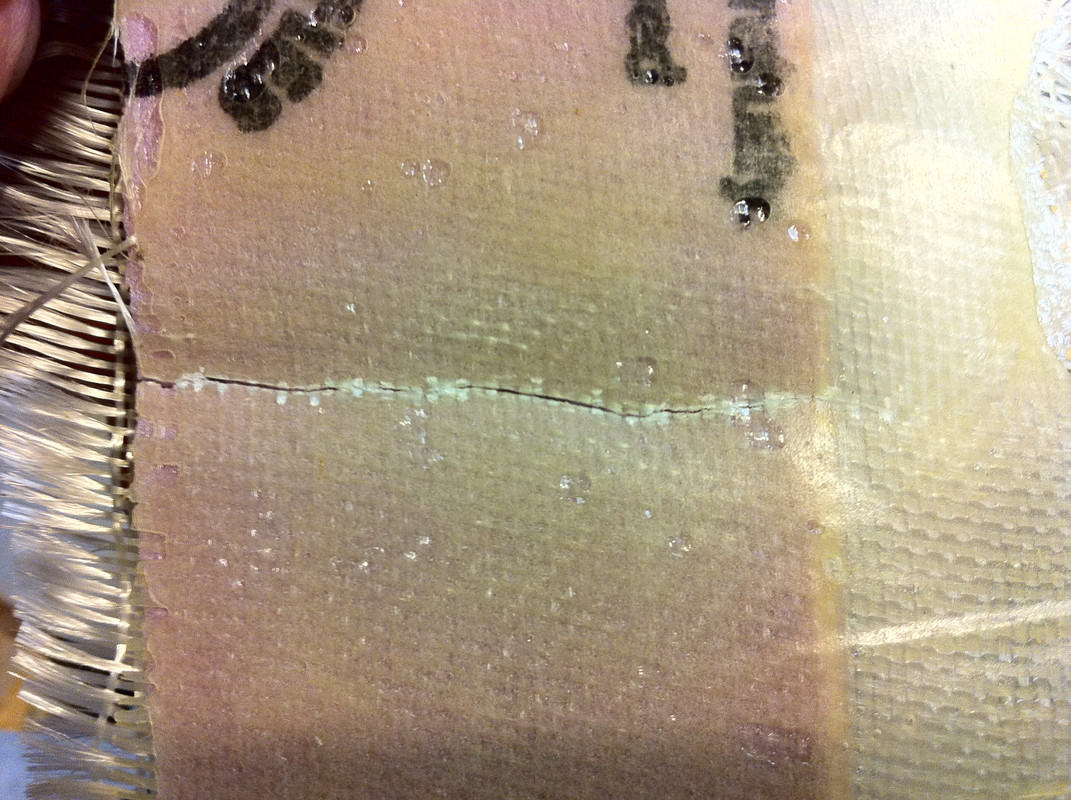
My concern is with what would be called withdraw strength that being a failure between the new core and the inside skin as it is no longer a homogeneous glass job.
Ah, OK. I understand what you're thinking, now. First, rest assured, this is a normal, everyday way to rebuild a transom. That's the beauty of fiberglass and polyester resin - they bond amazingly well, even after the initial layup where everything was still wet. Epoxy resin is even more tenacious than polyester. This WILL BE a permanent repair. The resin is going to soak into the core - in fact, you should coat the core a few times, until it no longer soaks in (stays shiny), before installing it. When you remove all of the old core, the core side of the skin is going to be rough - that's good - as it provides more surface area for bonding. BUT, even if you had two, smooth pieces of fiberglass, and you bonded them together, it would still be a fully functional bond as fiberglass is slightly porous.
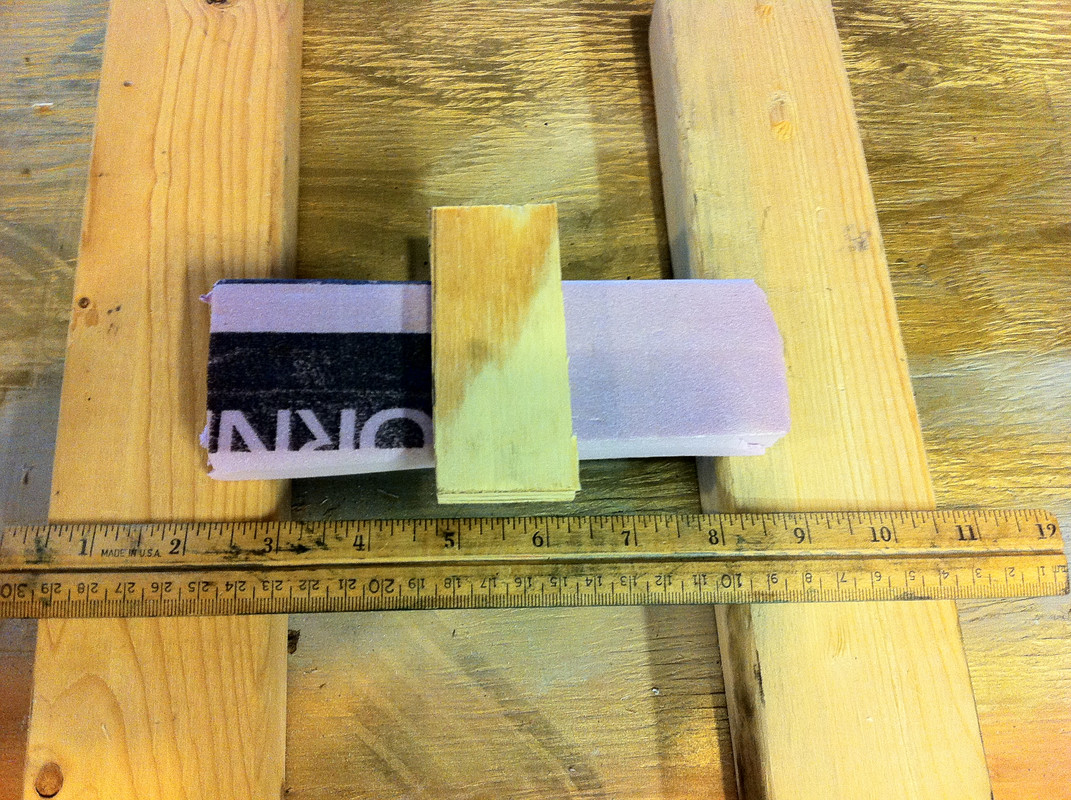
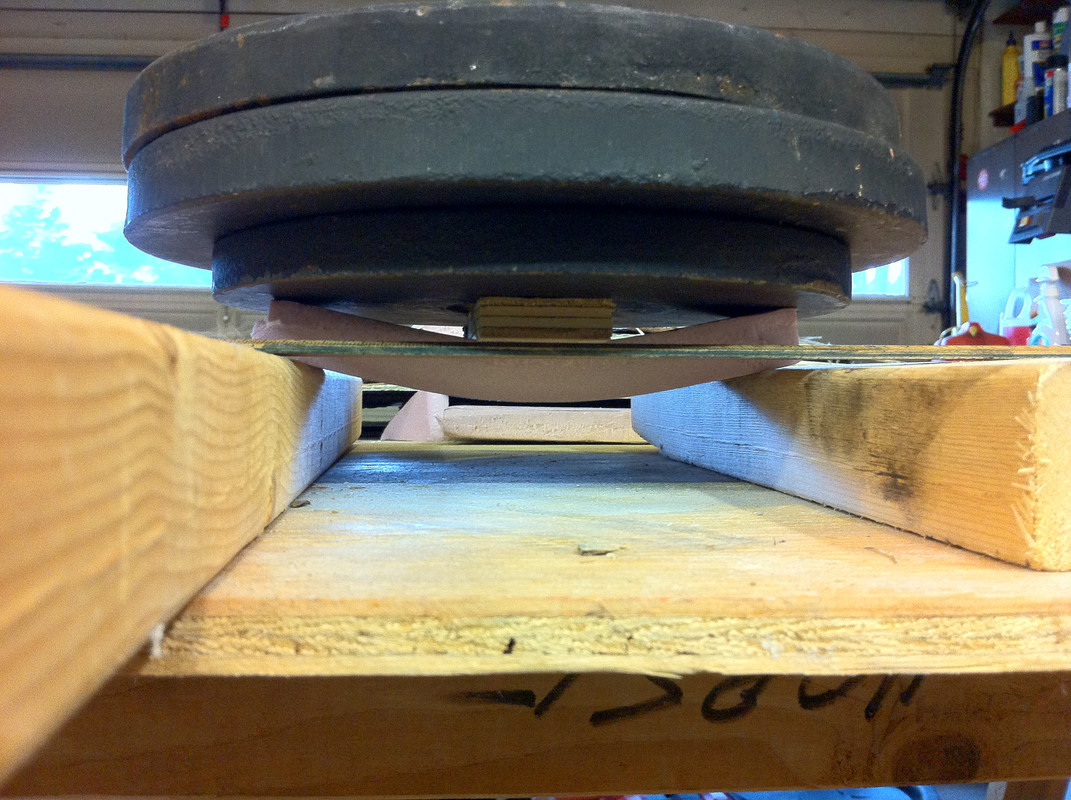
To ensure a good bond from the core to the skins... as long as you squeeze the "sandwich" tight, you're good. But, you can take an extra step and use a single piece of lightweight mat laid onto each skin, first (they won't increase the thickness very much, at all) and also between each piece of plywood. You can even run screws, or bolts through the transom to squeeze the core tight. Remove/cut them off after and just fill with some thickened resin. Coat them with a mold-release wax (or just a really good paste wax) and they might even come right out. Nylon bolts/nuts are another option.
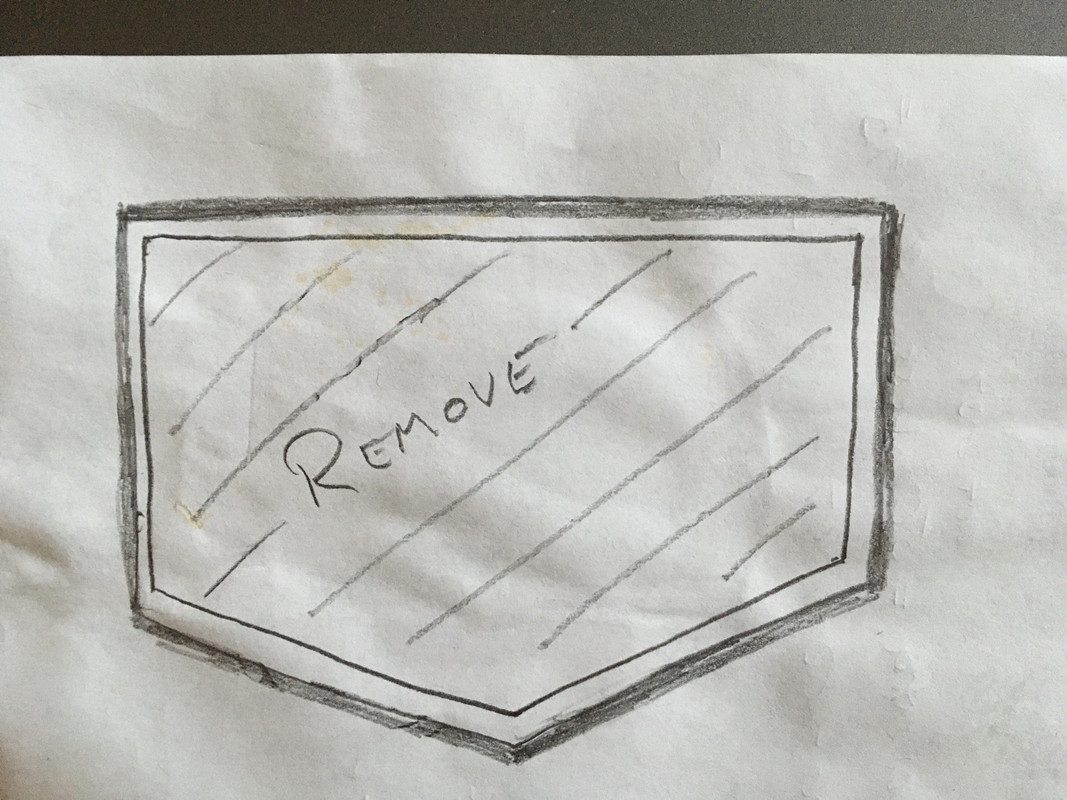
As far as tabbing goes... that's why we're not cutting right to the edge/perimeter of the outer transom. We're going to leave a two inch-deep "channel". You can leave a deeper channel if you want, it just gets harder to get all of the old core out and the new core back in. If you looked at a cross section of this channel, that runs the full perimeter of the outer edge of the transom, it would look like a "J" with the long leg of the J being the inner transom skin. I like to fill that channel with thickened epoxy, first - both for better adhesion and also so I don't have to worry about cutting the core to the "exact" size. FYI, it is OK to cut each core sheet into two pieces - just stagger the cut lines from one layer of core to another. You could even make the cut in a zig-zag shape... then make the cut in the second core layer with the zig-zag going the opposite way.
Now, you could take one more step after you finish up with everything else. Follow the initial cut you used to remove the outer skin and grind a shallow bevel into it. You can then build that depression back up with layers of glass - tabbing the repair.
Get some resin and start playing around with it. Practice, practice, practice... on something OTHER than your boat! One last recommendation... even though it's more expensive, use epoxy resin rather than polyester. It's MUCH easier to work with and doesn't stink anywhere near as much (not as big of a deal when outside, though). Epoxy is also stronger.
Oh... also go onto the West System (it's NOT "West Marine") website (the Gougeon Brothers). Go their "how to" section - they have a vast library of projects and how-to information... with pictures

It's an excellent source for learning how to do all kinds of glass repair. Although their epoxy is more expensive, it's an excellent product and their pump system makes mixing the proper ratio foolproof.


