This post is intended to outline the process of repairing damage to the splatter non-skid pattern that many Gradys have on the gunwales, hardtop and cabin decks. Please note that I make no guarantees about the results you will achieve. I can only say this process worked very well for me. 
Step 1: Prep the area.
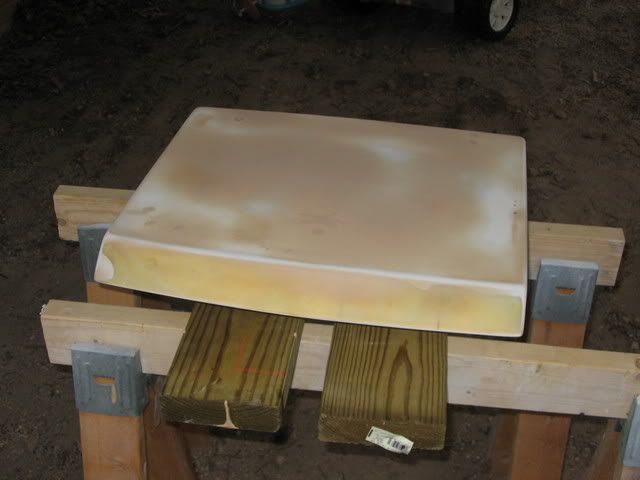
After making all required glass repairs to the area, I sanded, faired and cleaned the area to be gelcoated. This was a large repair, so not all jobs will require as much prep work.
Step 2: Put down your base layer of gelcoat.
Thanks to much advice from Trident on www.classicmako.com, I figured out how to spray gelcoat with a Preval sprayer. The magic mix was 1 oz gelcoat, 6 ml acetone, a TINY dab of brown coloring agent and the appropriate amount of catalyst for the outside temperature. I mixed up larger batches, but using this ratio.
DO NOT add the catalyst until you have thoroughly mixed the other three components.
Step 3: Prep the base coat for non-skid.
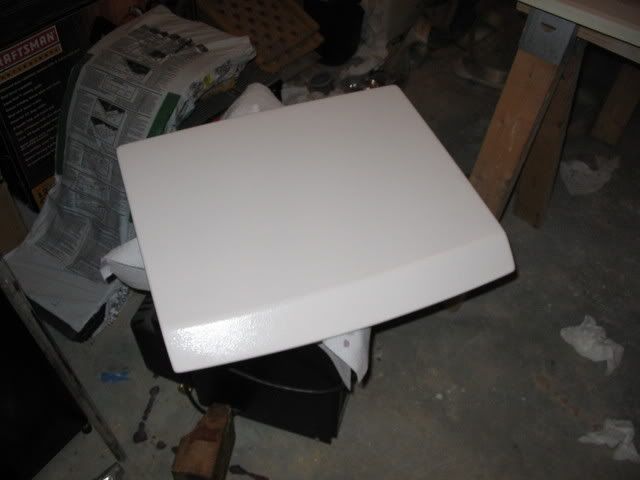
This particular project required that I wet sand the hatch edges prior to spraying the nonskid. So, I hit them with 400 and then 600 to knock down the orange peel. Then I masked off for spraying of the non-skid, sanded the surface to receive the non-skid and cleaned everything w/ acetone.
Step 4: Spray the non-skid.
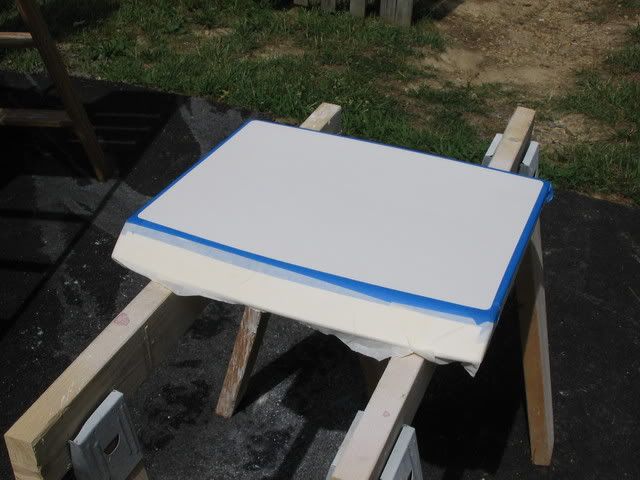
I used the same process as I did for the rest of the hatch, I just didn't thin the gelcoat nearly as much. I normally use 6 ml of acetone per 1 oz. of gelcoat. But in this instance I used 1 ml per 1 oz. After I had the pattern I wanted, I sprayed one final layer using my standard thinned mix. Then I coated it with PVA for curing.
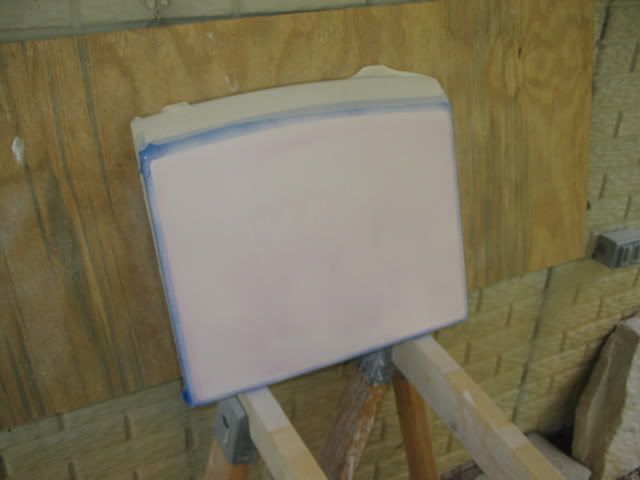
Once cured, I removed the masking and the PVA actually peeled off in thin sheets. Never knew you could do that. Pretty cool...
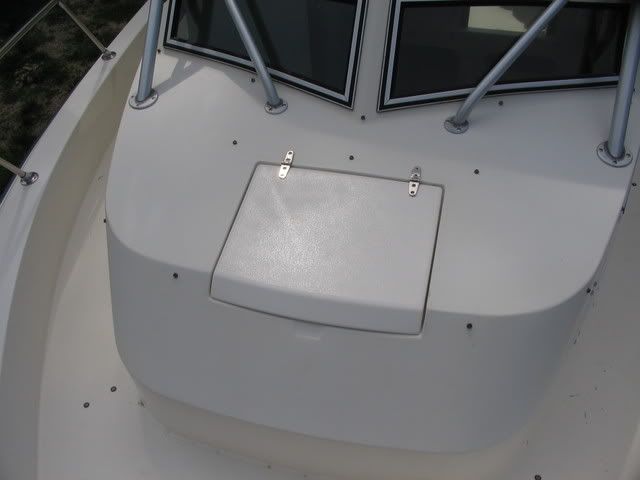
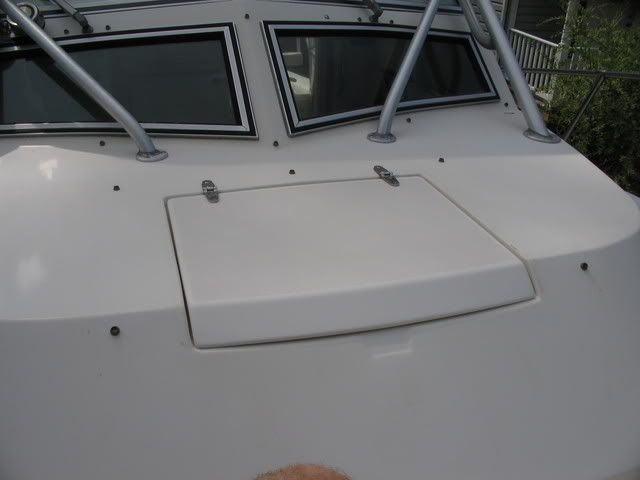
As for the finished product, I couldn't be happier. The non-skid pattern is a bit more aggressive than what Grady has on the boat, but it's good enough for me. Color match is near perfect. It's a bit whiter than the surrounding areas, but someone who didn't know something had been done would never pick up on it.
LESSONS LEARNED:
1. For the non-skid mix, I probably should have used 2 or 3 mL of acetone for thinning rather than just 1 as my non-skid ended up being more aggressive (like I think it should be anyway) than what Grady did, so the texture match isn't perfect.
2. DO NOT RUSH! Take your time or you WILL screw it up.
Hope this help anyone looking to match the splatter pattern.
Step 1: Prep the area.
After making all required glass repairs to the area, I sanded, faired and cleaned the area to be gelcoated. This was a large repair, so not all jobs will require as much prep work.

Step 2: Put down your base layer of gelcoat.
Thanks to much advice from Trident on www.classicmako.com, I figured out how to spray gelcoat with a Preval sprayer. The magic mix was 1 oz gelcoat, 6 ml acetone, a TINY dab of brown coloring agent and the appropriate amount of catalyst for the outside temperature. I mixed up larger batches, but using this ratio.
DO NOT add the catalyst until you have thoroughly mixed the other three components.

Step 3: Prep the base coat for non-skid.
This particular project required that I wet sand the hatch edges prior to spraying the nonskid. So, I hit them with 400 and then 600 to knock down the orange peel. Then I masked off for spraying of the non-skid, sanded the surface to receive the non-skid and cleaned everything w/ acetone.

Step 4: Spray the non-skid.
I used the same process as I did for the rest of the hatch, I just didn't thin the gelcoat nearly as much. I normally use 6 ml of acetone per 1 oz. of gelcoat. But in this instance I used 1 ml per 1 oz. After I had the pattern I wanted, I sprayed one final layer using my standard thinned mix. Then I coated it with PVA for curing.

Once cured, I removed the masking and the PVA actually peeled off in thin sheets. Never knew you could do that. Pretty cool...
As for the finished product, I couldn't be happier. The non-skid pattern is a bit more aggressive than what Grady has on the boat, but it's good enough for me. Color match is near perfect. It's a bit whiter than the surrounding areas, but someone who didn't know something had been done would never pick up on it.


LESSONS LEARNED:
1. For the non-skid mix, I probably should have used 2 or 3 mL of acetone for thinning rather than just 1 as my non-skid ended up being more aggressive (like I think it should be anyway) than what Grady did, so the texture match isn't perfect.
2. DO NOT RUSH! Take your time or you WILL screw it up.
Hope this help anyone looking to match the splatter pattern.

