Stripe Decal Patches?

Jonah

GreatGrady Captain
Joined
Oct 28, 2015
Messages
331
Reaction score
10
Points
18
Location
Bahamas
Model
Sailfish
Hi all,

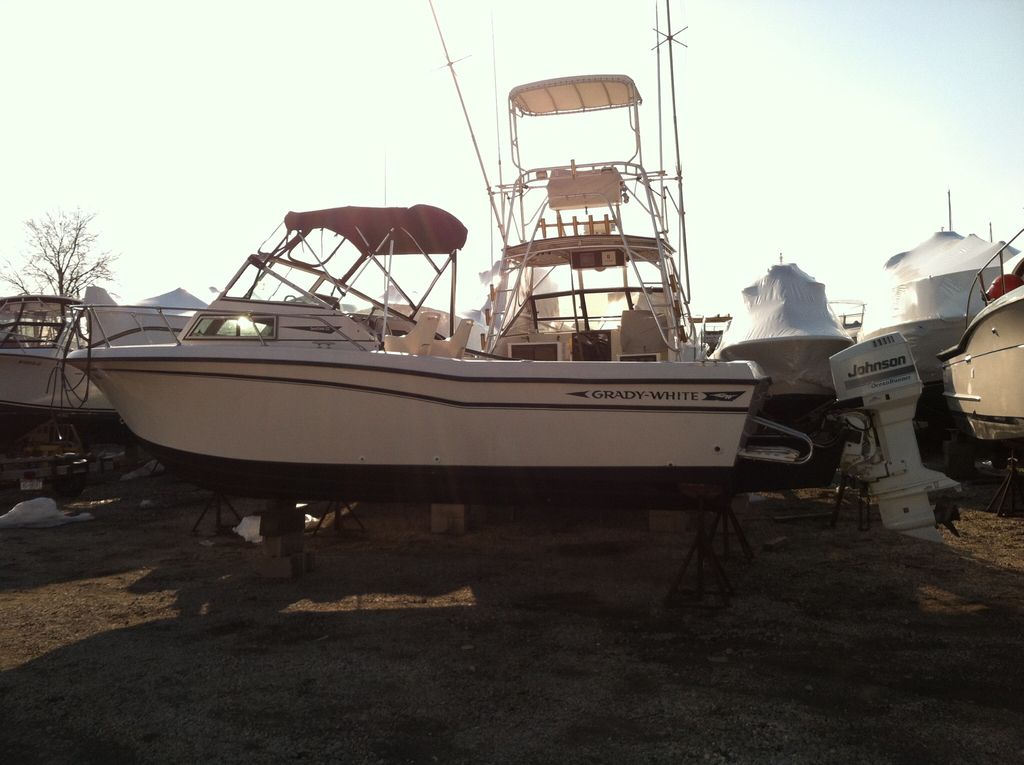
As in the attached photo, I have a few 'chunks' missing from the stripe on my Adventure. I don't trust myself to order, and replace, the entire stripe, but I wonder if it's possible to purchase little strips, or patches, of the stripe sticker, which I could stick over these missing segments? Any ideas?

Thanks as always,
 

Attachments

  • Screen Shot 2015-12-13 at 7.39.10 PM.jpg
    Screen Shot 2015-12-13 at 7.39.10 PM.jpg
    116.4 KB · Views: 3,931

Jonah

GreatGrady Captain
Joined
Oct 28, 2015
Messages
331
Reaction score
10
Points
18
Location
Bahamas
Model
Sailfish
Thanks Lt. Mike. Just ordered some!

Do you know if I'll be ok applying the stripe in 'patches'? I don't trust myself to replace the whole stripe, but I do feel comfortable cutting out 1-foot pieces and sticking them over the torn areas. Did you prep the existing stripe in any way before applying the new patch?

Thanks!
 

Lt.Mike

Well-Known Member
Joined
Oct 18, 2013
Messages
879
Reaction score
165
Points
43
Age
64
Location
Farmingdale NJ
Model
Overnighter
Keep in mind that the stripe is vinyl and it is very likely that whats on your boat has faded. I doubt a patch would match. :roll: sorry
I'd just do the whole thing, the end result will be like new.
All wax and chalky film has to be removed.
One of my least favorite but most repeated sayings is "one project always creates another".
Incidentally I've the same project planned for this winters layup.
I use a Cyclo polisher, http://cyclotoolmakers.com/Model_5.php
It will not harm paint or fiberglass gelcoat unless your really trying hard to mess up.
I use 3M Finesse-it Glaze. Marine or regular doesn't matter they are the same and will work very well for auto paint or gelcoat.
Take measurements and pics before you peal the tape off. Use a heat gun to gently warm the glue and the tape will come off.
After buffing to a shine use 3M blue painters tape to hang the stripes before you peal it from the backing to line it up as a trial fit. Then you can lay down blue tape as guides for the real thing. When you do hang the stripe use a very little Dreft baby detergent mixed with water in a spray bottle. Spray it onto the hull and you can gently float the stripe into place. Then gently squeegee the water out. Give it at least few days to set up before waxing the hull.
If you don't want to go that route and still want to patch it you can use a straight edge and a razor to trim and from a few feet back it may work.
You'll notice that the factory overlapped the stripes a little, you can copy them and do it that way too.

I laid the stripes in place on my Charger in the way described above. I wouldn't kid you, there was plenty of anxiety getting it done but it really wasn't hard.
Floating it into place really helps.
Not great pics of the stripes but enough to get the idea.
charger_zpsadlkfpq4.jpg


charger%202_zpsygvotamt.jpg


Where are you located? Anywhere in NJ?
Mike.
 

mhinch

Well-Known Member
Joined
Apr 10, 2009
Messages
82
Reaction score
24
Points
28
Here's where I'm at with mine.........'97 model, single 2" navy blue with 1/4" gold and 1/4" navy below.
Like they say, just do it! It's a Grady, she's GOT to have the stripe!
 

Attachments

  • image.jpg
    image.jpg
    550.4 KB · Views: 3,833

jbrinch88

Well-Known Member
Joined
Feb 28, 2014
Messages
350
Reaction score
17
Points
18
Location
Long Island, NY
I would just replace all of it rather than deal with a bunch of patches. I've done a few of them and they've come out great. Make sure you get the stripes that come together on one sheet. I've seen people get the larger and smaller stripe individually and that turns into a project trying to lay them out so they don't end up wavy.

Once you get to that bend where the decal starts moving up, I just roll out and grab the end of the decal from about 2 feet away and gradually bend the decal while pressing it down. Usually creates a very gradual radius in the decal and lays down nicely.

Only issues I've run into on the decals I've done were getting the occasional air bubble inside. I just take a pin and gently poke them then lay them down flat.

Here is one of my 22' I did when I owned it:
2b963af627f8edecb4aa838534bd2138_zpsgzi8igp7.jpg
 
  • Like
Reactions: Heyspike

Daman858

GreatGrady Captain
Joined
Jul 30, 2007
Messages
318
Reaction score
2
Points
18
Location
Pawleys Island, SC
Some folks have removed the old striping and left it off. You can have a cool looking Grady logo made at many of the vinyl lettering companies on the 'net. One local guy did that and his 232 looks really good.
 

Legend

GreatGrady Captain
Joined
Jun 29, 2006
Messages
1,462
Reaction score
201
Points
63
Location
Southern New England
Model
Sailfish
I have gone over some spots that needed repair and I did not like the results. The new decal shows the bad spot as an indentation. I have never replaced the entire stripe but have done 3 or 4 feet. Remove the old stripe and just lay in the new. Never had a color issue with fading and the boat is 10 years old. There are many variations of stripe - your Grady dealer has them all and sells them by the feet.
 

Lt.Mike

Well-Known Member
Joined
Oct 18, 2013
Messages
879
Reaction score
165
Points
43
Age
64
Location
Farmingdale NJ
Model
Overnighter
10 years? Its just getting broke in. My 20 will be 29 years young this new years day. Fading happens. :wink:
 

Legend

GreatGrady Captain
Joined
Jun 29, 2006
Messages
1,462
Reaction score
201
Points
63
Location
Southern New England
Model
Sailfish
That is a great run for your boat. My first GW was a 1985 Seafarer. I recall the year I sold it (2004) we had it all cleaned and waxed someone at the launch ramp asked if it was a brand new boat. The boat is still running today.

Good Luck with the boat and Happy New Year!
 
  • Like
Reactions: GypsyRover

Lt.Mike

Well-Known Member
Joined
Oct 18, 2013
Messages
879
Reaction score
165
Points
43
Age
64
Location
Farmingdale NJ
Model
Overnighter
And a Happy New Year to you!
I jumped all over this boat when I saw it for sale as it had no bottom paint!
I confirmed that the boat had never been spent any amount of time tied at a slip and to me that said it had a dry transom and stringers.
I've been picking away at the little stuff that shows age however small.The stripe is one of those things that can make or break the entire boat.
The hull can get shined up but if the stripe is cracked, pealing or faded the whole look of the boat will say "old".
Oil the teak, polish the rails, wax the hull and apply new stripes, sure there may still be some gel coat cracks but having corrected as many of those small issues as possible the average person would never guess its not a newer boat.
I have had a new decal made up to replace the old corroded capacity plate and am now working on decals to refurbish the little dash plaque that has the model designation "Overnighter 20". The decal I have been presented with from the vendor has the font spot on to what came from Grady. Its gonna be good. Oh and I will share of course. :wink:
I work as a car show judge in the summer and I can be picky but I think everyone is the same on this. When you step on someones boat whether you know it or not you notice what needs attention and what little details were taken care of. In the back of your head your doing the math assessing whether you like the overall look or the boat or not. The little stuff can unconsciously make more of a visual impact than the big obvious issues.
So with all that said, if you have the whole kit replace it all. Don't leave anything to catch the eye, its not as easy as a patch but the results will be worth it.
Mike
 
  • Like
Reactions: Heyspike

Fishtales

Well-Known Member
Joined
Jan 31, 2005
Messages
8,029
Reaction score
1,286
Points
113
I replaced it once on my older boat. My dealer sold the striping by the foot. It wasn't that hard to install as you follow a line on the hull. There is one cut toward the bow when the hull starts to flare. The hardest part was getting the old stuff off and then cleaning the surface well for the stripe to properly adhere. You can splice sections if needed. Maybe start there, buy a few feet and try it. You can always just remove all together or install a new stripe.
 

Jonah

GreatGrady Captain
Joined
Oct 28, 2015
Messages
331
Reaction score
10
Points
18
Location
Bahamas
Model
Sailfish
Thanks everyone. As usual, very helpful!
 

Jonah

GreatGrady Captain
Joined
Oct 28, 2015
Messages
331
Reaction score
10
Points
18
Location
Bahamas
Model
Sailfish
Hi Everyone,

Just wanted to wrap up this thread by saying that I followed Lt.Mike's advice and purchased a new stripe and decal kit from Dave, who advertises on eBay and takes payments by PayPal. Great, quick service and it even came with some handy instructions on how to apply. I also purchased new registration numbers, which he designed to match the GW 'blue' color, and also put them on a single strip, so that I didn't have to worry about spacing the letters myself. Happy to share his email via direct message if anyone is interested.
 
  • Like
Reactions: Heyspike

Lt.Mike

Well-Known Member
Joined
Oct 18, 2013
Messages
879
Reaction score
165
Points
43
Age
64
Location
Farmingdale NJ
Model
Overnighter
Good deal I'll bet that simple stripe replacement will make a dramatic improvement.
Wait for some nice weather then post a few pics when its done.

Mike