1981 Mako 17 Project - 7/15/13 update

gw204

Well-Known Member
Joined
Jan 31, 2005
Messages
2,479
Reaction score
22
Points
38
Location
St. Leonard, MD
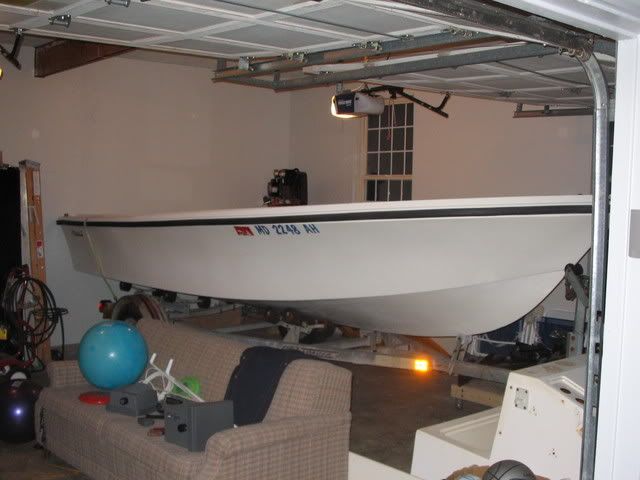
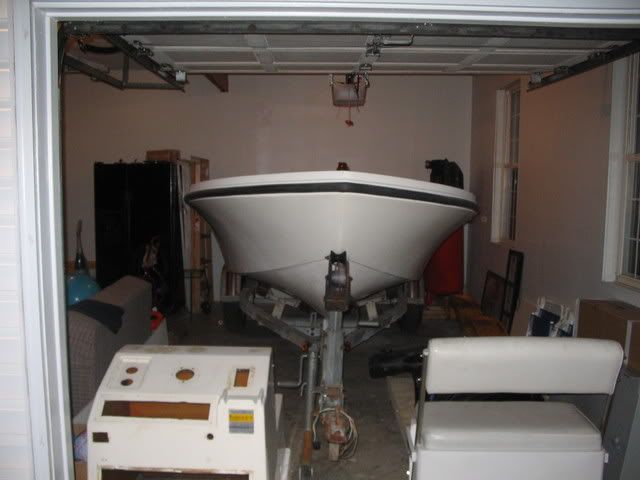
Well, it's official. I took delivery of my 1981 Mako 17 Standard earlier today. :D :D :D

IMG_7260.jpg


IMG_7264.jpg


IMG_7263.jpg


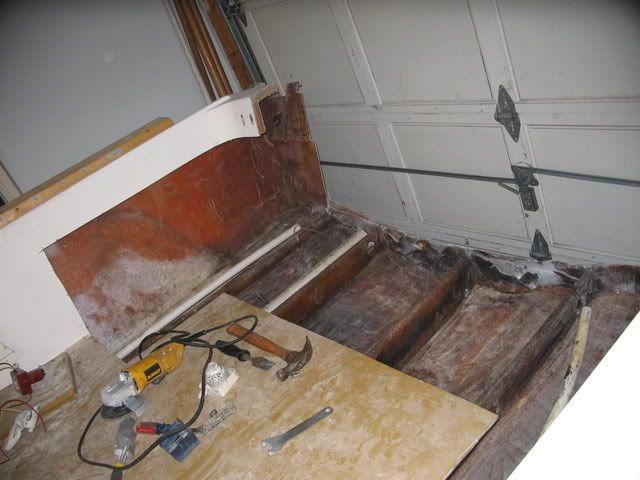
From what I can tell, this hull is in excellent condition with the exception of the transom. It has already been gutted and is awaiting reassembly. Decks and gunwales are solid all the way around and every piece of foam I can touch is dry as a bone. The gelcoat looks like it will shine up superbly with a little elbow grease and I don't think it's gonna take much to get the motor (1981 Merc 115 "Tower of Power") running and looking good.

Many thanks to Chris (aka bondstreet on ClassicMako) for helping me load and unload everthing this afternoon. :)
 

catch22

Well-Known Member
Joined
Sep 14, 2005
Messages
747
Reaction score
5
Points
0
Location
pennsville, nj
Nice.....
Good luck with the project. From what I've seen of your other boats, I'm sure it will turn out great.
 

BobP

GreatGrady Captain
Joined
Apr 27, 2005
Messages
4,744
Reaction score
6
Points
38
Location
Long Island, NY
Model
Sailfish
I'm surprised the hull logo piece is stil intact. Perhaps stored indoors otherwise UV would have turned it brittle.
 

gw204

Well-Known Member
Joined
Jan 31, 2005
Messages
2,479
Reaction score
22
Points
38
Location
St. Leonard, MD
BobP said:
I'm surprised the hull logo piece is stil intact. Perhaps stored indoors otherwise UV would have turned it brittle.

Aside from a few dings and stress cracks here and there the gelcoat is in phenomenal shape. I was told the 2nd owner (I'm the 4th) kept it waxed and covered and the 3rd owner kept it in a garage for the year he had it.
 

Capt Bill

GreatGrady Captain
Joined
Mar 23, 2005
Messages
805
Reaction score
45
Points
28
Location
First State
Model
Sailfish
She looks pretty darn clean, Brian. Nice project, and I'd wager that you'll probably have her looking like new by next season. Nice garage work-space you have, too.
 

gw204

Well-Known Member
Joined
Jan 31, 2005
Messages
2,479
Reaction score
22
Points
38
Location
St. Leonard, MD
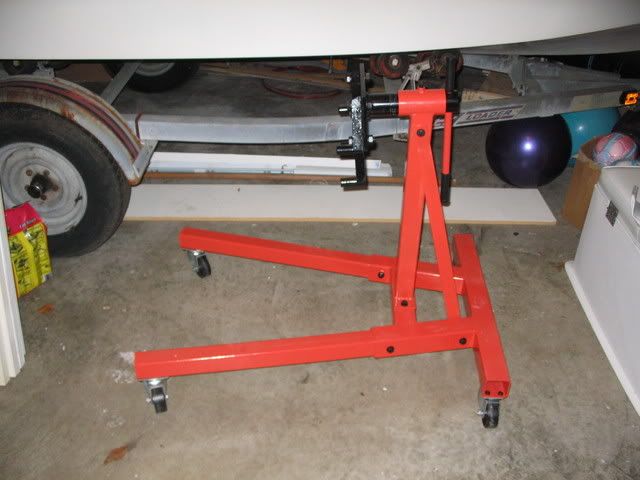
Unfortunately, I don't have any progress on the boat itself to report, but I did get my engine stand put together today. :)

A few weeks (maybe months) ago, I ordered the 2000 lb. capacity one from Harbor Freight. It's been sitting in my garage for a while now assembled, but the hardware wasn't tightened down. There were no washers supplied with the nuts and bolts and I wanted to get some on there before I snugged everything down.

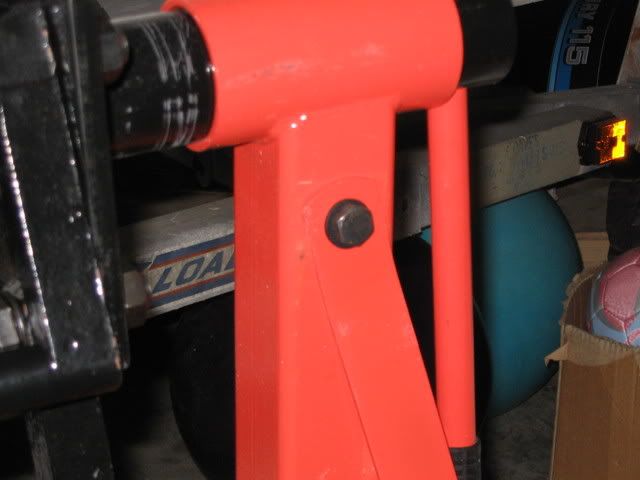
However, I couldn't settle for just any washers....mine had to be the same color as the nuts and bolts...black. Yes, I am just that anal. :D I searched a few local hardware stores and kept coming up empty. I finally just bought standard steel ones and headed home. I then sprayed them all with a good blast of brake cleaner to clean/degrease them and let them dry. Then I shot them all (one side only) with two coats of flat black Rustoleum and let them dry overnight.

After I finished cleaning the Grady and fogging the Yamahas, I set out to do the final assembly on the stand. I removed each bolt, tossed the washers on, applied a drop of Loctite and snugged everything up. Hopefully I can get the motor hoisted up and mounted next weekend.

IMG_7496.jpg


My "custom" washers.... :D

IMG_7498.jpg


And if anyone is wondering, a 2000 lb. engine stand is way overkill for a 1982 115 Merc. What can I say?!?!?! :)
 

hinmo

Well-Known Member
Joined
Sep 2, 2006
Messages
150
Reaction score
15
Points
18
Thats a car engine stand....how are you going to mount a outboard on there? How will you have the depths without hitting the lower unit on the floor?

The reason I ask is was looking for a stand myself a few months ago....the largest capacity stand I could find was around 280lbs, and I have a DF70 4strk Suzuki weighing in at 359 I wanted to put on it.
 

gw204

Well-Known Member
Joined
Jan 31, 2005
Messages
2,479
Reaction score
22
Points
38
Location
St. Leonard, MD
hinmo said:
Thats a car engine stand....how are you going to mount a outboard on there? How will you have the depths without hitting the lower unit on the floor?

You just bolt the motor to the stand just like you would bolt it to a transom. This pic shows 25" Optis on similar stands. My 115 is a 20" so it will fit just fine and my stand doesn't have the bar directly under the skeg either.

optis11.jpg
 

Grog

GreatGrady Captain
Joined
Sep 27, 2006
Messages
2,008
Reaction score
1
Points
38
A 280 pound rating engine stand? That's useless!

The mounting arms move around on the engine stands, just line up the holes and bolt it on.
 

gw204

Well-Known Member
Joined
Jan 31, 2005
Messages
2,479
Reaction score
22
Points
38
Location
St. Leonard, MD
http://search.harborfreight.com/cpisear ... gine+stand

I picked the 2000 lb. one because I like overkill and also because there was more room under the skeg due to the legs being out the to sides. One guy I talked to on CM said he mounted a 25" 250 Yam on the same stand without any problems...but you'de have to take the lower unit off for it to accomodate a 30" motor.
 

gw204

Well-Known Member
Joined
Jan 31, 2005
Messages
2,479
Reaction score
22
Points
38
Location
St. Leonard, MD
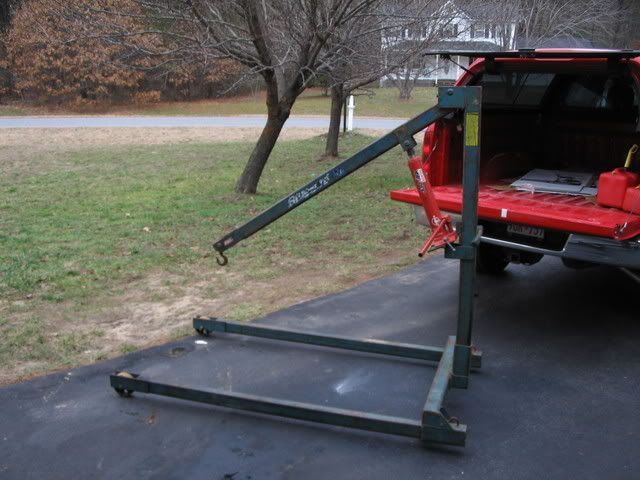
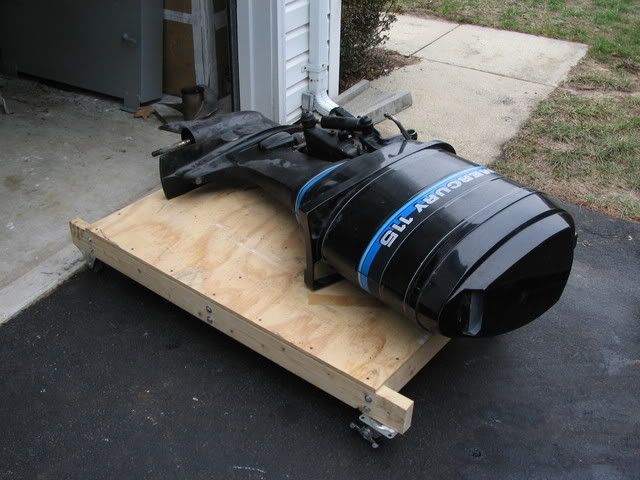
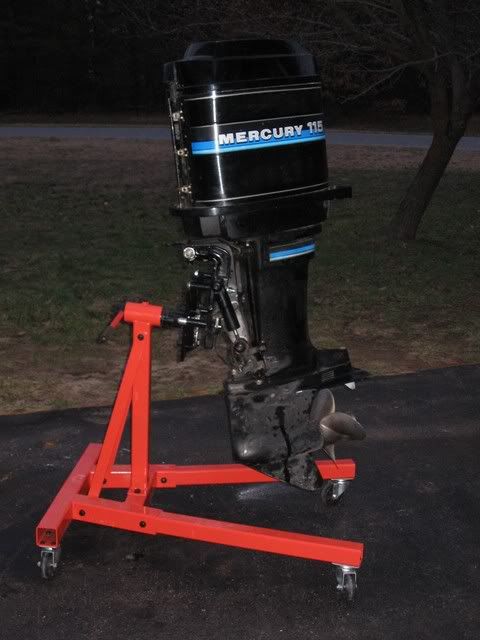
Got a bit more work done on/for the Mako today. After tossing the cover on my Grady, I headed down to the hardware store to rent an engine hoist so I could get the Merc. up on my stand.

Step 1: Assemble the hoist.

IMG_7501.jpg


Step 2: Wheel the motor out of the garage.

IMG_7502.jpg


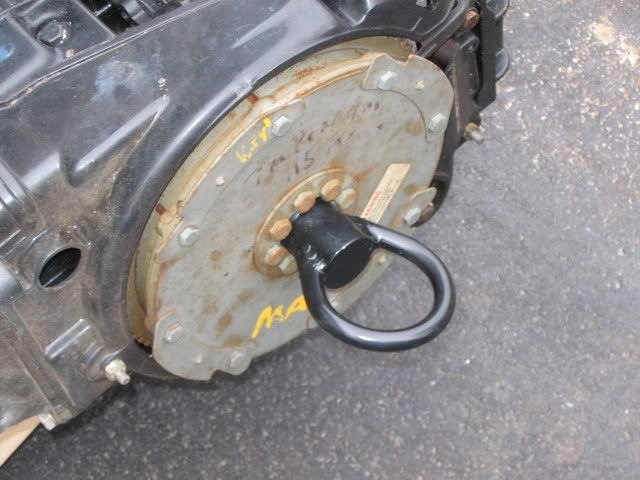
Step 3: Remove the cowlings and install the lifting ring.

IMG_7504.jpg


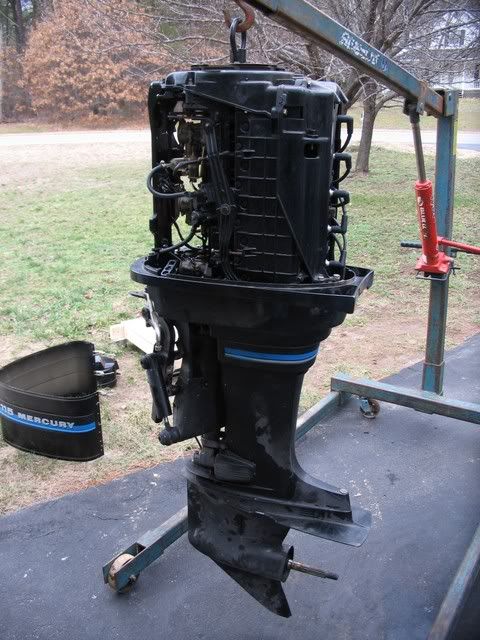
Step 4: Hook up the hoist and lift her up.

IMG_7505.jpg


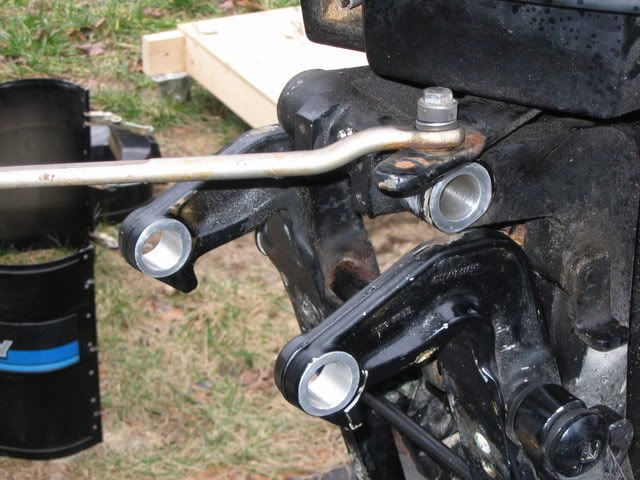
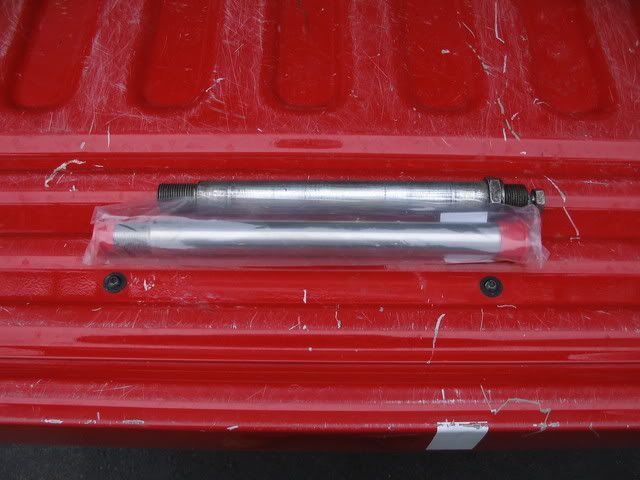
Step 5: Clean up a bunch of old grease to prepare for the installation of a new tilt tube.

IMG_7506.jpg


Step 6: Discover that the new tilt tube is longer than the original one and won't work.

IMG_7507.jpg


So, regrease the old one and put it back in until one of proper size can be found.

Step 7: Roll the stand into position, place the arms and bolt the motor on.

IMG_7512.jpg


I have the arms positioned pretty low and still have about 4" between the ground and the tip of the skeg. So there's plenty of room to hang a 25" motor on there should I ever need to.
 

gw204

Well-Known Member
Joined
Jan 31, 2005
Messages
2,479
Reaction score
22
Points
38
Location
St. Leonard, MD
Since there's no chance I'm going to make my July 4th splash date, I decided to change directions a bit and dive deeper into this boat than originally planned.

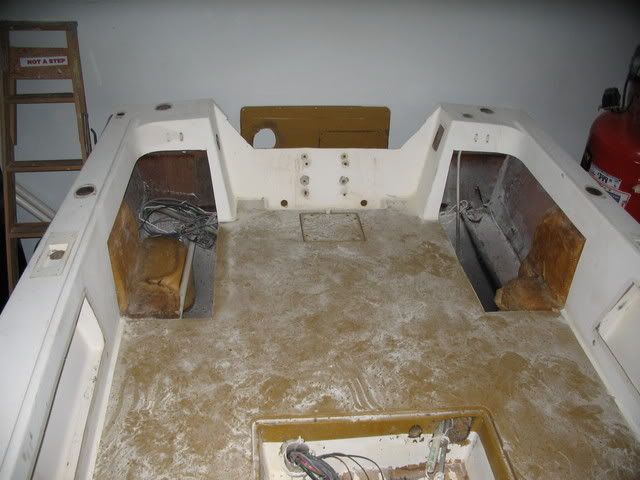
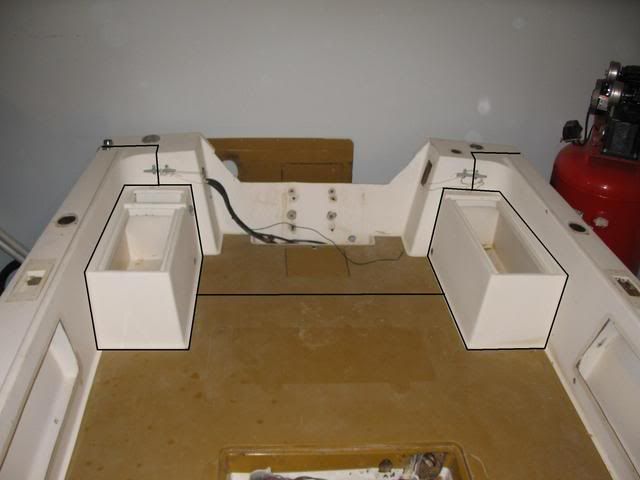
So, I broke out the grinder, slapped on a cutoff wheel and went to town. 45 minutes later, I had two big holes in the cockpit. :D

IMG_7729.jpg


IMG_7730.jpg


IMG_7731.jpg


The plan is to mold some plugs to complete the inner liner and extend the floor all the way to the sides. The boxes that used to be there offered minimal storage, but took up a lot of much needed cockpit space.

I have a few more cuts to make across the floor and transom to really open her up. That will give me access to do the transom from the inside, make any required stringer repairs and whatever else I decide needs to be done after the floor comes up.

Option3.jpg


If all goes well, I'll have the rest of the interior cutting done and the aft section pulled out by the end of the weekend.
 

BobP

GreatGrady Captain
Joined
Apr 27, 2005
Messages
4,744
Reaction score
6
Points
38
Location
Long Island, NY
Model
Sailfish
You may make the July 4th splash if you move the couch out of the garage!

Those old mercs are mean looking ! I bet they scare the props off Verados!
 

gw204

Well-Known Member
Joined
Jan 31, 2005
Messages
2,479
Reaction score
22
Points
38
Location
St. Leonard, MD
The couch is long gone. I gave it away a few months ago. Now I just have a Barbie jeep, two pink bicycles and two scooters in the way...none of which are mine... :)
 

gw204

Well-Known Member
Joined
Jan 31, 2005
Messages
2,479
Reaction score
22
Points
38
Location
St. Leonard, MD
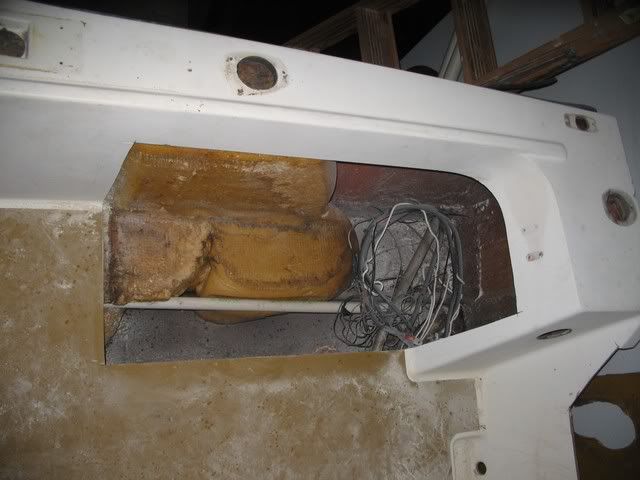
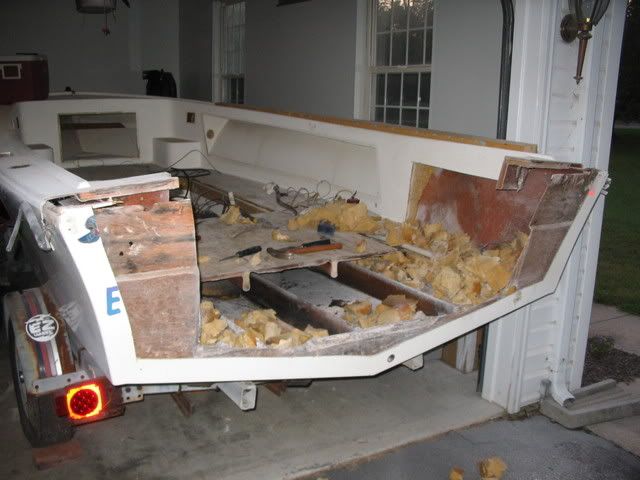
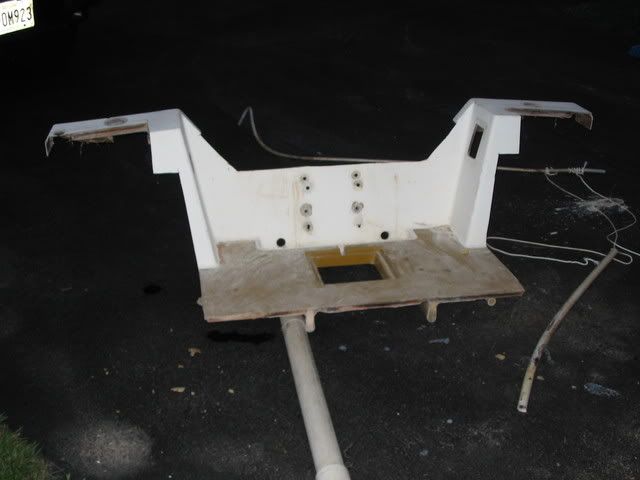
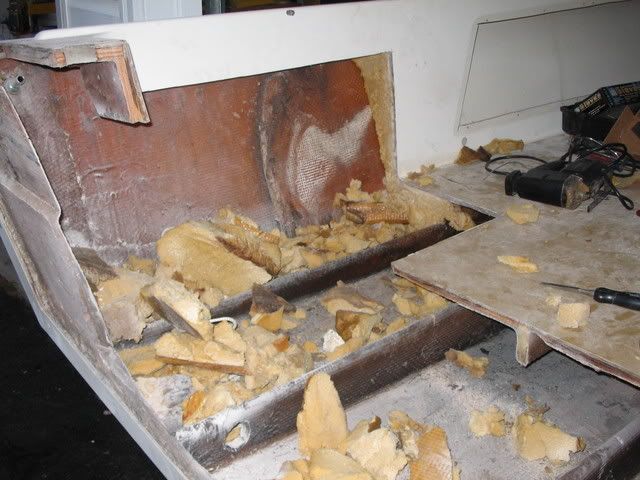
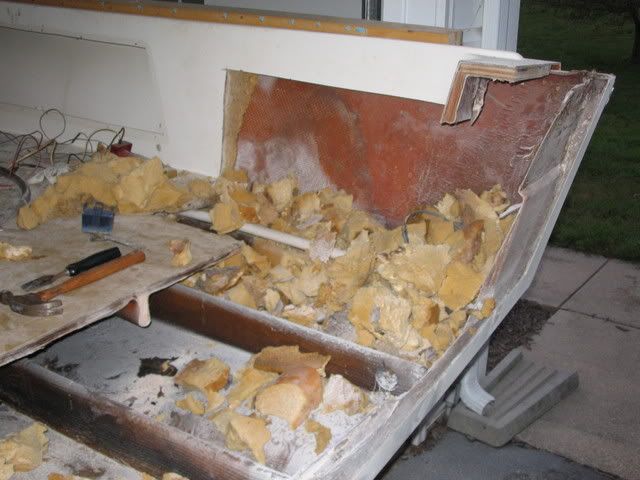
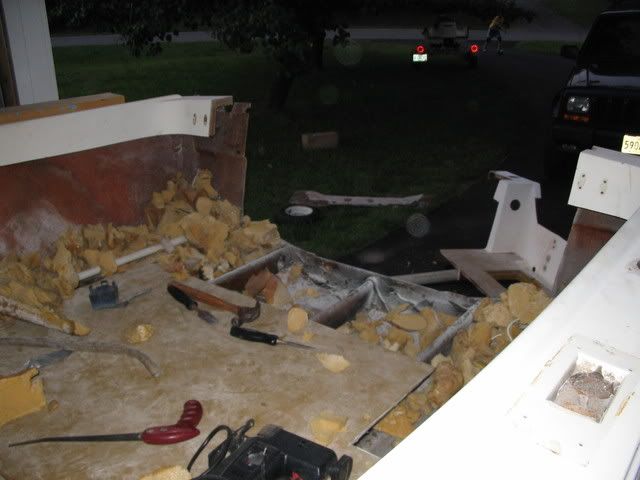
Got the aft section of the cap/deck out this evening. What a pain in the butt that was. Took me two solid evenings with the grinder, hand saw, hammers, chisels, etc., but it's done now.

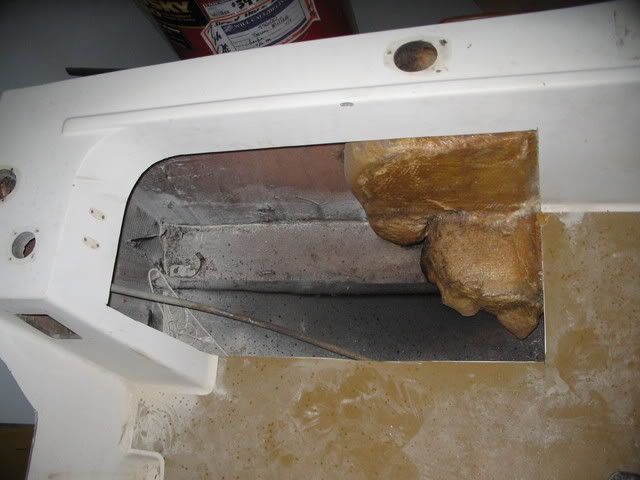
I also removed the foam that was exposed when I took out the storage boxes. While doing so, I discovered that it was wet down at the bottom. I assume that's from the caps on the ends of the holders leaking and then the water simply making it's way down to the bottom of the boat. I'm going to do everything I can to dry that foam, but if that doesn't work, I'll dig out what I can get to without cutting up any more of the deck and refoam.

Anyway, here's the pics...

IMG_7786.jpg


IMG_7787.jpg


IMG_7788.jpg


IMG_7789.jpg


IMG_7790.jpg


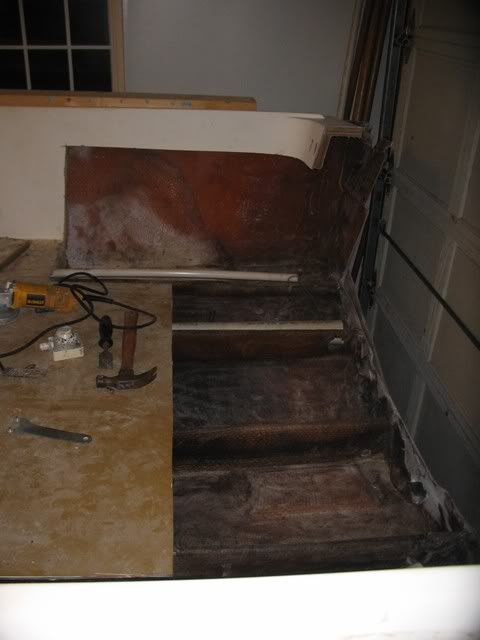
And after a bit of cleanup with the shop vac...

IMG_7791.jpg


IMG_7792.jpg


Based on what I can see of the stringers now, I think they're gonna need some work. The limber holes appears to have never been sealed and the glass that encapsulates everything looks to be roven woven only...and it's porous in places. Oh goodie... :cry:

The next step is the cut out the remaining parts of the transom inner skin, cut back the stringers and start preparing for a new core.
 

BobP

GreatGrady Captain
Joined
Apr 27, 2005
Messages
4,744
Reaction score
6
Points
38
Location
Long Island, NY
Model
Sailfish
Brian, what are you going to use to rebuild the transom with ?
 

gw204

Well-Known Member
Joined
Jan 31, 2005
Messages
2,479
Reaction score
22
Points
38
Location
St. Leonard, MD
Marine ply or Coosa Bluewater 26...haven't decided yet. Whatever I go with, I'll use it in the new stringer ends as well.