1981 Mako 17 Project - 7/15/13 update

gw204

Well-Known Member
Joined
Jan 31, 2005
Messages
2,479
Reaction score
22
Points
38
Location
St. Leonard, MD
Not sure yet. I haven't done any exploratory surgery.

I worked on her both Sunday and Monday nights, so I probably won't get another "work on the project boat" pass from the wife for another month... :?
 

BobP

GreatGrady Captain
Joined
Apr 27, 2005
Messages
4,744
Reaction score
6
Points
38
Location
Long Island, NY
Model
Sailfish
Sounds good, I'm pre-planning retirement projects (well in advance), will be looking for my old 1979 Mako 20 footer, have to get gas consumption down to cover three times as many trips on the water !

May end up with a sailboat and 5 hp kicker! Or Kayak, by then!
 

gw204

Well-Known Member
Joined
Jan 31, 2005
Messages
2,479
Reaction score
22
Points
38
Location
St. Leonard, MD
Haven't touched the boat in a while, but I did start tinkering with the motor. I wanted to see how much of a mess I had on my hands as I believe it's been about 4 years since it was last run...

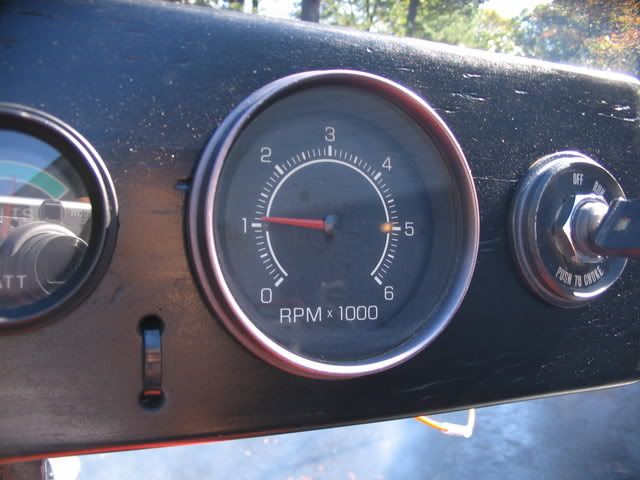
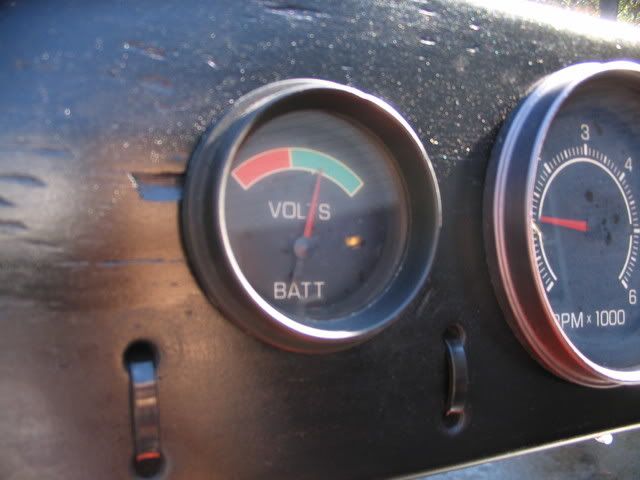
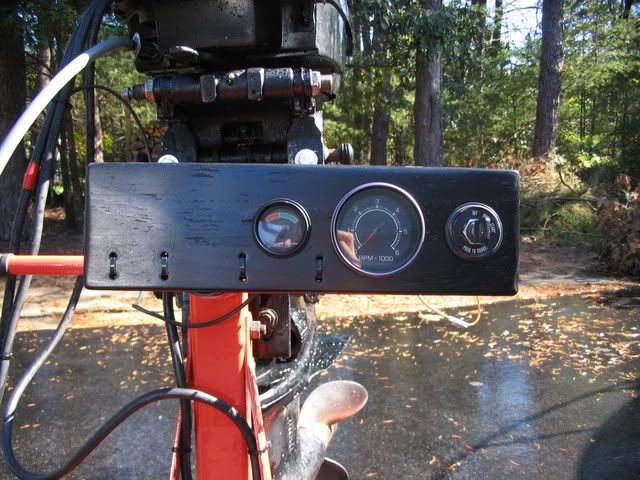
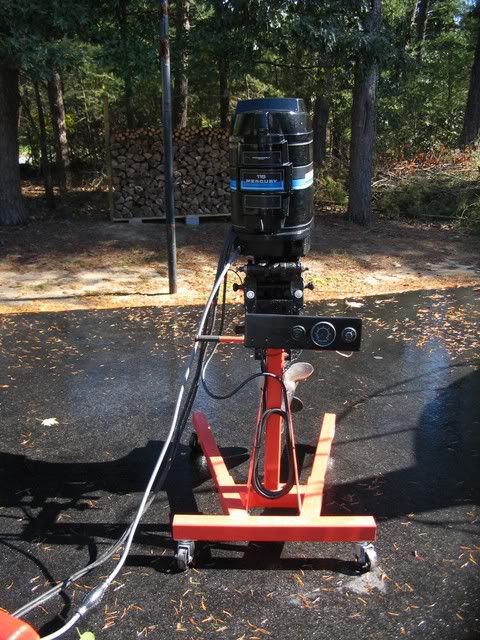
So, last weekend I made a few quick wiring repairs and built a crude instrument panel to attach to the engine stand. I layed it out and positioned it so it would be easy to repetitively hit the key while manually working the throttle lever inside the cowling. I was expecting the motor to give me quite a fight... Anyway, after that was mounted, I connected the wiring harness and battery battery cables. But before doing a test spin, I removed all the plugs (two had a bit of rust on them...uh oh) and shot a healthy amount of Seafoam in each cylinder to lube them. After cleaning the plugs and putting them back in, I put a few turns on her by hand and compression seemed good and smooth. So, I decided to hook the battery up and try the starter. Nothing. Oops, forgot to fix one wire. After a quick crimp and turn of the key, she spun over nice and strong. Then I put her away until this weekend.

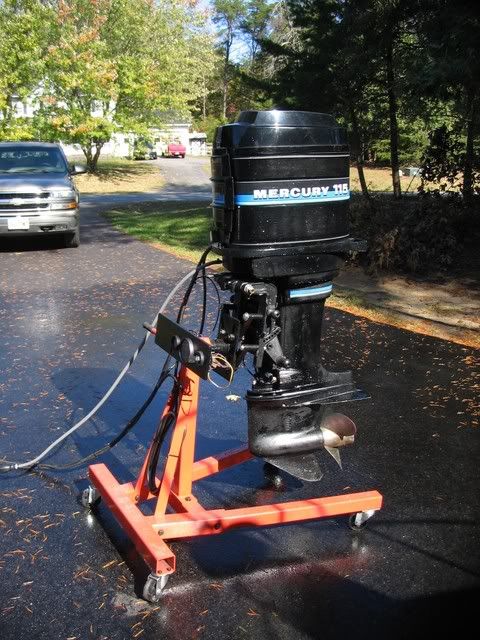
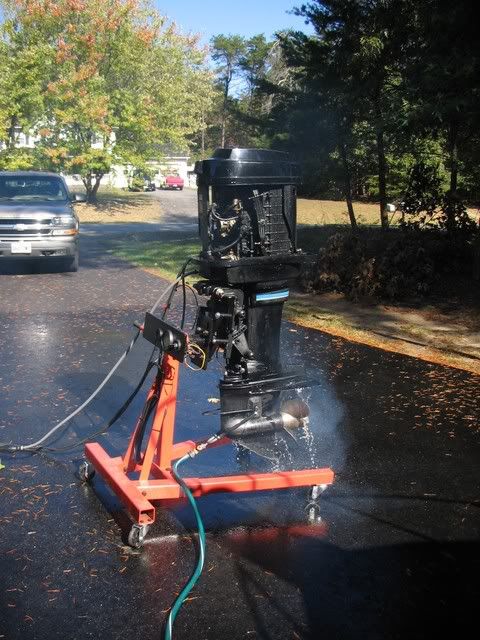
First step today was to change the lower unit oil (one of those just in case things). Some of it came out a bit milky, so I might have some seal issues to deal with. Second, I gave it a quick bath with my power washer. Then I connected the battery and fuel and took a few "ready to fire" shots.

IMG_7885.jpg


IMG_7883.jpg


IMG_7884.jpg


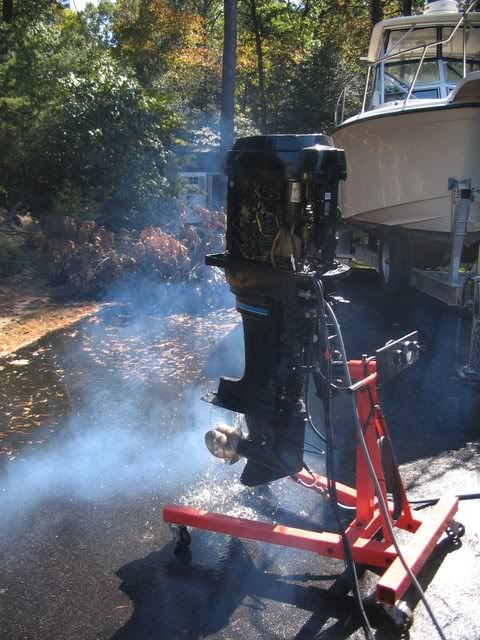
And last, the moment of truth...once I slapped on the flush muffs and pumped the fuel ball. Left hand on the key, right hand on the throttle lever, prepared for a long fight. About the third or fourth attempt, the old Merc roared to life and settled into a silky smooth idle at 1100. No coughing. No sputtering. Not a single stall. OK...I wasn't exactly expecting that. Even more surprising was the fact that the idle seemed smoother than that of the 225 OX66s Yammies that I used to have on my Grady. It definitely had a cooler sound than the big V6s. Must be something about the inline six design... Who knows???
IMG_7886.jpg


IMG_7887.jpg


IMG_7888.jpg


IMG_7889.jpg


IMG_7890.jpg


The pee stream was a little weak and I think the carbs will need to be rebuilt as they started leaking gas after about 30 minutes (the ethanol probably started eating away at things). I'll also rebuild the fuel pump and change out all the fuel lines for good measure. I thought about doing all that stuff first, but decided to make sure I had a running engine before I put money into it. Once the mechanical work is done, I'll treat her to a paint job and new stickers.

But all in all, I am super pleased. Next weekend, I'll fire her again and get some hot compression numbers. If those look good, I'll do a proper winterization, start collecting some parts and scratch any thoughts I had about repowering.

BTW - Fuel mixture was 3 gal on 92 octane, 15 oz. oil (25:1 ratio just to be safe...hence all the smoke), 6 oz. Ringfree (shock dosage) and twice the maintenance dose of Stabil.
 

Capt Bill

GreatGrady Captain
Joined
Mar 23, 2005
Messages
805
Reaction score
45
Points
28
Location
First State
Model
Sailfish
WTG Brian. Looks like you got a good one. I had a Merc 115 that Almar's Outboards completely rebuilt, and that engine not only ran great, but it tested out at about 135 hp on Almar's dyno! It was on a 19' Kencraft. Later, when I bought a different boat (another Kencraft), Almar's bought the Merc back from me for what I paid them for it (after doing a compression and dyno test)!

I'm not surprised that it idles smoother that the OX-66 Yammies, though. They do not idle on all 6 cylinders. Don't remember exactly, but I think either 3 or 4. So she shakes a bit. Those engines don't fire all 6 cyl until rpm's go over something lile 1800 rpm.

Any luck finding a pair of engines for the grady? I'm hoping you still can get out with her this year.
 

gw204

Well-Known Member
Joined
Jan 31, 2005
Messages
2,479
Reaction score
22
Points
38
Location
St. Leonard, MD
Still considering the same two pairs I told you about. However, if I pull the trigger on either, I don't plan to put them on right away. They'll get a similar "on the engine" stand winterization and won't get installed on the boat until spring.

If I put them on the boat right away, I'll use it and won't get anything done on the honey-do list.... That would be bad. :lol:
 

Capt Bill

GreatGrady Captain
Joined
Mar 23, 2005
Messages
805
Reaction score
45
Points
28
Location
First State
Model
Sailfish
I hear ya on that honey-do list. I guess you could always squeak in a few fishing days with somebody, so all is not lost.

Say, thinking about projects. that is an impressive engine stand setup you've got. And nice job on the gauge's panel, too :D Is than a converted automotive engine hoist, or one made just for outboards. Looks like a nice one.
 

gw204

Well-Known Member
Joined
Jan 31, 2005
Messages
2,479
Reaction score
22
Points
38
Location
St. Leonard, MD
The engine stand is a 2000 lb. model sourced from Harbor Freight. Designed for automotive engines (and maybe someday it will see a 4.0 inline six mounted to it for a stroker project :D), but it works perfect for outboards. You just have to position the arms and bolt the motor on. :)

The panel was just something I "threw" together. My wife called me an idiot for making it pretty. :)
 

gw204

Well-Known Member
Joined
Jan 31, 2005
Messages
2,479
Reaction score
22
Points
38
Location
St. Leonard, MD
Got the motor out again this weekend to get it warmed up so I could take some compression readings. After letting it idle for 5 to 10 minutes, I hooked up my gauge and started pulling numbers.

1 - 123 psi
2 - 125
3 - 124
4 - 127
5 - 130
6 - 130

Those readings looked real good to me, so after putting the plugs back in, I fired it up once more and fogged it for storage. Now that I'm confident that I have a good powerplant I can get back to working on the boat itself.
 

gw204

Well-Known Member
Joined
Jan 31, 2005
Messages
2,479
Reaction score
22
Points
38
Location
St. Leonard, MD
Nothing major to report...

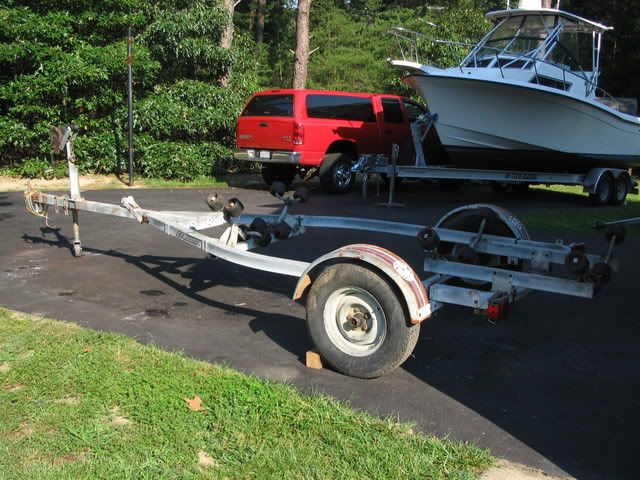
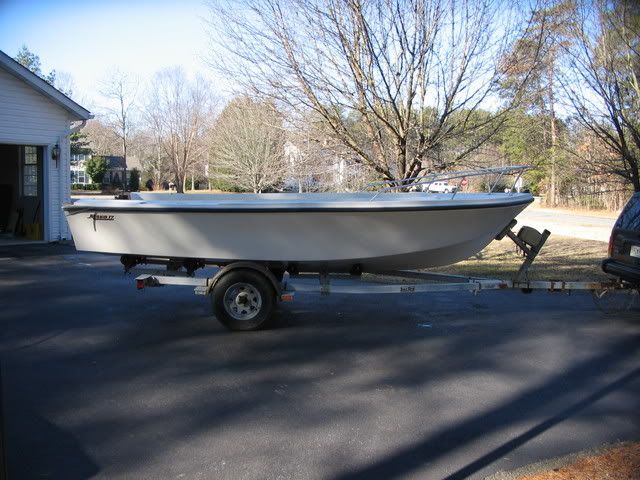
A few months ago I picked up a newer trailer. The one I had originally got was a 3000 lb. GVWR EZ-Loader. I'm not sure if the GVWR was correct as it seemed too small for the boat and I wasn't keen on the roller setup either.

IMG_7824.jpg


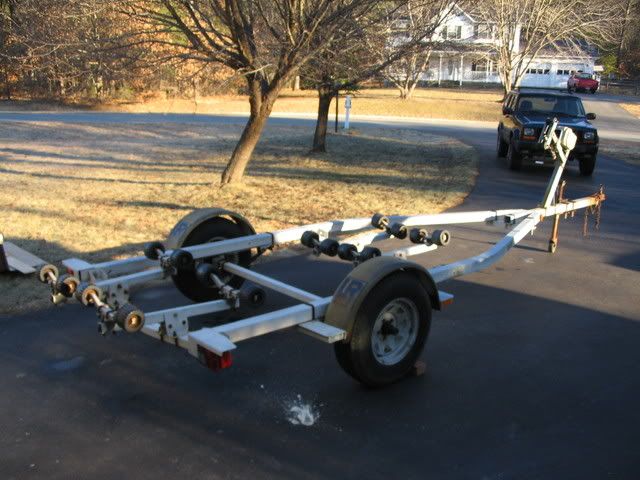
So, I replaced it with a Load Rite with an equal GVWR that has a better roller arrangement, a power winch (which I'll probably get rid of) and a much beefier frame.

IMG_7946.jpg


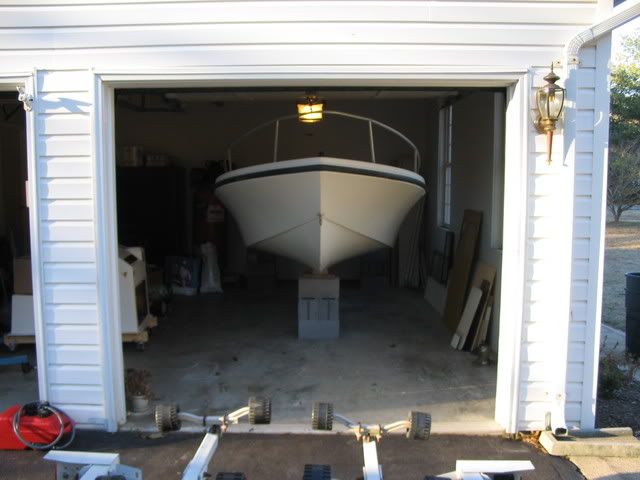
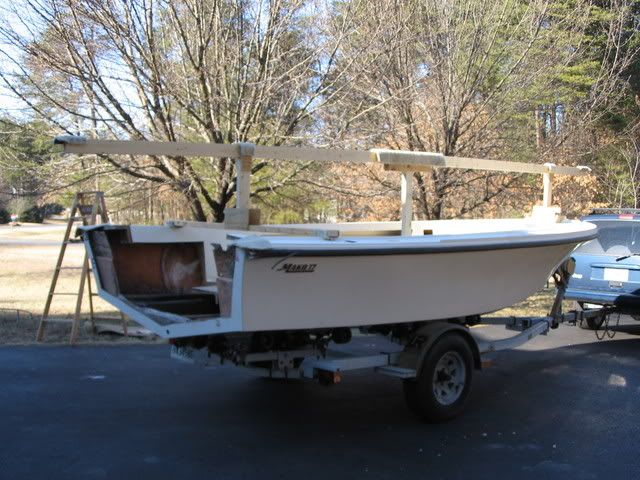
With spring on the way, and thoughts of grinding for the new transom core rattling around in my head, I figured I had better move the boat out of the garage. No need to get that fiberglass dust all over everything in there. I'll spare you the boring details, but I went from this...

IMG_7947.jpg


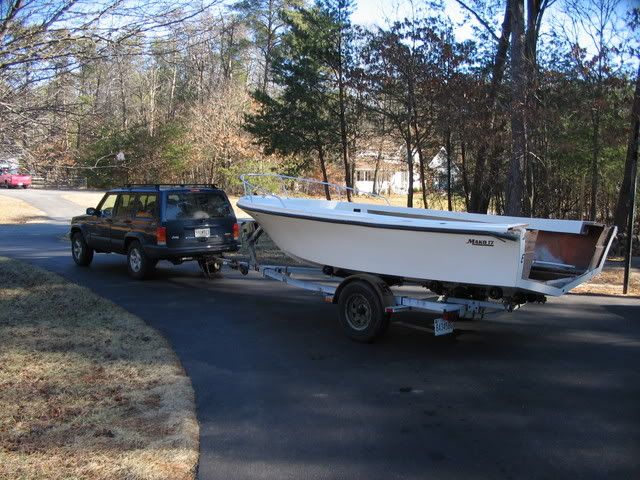
...to this...

IMG_7948.jpg


IMG_7949.jpg


With no motor or transom core, the weight distribution is way off and that's why I have it sitting so far back on the trailer.

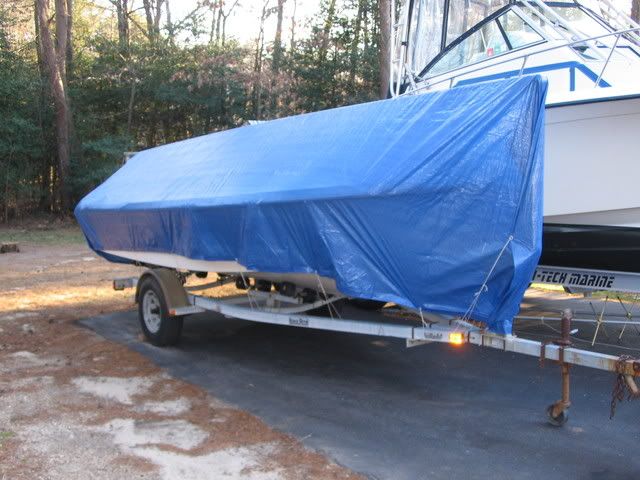
Next step was to get her covered up in order to keep the weather out and keep her dry. I had picked up a few 2x4s and a 12'x25' tarp to fashion a rain coat out of, so after dragging out the mitre saw, table saw, some drywall screws and a piece of old plywood, I starting putting it all together. A few hours later this masterpiece was in place.

IMG_7950.jpg


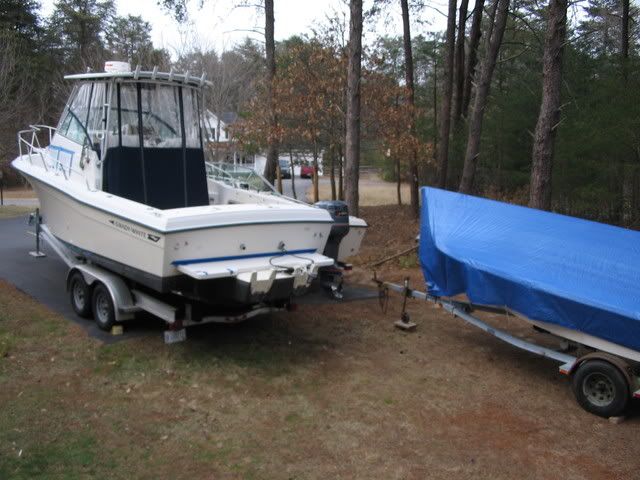
I then added a few pieces of pipe insulation prior to tossing the tarp over her, tieing it down and rolling her into place next to my big Grady.

IMG_7951.jpg


Two days later, she was displaced by another Grady, but that's not important to the scope of this project. :D

IMG_7959.jpg
 

cdwood

GreatGrady Captain
Joined
Apr 1, 2006
Messages
578
Reaction score
0
Points
18
Location
Hamilton/LBI N.J.
Thought you had a Fischer canvass cover for the Sailfish, curious about the tape work on windows and bracket?
 

gw204

Well-Known Member
Joined
Jan 31, 2005
Messages
2,479
Reaction score
22
Points
38
Location
St. Leonard, MD
I sold the cover earlier this year. The difficulty in getting it on the boat outweighed the benefit of the custom fit.

The windows were covered with plastic bags and painters tape when we had a TS come through a few months back. My windows (and I'm sure many others) leak in a heavy rain and this worked like a charm to keep the rain out. Since the boat hasn't been used, I just left them on there.

On the bracket, I started digging out the caulking as I'm ditching the platform. I never really did like it. The tape is there just to prevent crud from getting into the joint until it's completely off.
 

BobP

GreatGrady Captain
Joined
Apr 27, 2005
Messages
4,744
Reaction score
6
Points
38
Location
Long Island, NY
Model
Sailfish
Hey Hey, keep that Mako away from the Grady!! (just kidding)
 

gw204

Well-Known Member
Joined
Jan 31, 2005
Messages
2,479
Reaction score
22
Points
38
Location
St. Leonard, MD
Just a quick little update...

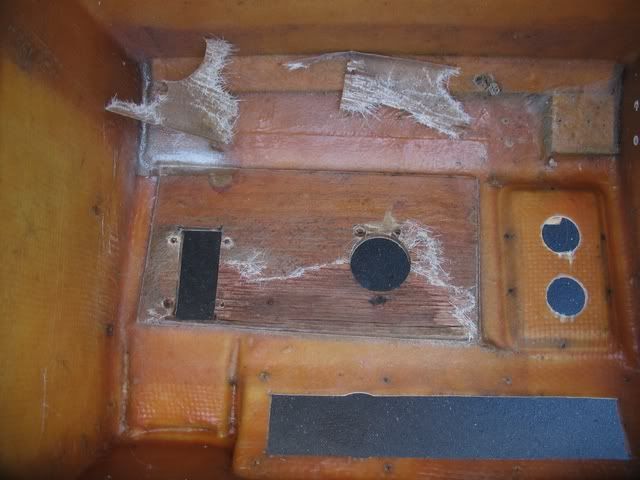
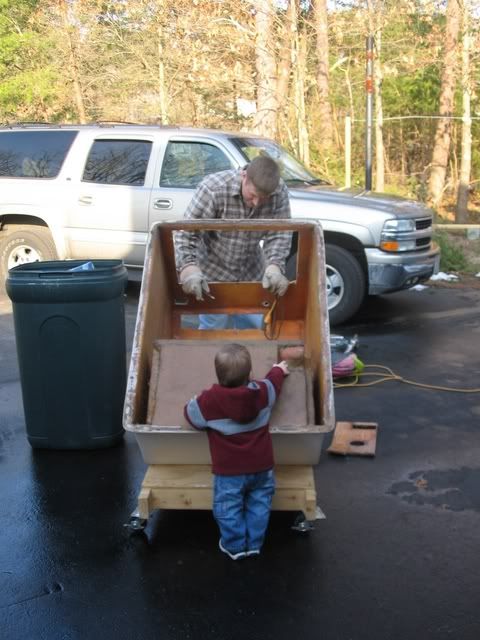
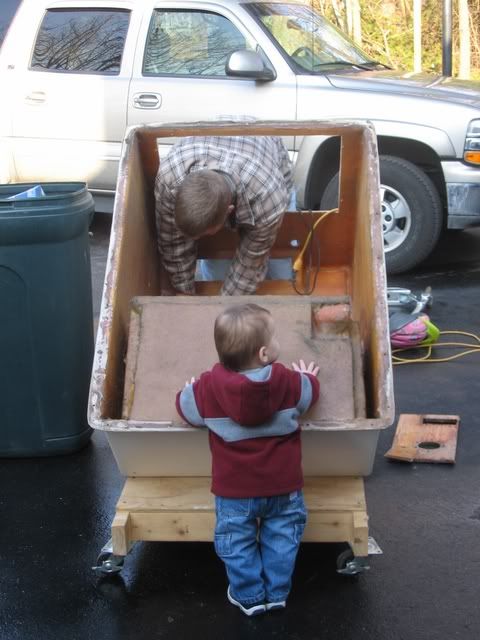
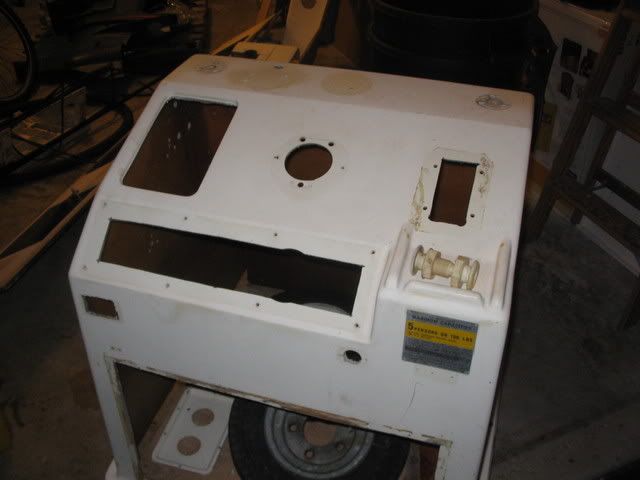
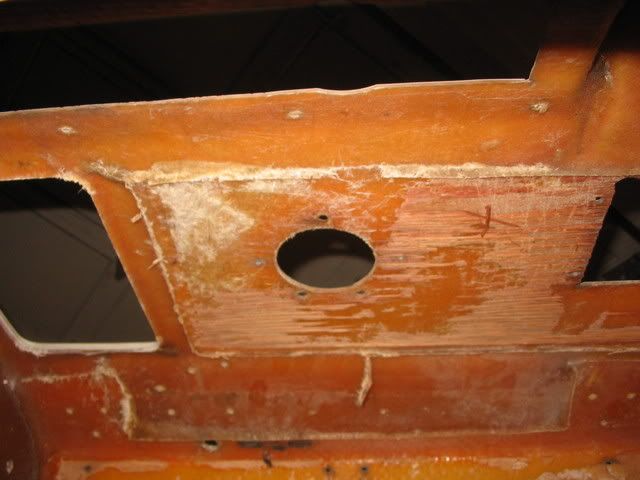
I pulled out the console and flipped it over in order to cut the wood core from the top of it. Some of it had delaminated from the outer skin and there was a big void in between the glass and the piece that lined the top/forward edge. I want this thing to be strong, so it will get a new 3/4" core.

The worst of the delam was just below the helm.

IMG_8002.jpg


"Hey Dad, cut here." [:D]

IMG_8003.jpg


IMG_8004.jpg


I then decided to get rid of the little recessed area for the gauges to the left of the wheel. It will be rebuilt flush with the rest of the console face.

IMG_8015.jpg


IMG_8016.jpg


The last thing I did during this session was drill out all the old screw and wire holes. Was going to fill them w/ an epoxy/cabosil mix, but found I was fresh out of syringes. :(

That's all for now...
 

gw204

Well-Known Member
Joined
Jan 31, 2005
Messages
2,479
Reaction score
22
Points
38
Location
St. Leonard, MD
Nope. That's my wife's Suburban.

My "boat tower" is an '00 Jeep Cherokee 4x4. :) This is an old pic though. She now rides on a set of Bridgestone Dueler A/T Revos, is dirty and has a crack in the rear passenger side bumper trim. Need to get that fixed... :(

IMG_6009.jpg