Re: 1986 Seafarer 227 Repairs, Updates and Upgrades
So, here's the latest on my rotten bulkhead issue... :?
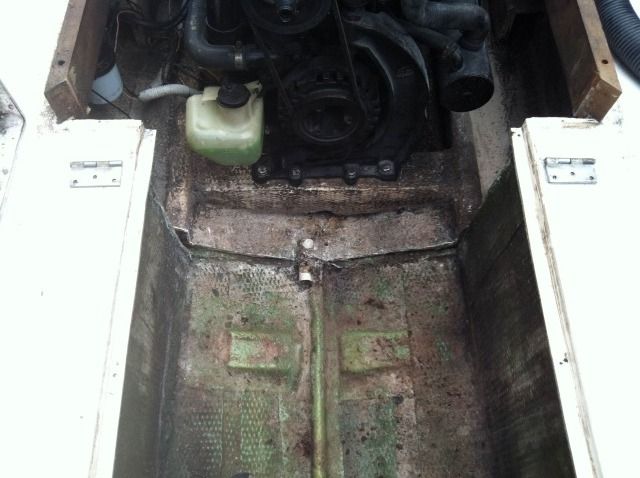
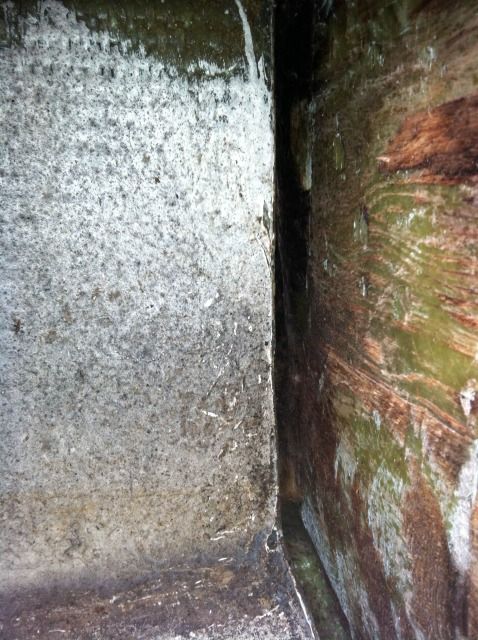
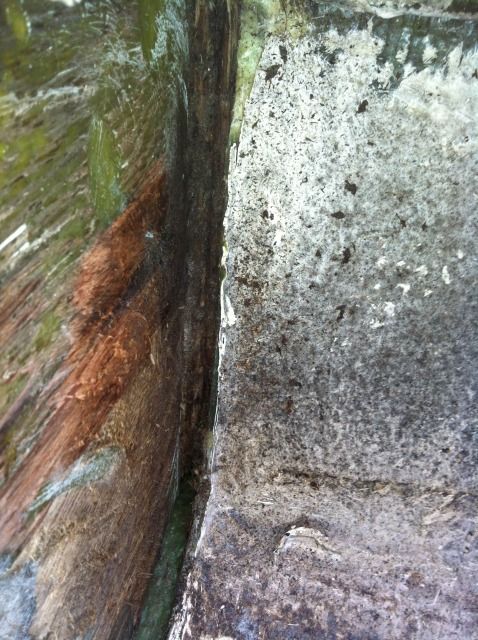
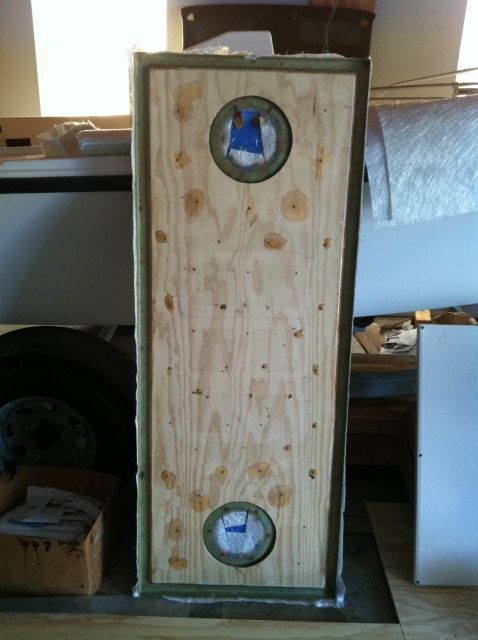
The bulkhead was skinned from the tank side a few days ago. Sopping wet and in REALLY bad shape behind the port stringer and moving farther outward. My guess is a poor seal between the deck, the tank cover and the strips of teak lining the engine well was allowing a lot of water to get to this area.
Sorry about the quality of some of these pics. I have been taking them w/ my phone.
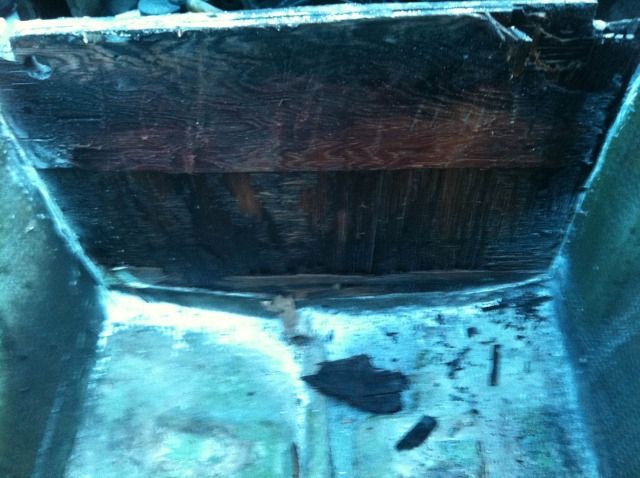
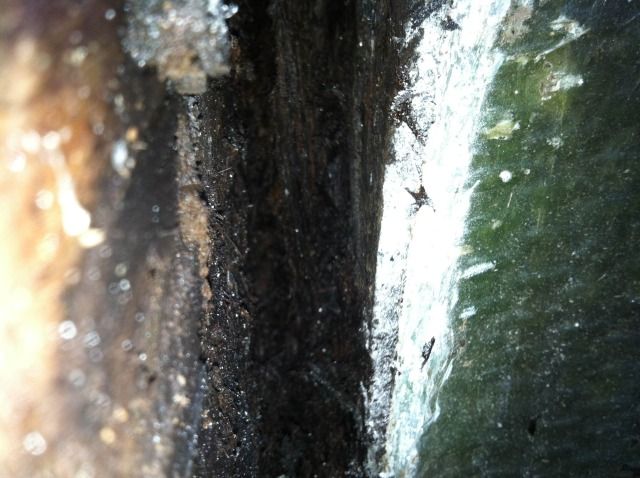
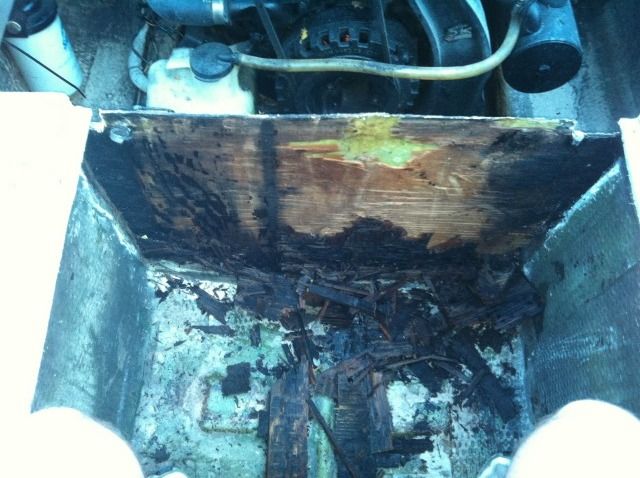
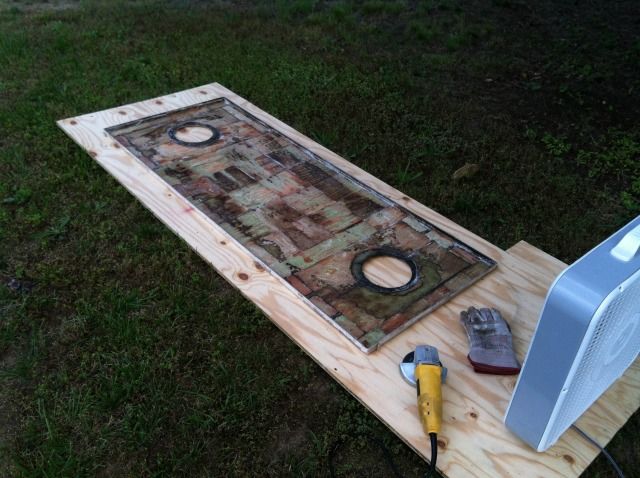
A few days later I cut the glass on the opposite of the bulkead, peeled it off and removed all of the rotten core between the two stringers lining the engine box. For the core section between the main stringers I simply kicked the hell out of it and broke it to pieces. :lol: I had to be a little more cautious on the pieces that extended out farther. Got most of it out by cutting into it around the perimeter w/ my Multimater and then prying it out with a pry bar. I tried chiseling out some pieces taht were left down by the shorty stringers in the engine box and had limited success. So, I got out my trust Stihl chainsaw and chewed those out in a matter of seconds. I then used it to clean most of the remaining core from the sides. I chewed to a point about a 1/2" beyond where the next set of stringers ended and stopped there. While I really did want to go farther, I wasn't sure how I would have been able to replace the core section w/out pulling floor...and that isn't in the scope of this "non-project" right now. Later...yes.
The stuff left was pretty wet, but after running some fans for a few hours, things were drying out nicely. I am just trying to dry the exposed edges enough so they will take some resin and glass to isolate them from the new bulkhead. Next step is to grind the areas and prep for a new bulkhead.
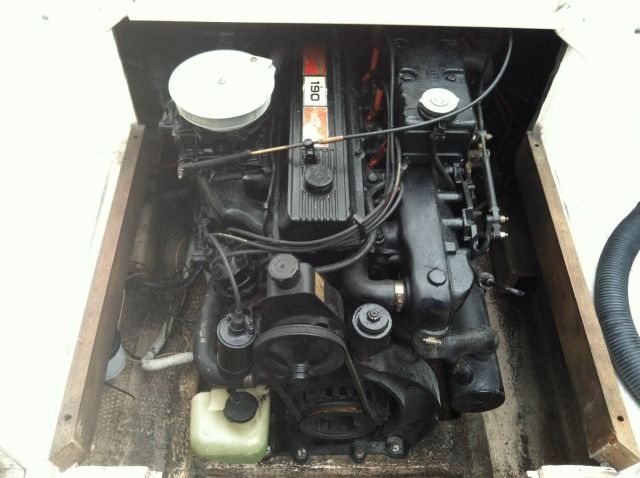
Then I moved on to prepping the engine for a start-up attempt. I was told by the previous owner and his mechanic that it was running at the end of last season, had been winterized and should start right up. We'll see.
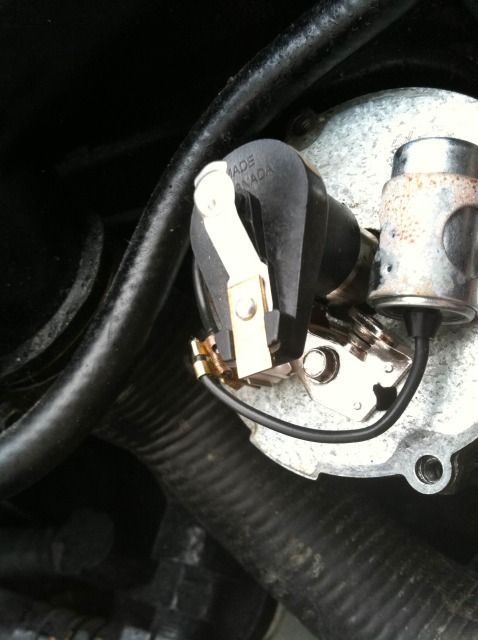
I pulled each plug, reset the gap and reinstalled them. They looked OK, but I'll probably replace once I get the kinks worked out and have her up and running for real. Pulled and cleaned the flame arrestor. Cleaned the FWC fill cap (just so it looked pretty). Installed a new 25-micron few fuel filter (it was a left over from the Forumula project and will be replaced with a 10-micron eventually). Replaced a section of fuel line from the filter to the fuel pump. Pulled the distributor cap to clean/check the contacts and rotor and got a bit of a surprise. The rotor is hitting the contacts in the cap slightly. It looks to have been this way for a while, so I decided to press on a try to start. Seems to be a good bit of end play in the distributor. Further investigation is necessary. Cleaned the build up of bottom paint from around the water intakes in the outdrive (they were probably 50% blocked). Hooked up an external tank w/ fresh fuel and pumped the primer bulb until hard. Blowers on, battery in, throttle advancefingers crossed.
Crank...crank...crank...nothing.
Crank...crank...crank...nothing.
Crank...crank...crank...nothing.
Gave up because I was out of time.
Pulled the battery because I could see fuel dripping from the fuel pump. It was pretty, but it wasn't running. :cry:
Went after the motor again last night. Wanted to run a compression check before doing anything else. Hooked the hose back up to the drive so as not to burn up the water pump. Got 150 on no 1, around 148 on no. 2 and very erratic readings on nos 3 and 4. The gauge would jump up and immediately fall back down. I put the gauge back on no. 1 and it did the same thing. So, I think my gauge took a dump. I laid a folded up paper towel over the open no 1 hole and cranked the motor to see how fast the paper towel shot up. Then I did the same on no 4. They looked pretty equal to me, so I think everything is OK. I need to get another gauge to verify though. Real technical test 'eh??? :lol:
I had remembered reading somewhere that I should get 8 volts across the terminal on the coil, so I checked that and had nothing. The contacts were covered w/ paint so I cleaned and reinstalled them. Still nothing and I was figuring I had no spark. So, I pulled the no. 1 plug, reattached the plug wire and layed it against a bolt on the engine mount to ground it. Cranked the motor and had spark.

Reinstalled the plug and cranked again. This time I got signs of life.
My wife came out for a minute to graciously help verify fuel at the carb. She advance the throttle while I peered into the throats. Got a nice stream of fuel into each throat so I think everything was good there. Heck, let's give it another try.
Crank...crank...crank...VROOOM!!!! She runs!

raise
Oil pressure looked good. Idle seems low, but I didn't let it warm up much. I heard what I wanted to hear. Shut it down for the night.


