Re: 1981 Mako 17 Project - 3/10/09 Update
From 5/4/2010...
Here's where I am now...
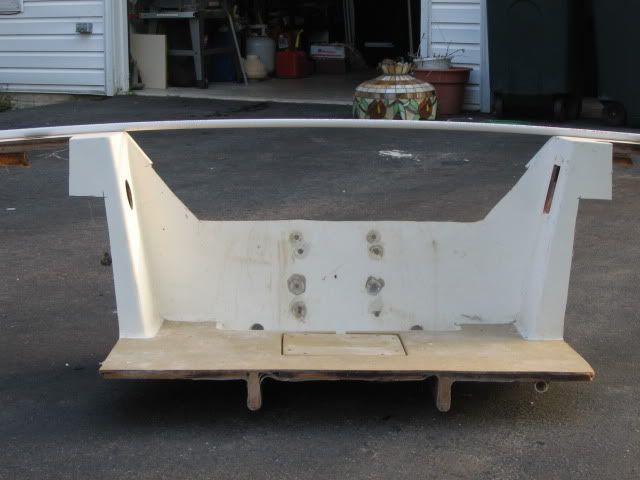
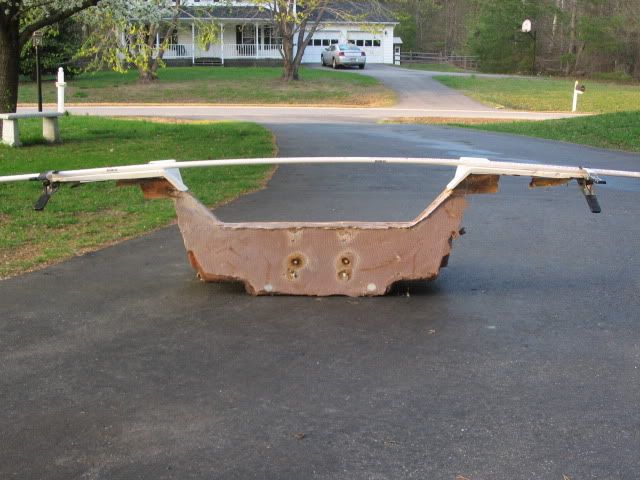
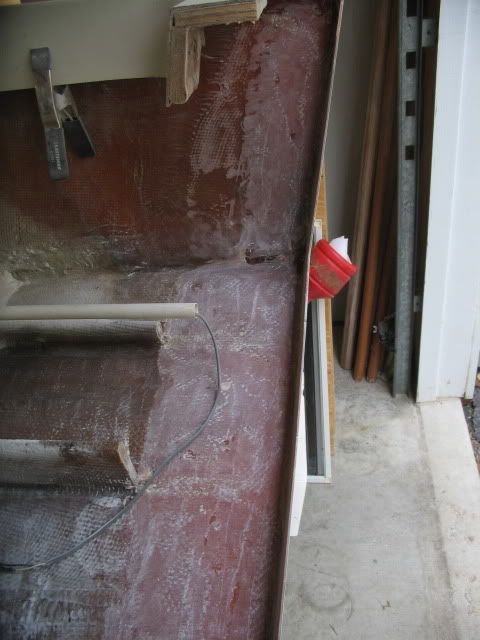
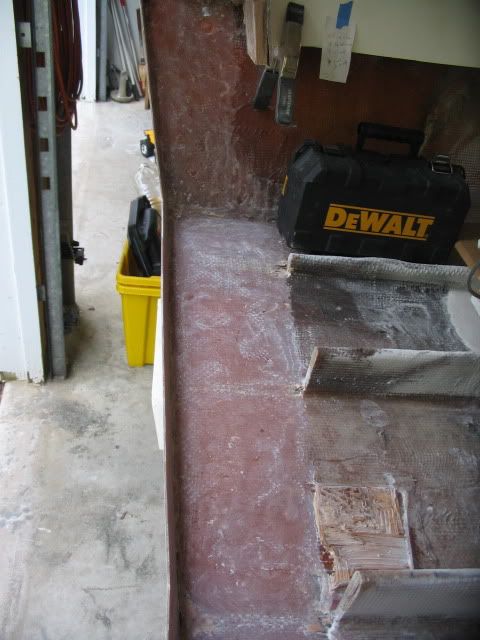
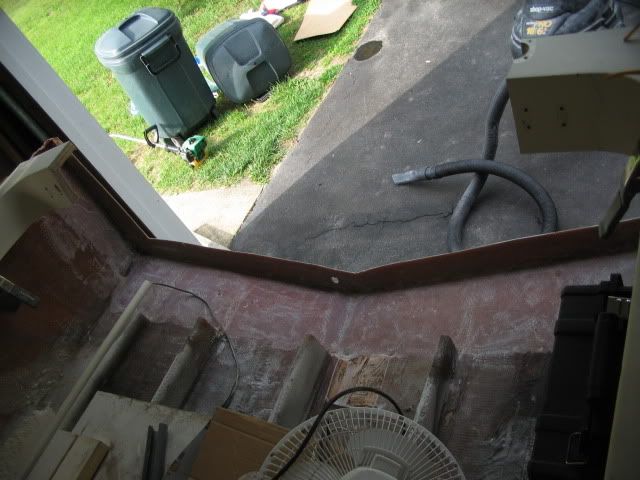
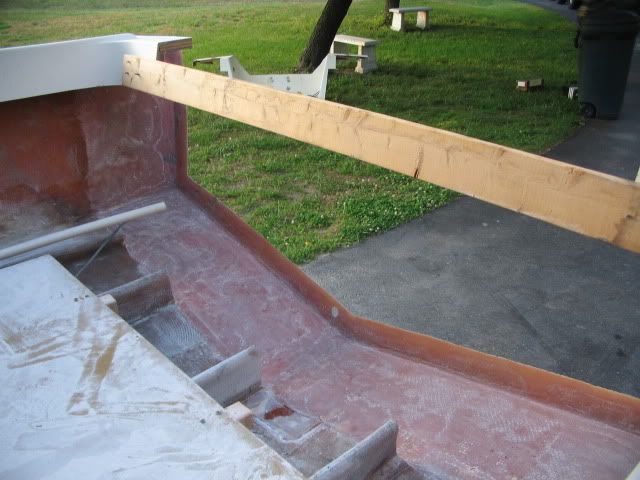
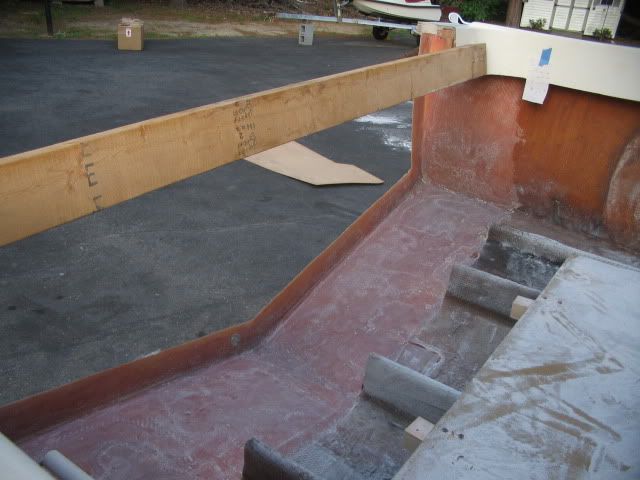
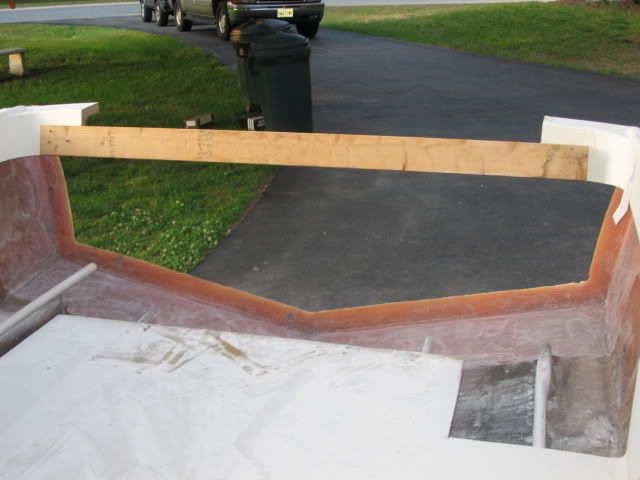
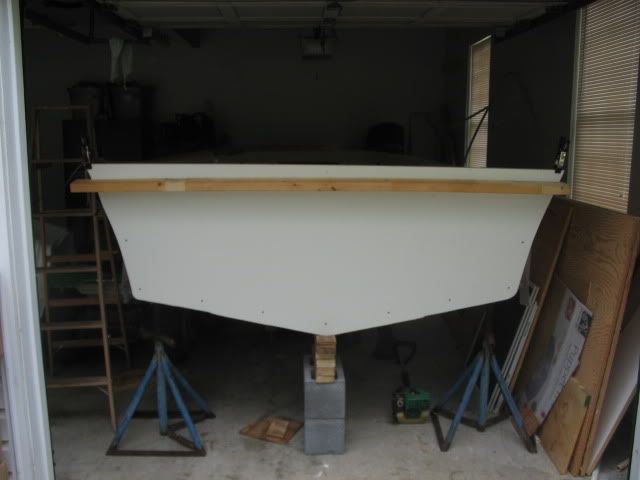
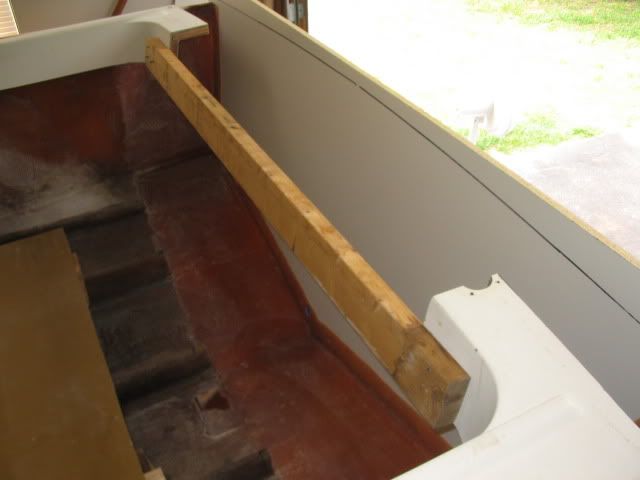
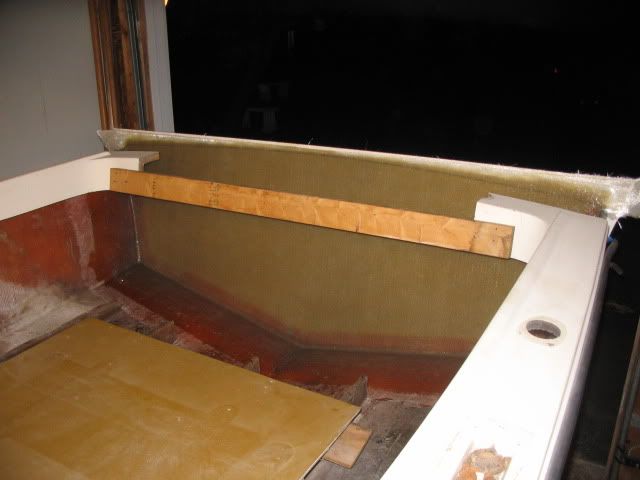
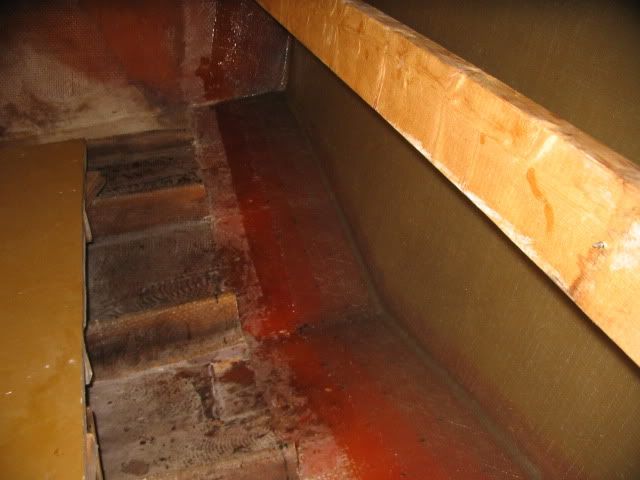
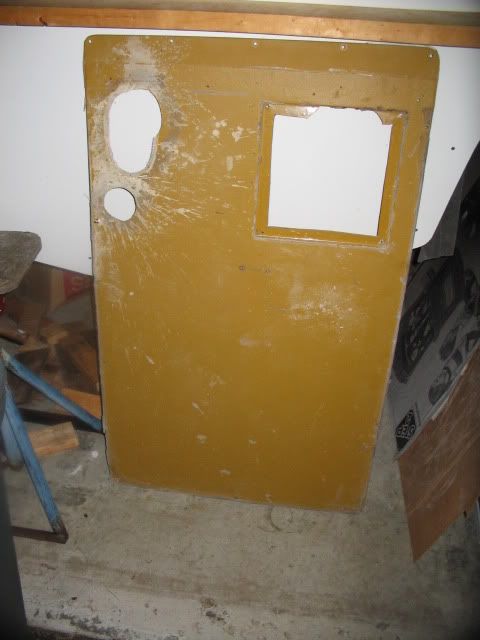
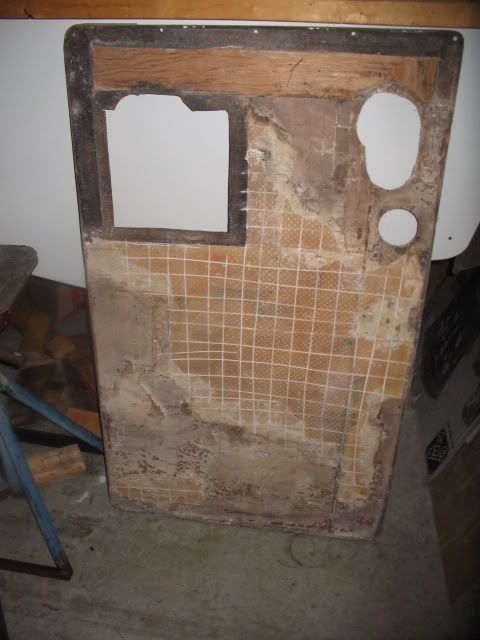
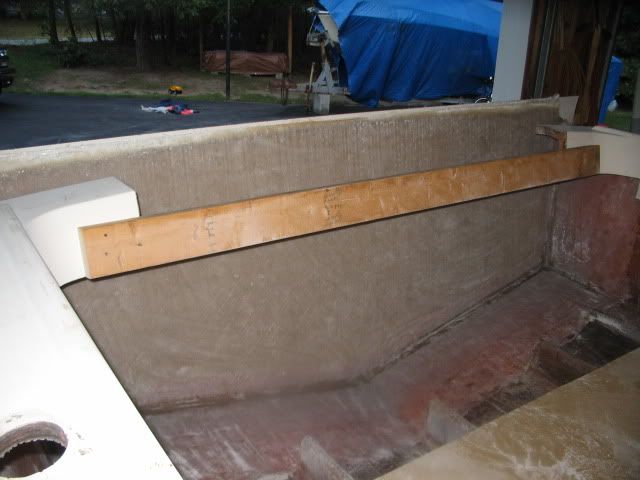
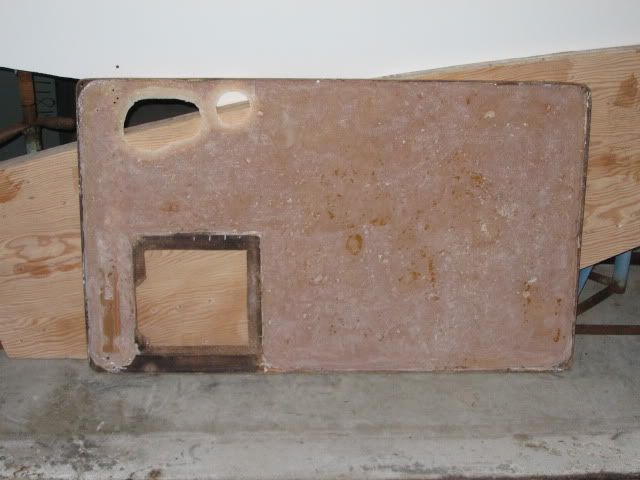
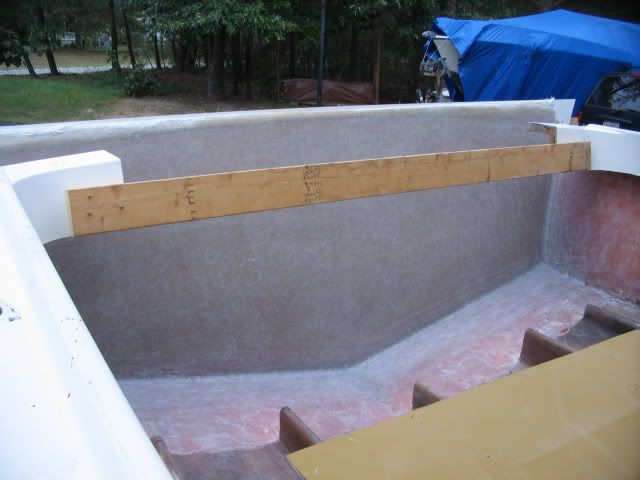
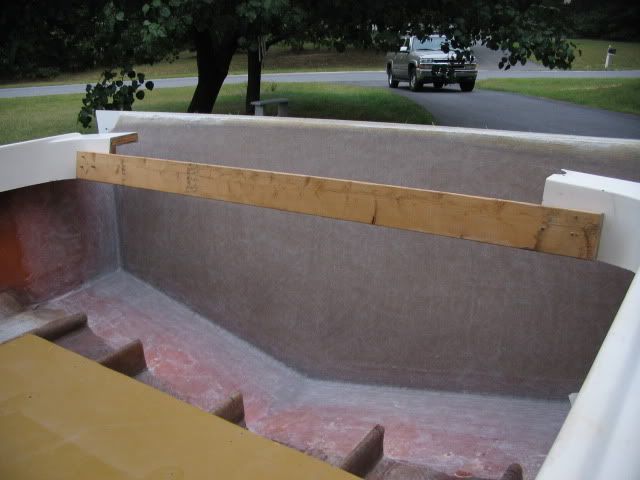
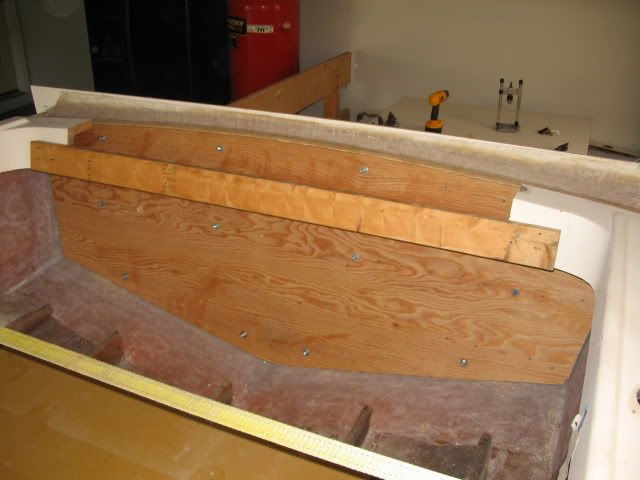
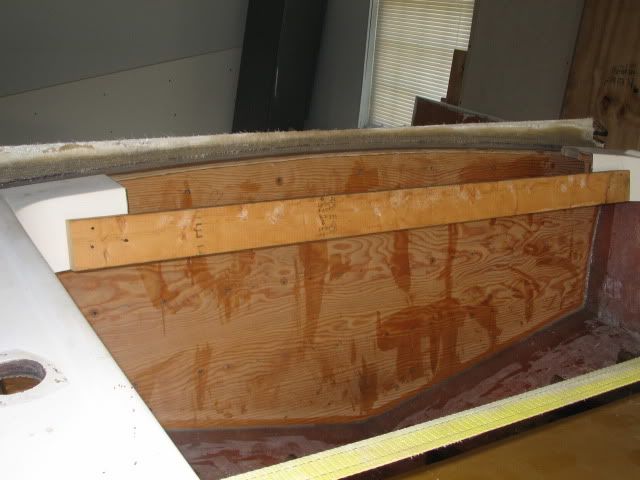
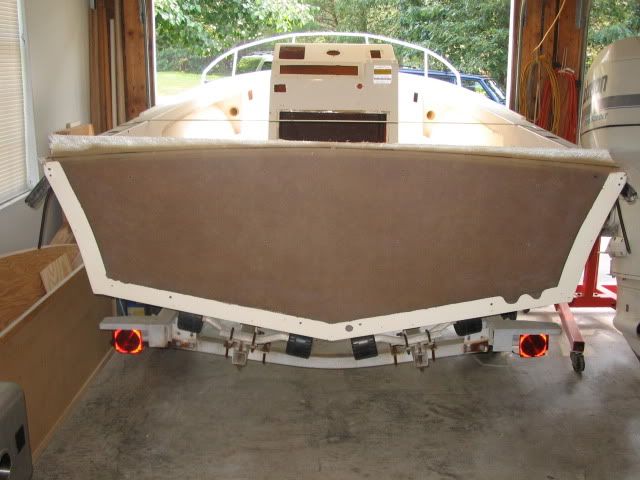
Grinding for the new transom core is just about complete. I have removed almost all remnants of the inner skin and/or stringers and tabbing from the transom to 8" forward on the hull bottom and sides. I probably did more than I needed, but I wanted a completely level surface on which to lay new glass. Besides, I kept finding voids...so I kept getting rid of them. I am going to go back one or two more times to touch up a few spots and get into the corners better.
In another post, I had mentioned that the old outer skin was comprised of two distinct layers. The outer most, was about 1/8" thick and was fully incorporated into the hull sides and bottom. The inner most layer was again about 1/8" thick, but was only as large as the core pieces themselves. So, I ground the inside of the lip remaining on the transom back to the outer 1/8" layer.
Now here's my plan for putting the new transom in. I will be using vinylester resin and glass from U.S. Composites. Please critique/offer suggestions...
1. Clean up the ground down areas on the hull sides, hull bottom and transom lip with a 36-grit disk or flap wheel.
2. Fine tune the core template I made a few weeks ago
3. Cut the two core pieces (3/4" marine ply) based on the template.
4. Bond the core pieces together outside of the boat. Mating surfaces will get a coat or two of unthickened resin and then one layer of 3/4 oz. mat will go between them. Using thickened resin instead of the mat would be easier, but I figured the saturated mat would do a better job of isolating one layer of core from the other should I ever get water intrusion. I have read of thinning the first coat of resin to allow it to soak in a little better, but can't remember what to use to do the thinning. Allow to cure. Put a 1/2"+ roundover on the inside top edge of the core.
5. On the outside of the core, start with a coat or two of unthickened resin and follow that up with one layer of 1808 0/90 and a layer of 1708 0/45. Run the glass approx. 1" above the top of the core to create a lip for the inner skin glass to mate up with. Allow to cure.
6. Put one layer of 1808 (using some leftover epoxy) on the inside of the existing lip of the transom and run it up the hull sides and bottom approx. 2". This is just to add a little material back on to the lip (and tie it in to the hull side) prior to the final grinding. Allow to cure and then lightly grind with 36-grit.
7. Grind the portion of glass on the outside of the new core that will meet up with the existing lip on the transom.
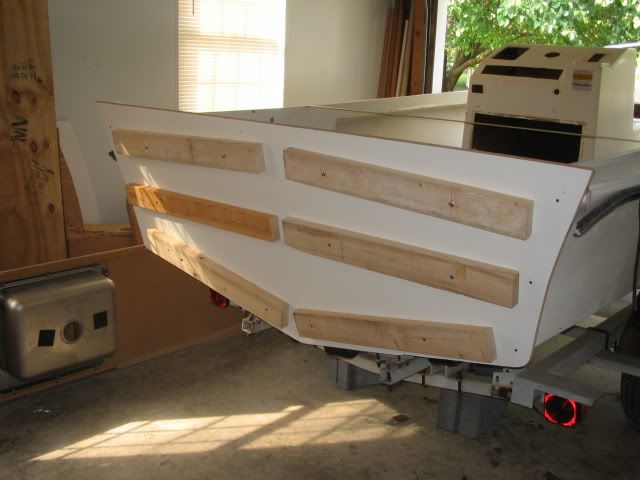
8. Coat the lip and up about 2" on the hull sides w/ a little unthickened resin. Coat the area ground in step 7 and on the bottom and side edges of the new core w/ a little unthickened resin. Apply thicked resin with a notched trowel on the existing lip over the mat. Set core in place. Secure with temporary drywall screws through scrap wood (covered in wax paper) to be removed before full cure is achieved. Create a fillet along inner hull sides and bottom with thickened resin. Allow full cure.
9. Layup remaining outer skin. Lightly grind outside glass on new core to prepare for additional layers. Bevel the edges of the existing lip. One layer of 1808 0/90 (run all the way to the edges of the transom), one layer of 1708 0/45 (stepped back about 1"), one or two layers of 3/4 oz. mat all the way to the edges(these final two layers are primarily for sanding purposes and to prevent print through). Allow full core. Total glass on outer skin is now two layers of 1808, two layers of 1708 and one or two layers of 3/4 oz. mat. Fair and gelcoat at a later date.
10. Layup inner skin. Do any final grinding on hull sides and bottom. Sand fillet against transom core with 50 grit or less. One layer of 1808, one layer of 1708, one layer of 1808 and one layer of 1708. Wrap first layer up hull sides and bottom 8" and then step each layer back 2".
So, how does all that sound?
And heres the list of supplies I think I need (transom is 80 wide and 30 tall at the highest point):
1. 10 gallons vinylester resin (2 5 gallons kits).
2. 12 yards 50 wide 1708 0/45
3. 12 yards 50 wide 1808 0/90
4. 6 yards 3/4 oz. mat
5. 4 gallons (approx. 1.7 lbs) cabosil. Yes, I know too much, but I'll need it elsewhere.
Lastly, the questions:
1. What can you use to thin vinylester prior to applying the first coat to the wood transom core (to allow it to soak in a little better)?
2. 3/4 oz. mat in between the two layers of core, or just thickened resin?
3. In step 8 above, should I also add two layers of 3/4 oz mat in between the unthickened and thickened resin? So you have core (with the two layers of glass already applied), unthickened resin, 3/4 oz mat, thickened resin, 3/4 oz mat, unthickened resin, lip...
4. In step 10 above, I've some seen people put the smaller layers down first and then progressively step up the size next layers...and I've seen people put the largest layer down first and progressively step down the size of following layers. Is there really a right or wrong way?
My thinking was to maximize the mechanical bond area between the existing glass and the new glass by putting the largest pieces down first.
5. Is 4 layers of 1708/1808 on both the inner and outer skins too much over kill? Will that increase the weight too drastically and kill my chances of succeeding w/ a bracket right from the start?
6. Will the final two layers of 3/4 oz. mat be enough to prevent print through, or should I add a layer of 6 oz. cloth as well?
Thanks guys!
