Re: 1986 Seafarer 227 Not-A-Project: 8/6/13 Update
As you have probably noticed, I've had the boat casually for sale for the last 6 months or so. Just didn't have time for the project so I decided to unload it rather than have it just sit in the driveway. Got a bunch of lowball offers, one OK one and one great one, but none of them came together for various reasons. So, I pulled it off the market and decided to get serious about putting her back on the water.
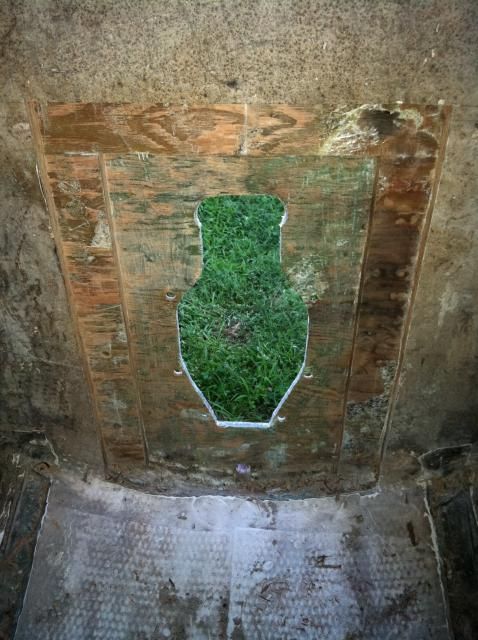
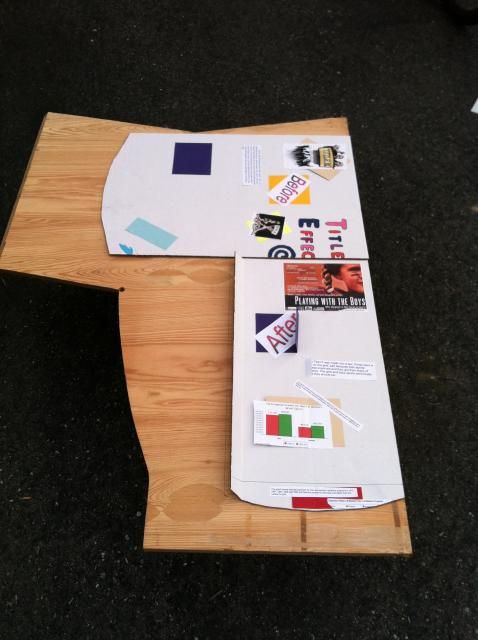
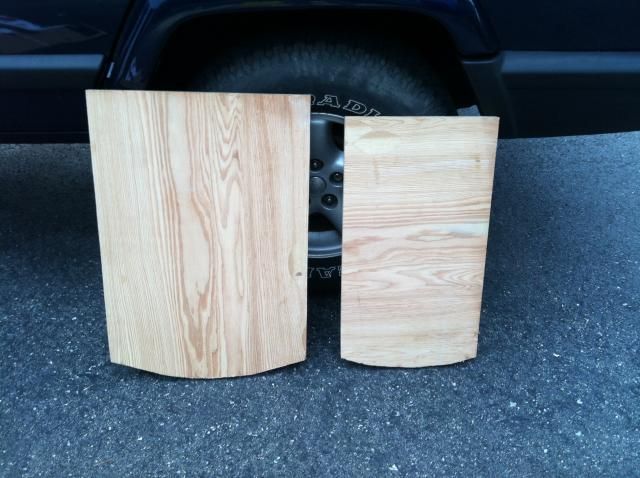
Got the outdrive hole patched up over the Easter weekend. During the week prior I had spent some time preparing the hole to receive the plugs. Ground the inner surface of the outer skin, finished sizing the new pieces of plywood, ordered resin, taped around the outdrive hole, etc.
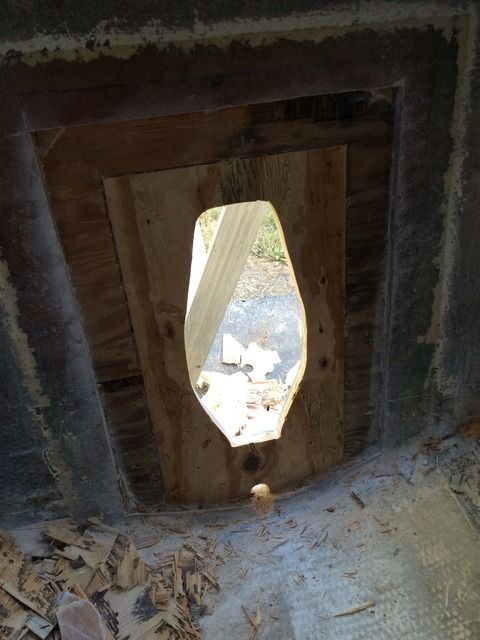
Saturday, I did the final grinding around the perimeter of the hole and then set about putting in the first layer of ply. I brushed several coats of unthickened resin on the exposed end grain of the core and on to the mating surface of the new plywood, and coated the inside of the exposed glass of the outer skin. Then I layed two layers of 1.5 oz. mat on the plug. I followed that up by applying some resin thickened with cabosil to the outer skin using a notched trowel. After that went on I set the core piece in place and pulled it tight with some drywall screws run through the outer skin. Lastly, I smoothed out the resin that squeezed out on the inside and outside.
One screw up on day one. I accidentally catalysed the thickened batch of resin at 3% (I'm using Vinylester from U.S. Composites), instead of the intended 1.5%. That's why the fillet on the outside of the hole looks so rough. It had started to gel at that point, and once it went, it went FAST. Dummy...but I don't think it will cause any problems.
There was really no spill over of excess resin on the inside as I had taped around the joints, and simply scraped off the excess before pulling the tape.
Easter Sunday afforded me a few hours to get the second layer of ply in. Same drill as the day before. Several coats of unthickened resin on the core mating surfaces. A single layer of 1.5 oz. mat against the transom. Core bedded using resin thickened with cabosil and secured with drywall screws. The only real difference here was that I drilled a couple of relief holes in the plug to allow excess resin to escape. When I pulled things tight I had a good amount of resin come through each hole so it should be well bonded. I had to force some in around the edges to fill the gaps. The force of pulling the plug tight did squeeze some mat out at the bottom so I scooped that out (hopefully I didn't create a void...I'll find out when I drill for the garboard drain) and combined it with the left over thickened resin to fill the cap and create a fillet. After snapping off the protrucing parts of the drywall screws, I put down two layers of 1.5 oz mat. This didn't need to be structural as I plan to put down another layer of ply once the stringers are extended and cover that with heavy glass.

The only thing I would have done differently on day two was go a little less heavy on the unthickened resin on the new layer of ply. It didn't soak it up as much as I had hoped.


